Введение
This guide outlines the steps in fully removing the LCD facial display of the Anki Vector. Such a procedure should be executed only if none of the solutions on the Anki troubleshooting guide were unsuccessful.
While disassembling Vector, make sure to check for loose cables/connectors and other broken parts. Often times these can be fixed without replacing the entire display.
Be careful to not rip the rubber sheet on the back of the display while removing or working with it, as it is very delicate and easy to tear.
Выберете то, что вам нужно
-
-
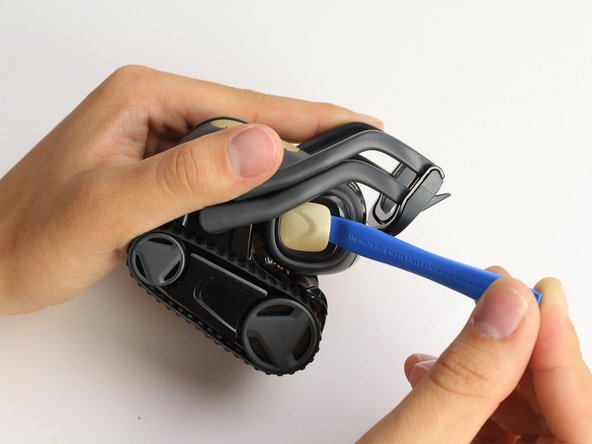
Using the iFixit opening tool, insert the corner under Vector's golden side panel and lightly twist.
-
Repeat this step on the other side.
-
-
-
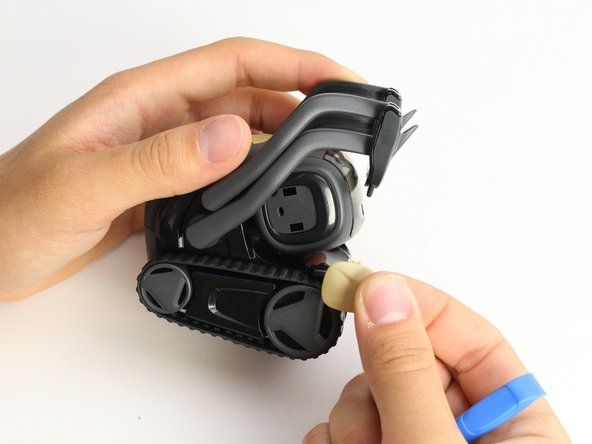
Insert the corner of the square end of the spudger under the side plate above the partially visible screw.
-
Lightly turn the spudger to separate the plate from Vector's head.
-
Work the spudger around the plate until it comes off.
-
Repeat this step on the the other side.
-
-
-
-
Using a Phillips #0 screwdriver, unscrew the two 2 mm screws on the side of Vector's head.
-
Repeat this step on the opposite side.
-
-
-
Pull apart Vector's head. It should separate down the middle.
-
Remove the screen protector by gently pulling it free from the two face halves.
-
-
-
Using your thumb and index finger, unplug the display from the plug in Vector's neck.
-
Pull the LCD and speaker assembly from Vector's head.
-


To reassemble your device, follow these instructions in reverse order.
To reassemble your device, follow these instructions in reverse order.
Отменить: Я не выполнил это руководство.
8 участников успешно повторили данное руководство.
Команда

Cal Poly, Team S2-G6, Maness Spring 2019 Участник Cal Poly, Team S2-G6, Maness Spring 2019
CPSU-MANESS-S19S2G6
4 членов
Автор 10 руководств
26 Комментариев
Any idea where to get the proper displays ?
This is great information, but where can I buy the display?
yeah I can’t find it anywhere.
Does anyone have a line on display parts source?