Выберете то, что вам нужно
-
-
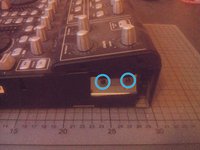
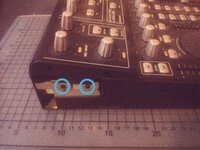
unscrew two Phillips screws on each side of the BCD3000
-
If the screws sit too tight, you can use the extension for better torque
-
-
-
unscrew another two Phillips screws on each side
-
-
-
Lift the upper control part.
-
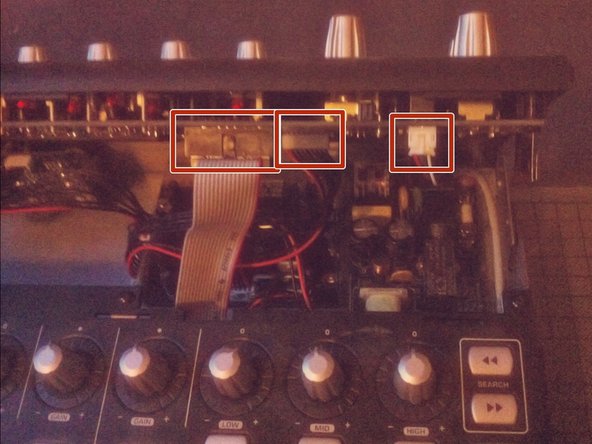
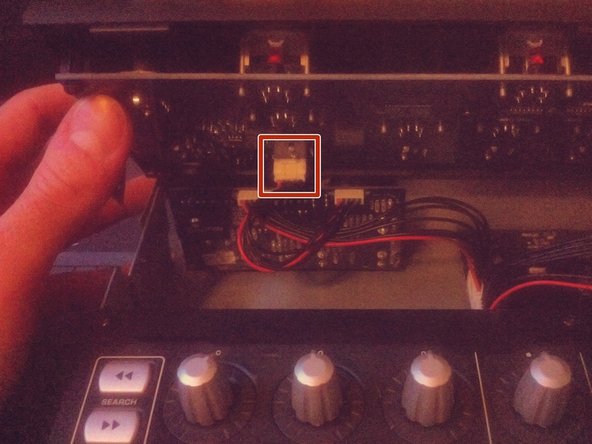
Disconnect the cables by walking them out of their sockets.
-
-
-
-
Disconnect the two cables from the lower section to the connector board.
-
-
-
Slide the lower section to the front.
-
Now you can lift it and take it aside.
-
-
-
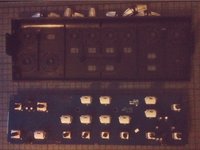
Disconnect the separate boards.
-
Now you can take the modules out by unscrewing them from the case.
-
-
-
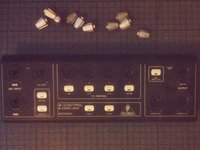
The jog wheels on the front panel can be taken off by using a spudger and levering them out.
-
-
-
Same goes for the knobs on the top section of the front panel.
-

 Спросите у FixBot



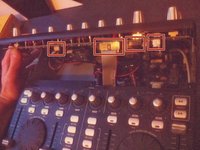
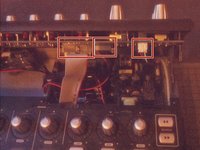
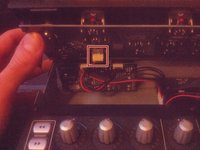


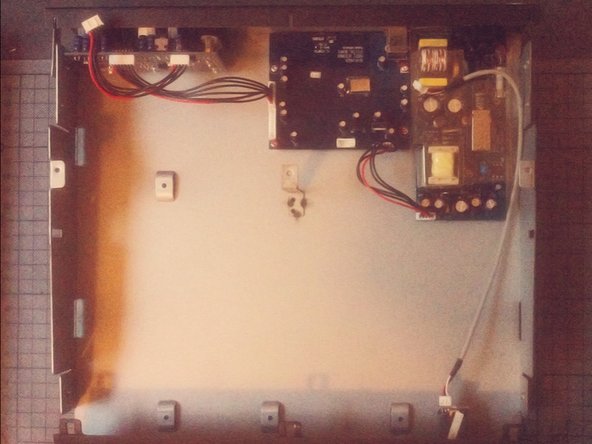
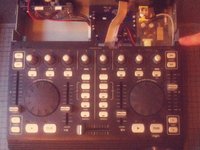
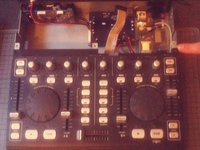
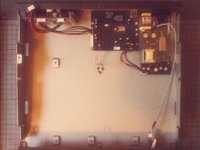

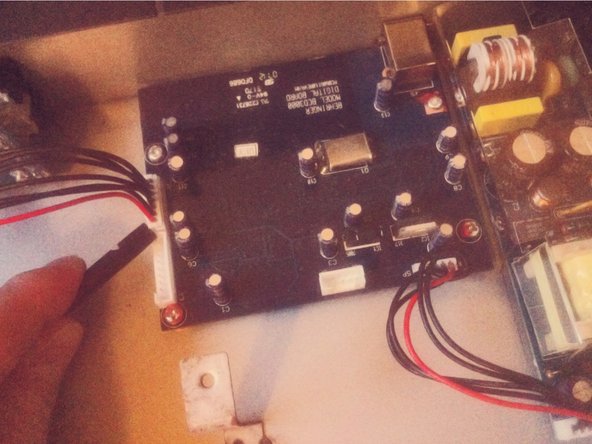
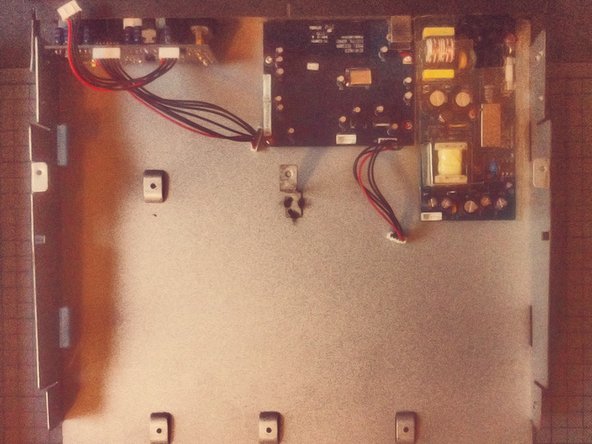



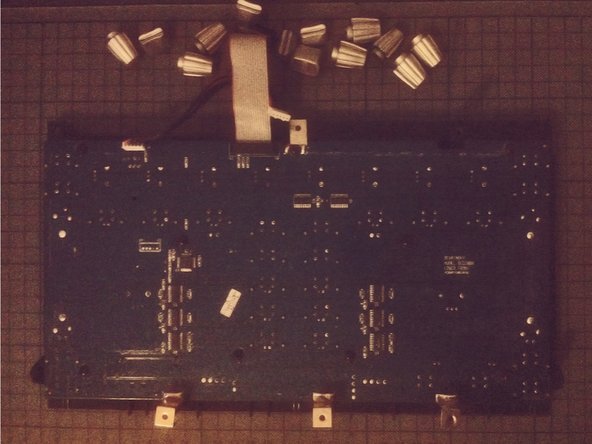
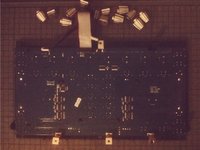

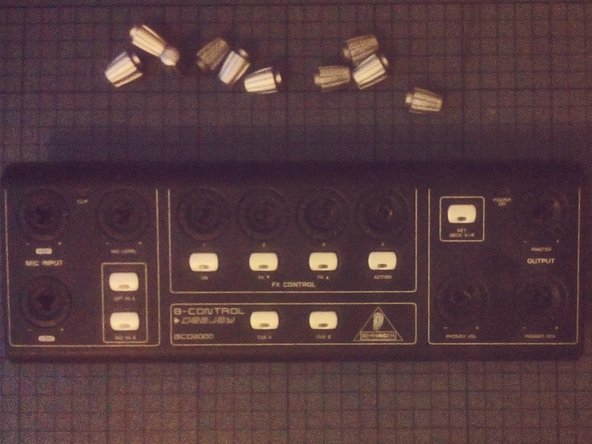
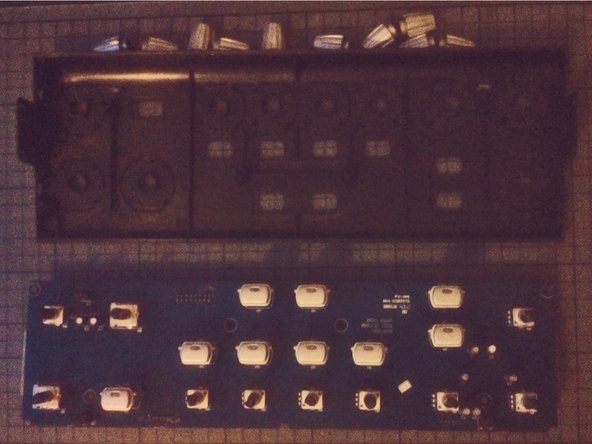
To reassemble your device, follow these instructions in reverse order.
Отменить: Я не выполнил это руководство.
6 человек успешно провели ремонт по этому руководству.

4 Комментарии к руководству
Pensaba que serviría para la BCD2000… pero es algo distinta.
great stuff, with better quality pictures would be better
This is great! I thought it would be like the other BC controllers (BCR/BCF2000) with a clip on the side panels. I need to re-seat my knob rings that have gotten loose and fallen of the top panel.
Thanks for the guide! I was able to re-glue and re-seat my knob rings that popped loose. I had two on the top section (main vol and FX4) and one at the lower that was working loose, so I decided to hit that one as well since I already had the BDC3000 apart. I find it odd that Behringer used machine screws on the bottom of the machine since they screw into plastic posts. The control knobs rings are held in place with a thin glue that, after nearly 20 years (mine was 1105 date), have weakened and allow easy popping off. I used a glue that didn't melt the pieces together (preferred, but I didn't have), so I may have to go through this process again. When reassembling, take care that the buttons seat properly into the panels as they can wiggle out of place and make screwing the PCBs difficult and reassembly impossible. If you need total disassembly, you'll need a socket wrench or mini pliers to remove the nut from the headphone jack. I don't think this is a necessary step if you're just re-seating/gluing the rings.
