Перейти к основному содержанию

ClickN Kids Tablet Camera Replacement

Выберете то, что вам нужно

  1. ClickN Kids Tablet Camera Replacement, Camera: шаг 1, изображение 1 из 1
    • Start on the side with the camera

    • Insert a plastic opening tool into the space between the screen and the back side.

    • The screen side is black, the back side is colored

  2. ClickN Kids Tablet Camera Replacement: шаг 2, изображение 1 из 1
    • Press the plastic opening tool in until you hear a “click” and that part of the tablet opens.

    • Press and slide the plastic opening tool around all sides of the tablet until all sides pop off.

    • The corners can be tricky. Make sure to separate the pieces all the way around the tablet before attempting to open it.

  3. ClickN Kids Tablet Camera Replacement: шаг 3, изображение 1 из 1
    • Lift the detached screen from the camera side until you can see the inside of the tablet.

    • Don't open too fast, or you might damage the ribbons cables.

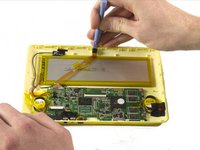
  4. ClickN Kids Tablet Camera Replacement: шаг 4, изображение 1 из 2 ClickN Kids Tablet Camera Replacement: шаг 4, изображение 2 из 2
    • Be careful not to damage any wires or ribbon cables during this step.

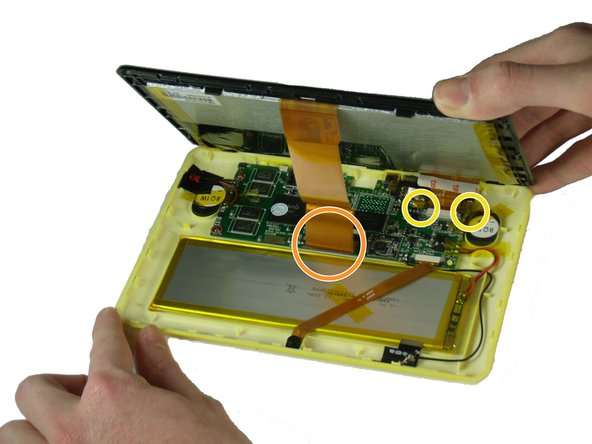
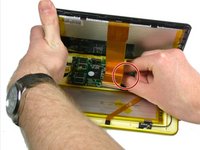
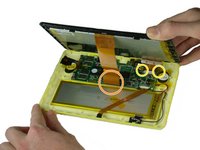
    • There are two ribbon cables to remove during this step. Each is connected to a base on the motherboard.

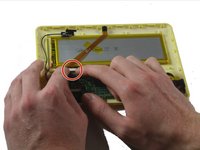
    • There is a black tab behind the long ribbon cable. Lift up the black tab.

    • For the ribbon cable in the back, pull the black tabs on the side out.

    • Detach the ribbon cables connecting the screen to the motherboard.

    • Remove any tape that is holding down the ribbon cables. Set it aside.

  5. ClickN Kids Tablet Camera Replacement: шаг 5, изображение 1 из 1
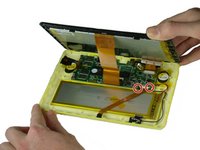
    • Pull off the tape that holds the ribbon cable to the battery.

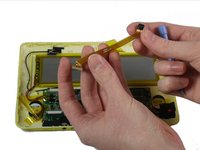
  6. ClickN Kids Tablet Camera Replacement: шаг 6, изображение 1 из 2 ClickN Kids Tablet Camera Replacement: шаг 6, изображение 2 из 2
    • Be careful not to damage the wires or ribbon cables.

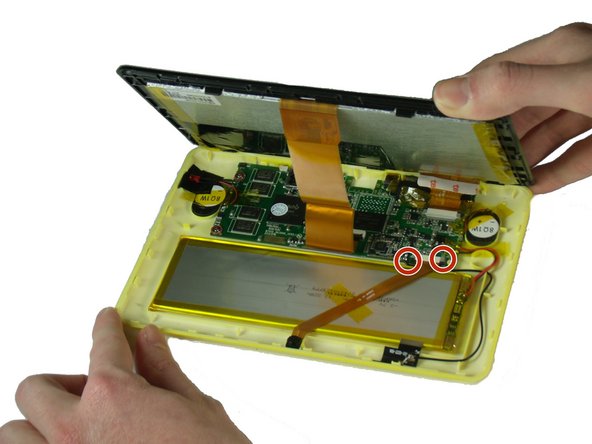
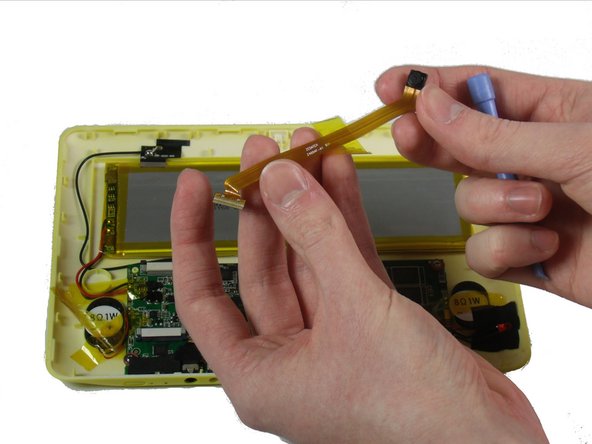
    • Pull out the two black ends of the base on the motherboard.

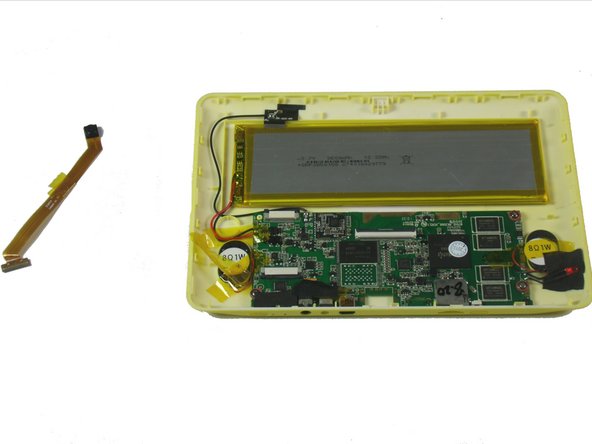
    • Slide out the camera’s ribbon cable once the ends are loosened.

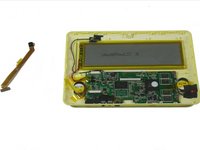
  7. ClickN Kids Tablet Camera Replacement: шаг 7, изображение 1 из 3 ClickN Kids Tablet Camera Replacement: шаг 7, изображение 2 из 3 ClickN Kids Tablet Camera Replacement: шаг 7, изображение 3 из 3
    • Use a plastic opening tool to pry the camera out of its place.

Заключение

To reassemble your device, follow these instructions in reverse order.

Еще один человек закончил это руководство.

Kevin Finney

Участник с: 03/22/15

553 Репутация

Автор 4 руководств

Команда

Baylor, Team 4-4, Williams Spring 2015 Участник Baylor, Team 4-4, Williams Spring 2015

BU-WILLIAMS-S15S4G4

3 членов

Автор 8 руководств

0 Комментариев

Добавить комментарий

Просмотр статистики:

За последние 24часов: 1

За последние 7 дней: 2

За последние 30 дней: 7

За всё время: 781