Введение
Is your computer not playing music from your headphones? Consider using this guide to replace the audio jack in your laptop. You’ll need to know how to solder to completely remove the audio jack. For more information on soldering, use the How to Solder and Desolder Connections guide.
Выберете то, что вам нужно
-
-
Use a Phillips #0 screwdriver to remove the 9 6mm screws securing the back plate of the laptop.
-
-
-
Use a Phillips #0 screwdriver to remove the three 3 mm screws holding the battery in place.
-
-
-
Disconnect the cable connecting the battery to the motherboard, and then remove the battery.
-
-
-
-
Using the Phillips #0 screwdriver, unscrew the 4 heatsink screws.
-
Remove the heatsink assembly.
-
-
-
Using the Phillips #0, unscrew two 3mm screws holding the fan in place and disconnect the cable connecting it to the motherboard. There is an adhesive tab holding the hard drive cable in place up against the fan; remove this as well.
-
-
-
Disconnect the following cables that connect to the motherboard: the Touchscreen, Display, and the speaker cable.
-
-
-
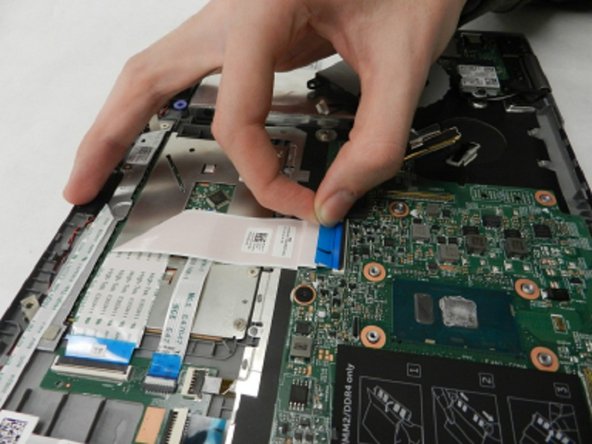
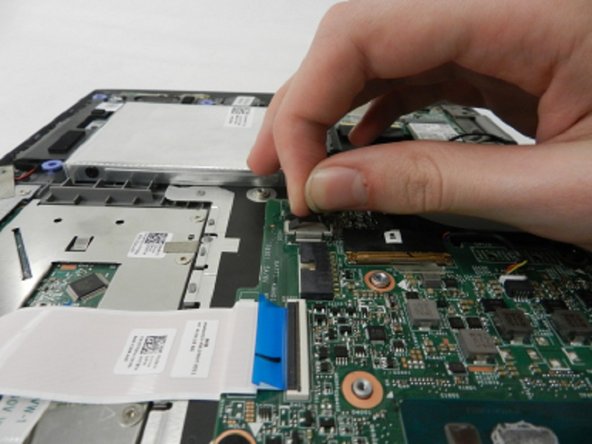
Disconnect the following cables that connect to the motherboard: hard drive cable and touchpad cable.
-
-
-
Using the Phillips #0 screwdriver, remove the three 2mm screws holding the motherboard in place. Once done, carefully lift the motherboard out.
-
-
-
Flip the motherboard over and, using a soldering iron, apply heat to the 7 solder points of the audio jack. Carefully pull the audio jack out from below.
-


To reassemble your device, follow these instructions in reverse order.
To reassemble your device, follow these instructions in reverse order.
Команда

IUPUI, Team S4-G4, Wilson Fall 2018 Участник IUPUI, Team S4-G4, Wilson Fall 2018
IUPUI-WILSON-F18S4G4
4 членов
Автор 4 руководств