Введение
If your keyboard does not respond to your actions use this guide to replace the keyboard part of your laptop.
Before using this guide inspect the battery life, typically the battery drains the power fast and it may also cause the loss of keyboard power.
Step one-three shows you how to replace the battery.
Before beginning, make sure to power off your laptop completely and disconnect from any external power source.
Выберете то, что вам нужно
-
-
-
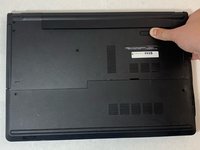
Close the laptop and lay it flat, logo side down.
-
Make sure that the battery is visible and at the top of the device.
 Спросите у FixBot
-
-
-
-
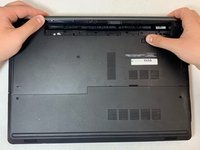
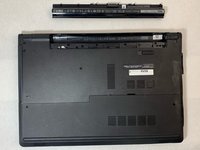
When the battery pops out, lift it so that it comes out completely.
-
-
-
-
-
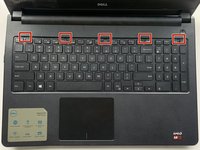
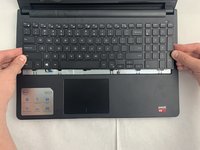
Turn the laptop over and open the device.
-
Insert the flat end of the spudger into the five notches located at the top of the keyboard and pry the keyboard up by pushing down and up.
-
-
-
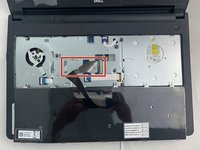
Lift up and slide back to release the six notches from the bottom of the keyboard.
-
-
-
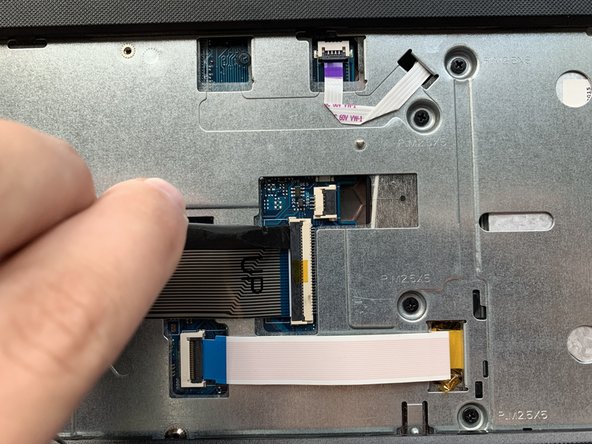
Flip the keyboard upside down to access the keyboard cable.
-
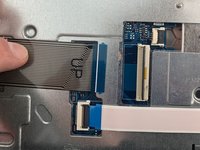
Using the flat end of the spudger, flip the black tab securing the keyboard cable up to remove the keyboard cable.
-
Remove the keyboard by lifting it off of the laptop.
-
-


To reassemble your device, follow these instructions in reverse order.
Отменить: Я не выполнил это руководство.
Еще один человек закончил это руководство.

Команда

Embry-Riddle Aeronautical University, Team S2-G6, Watkins Fall 2019 Участник Embry-Riddle Aeronautical University, Team S2-G6, Watkins Fall 2019
ERAU-WATKINS-F19S2G6
4 членов
Автор 5 руководств
1 Комментарий к руководству
Thank you so much for this guide! The steps were clear and concise.