Перейти к основному содержанию

Disassembling Ericsson CF 388 Microphone

Выберете то, что вам нужно

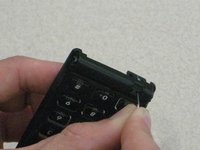
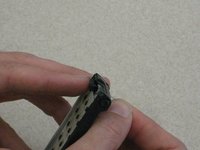
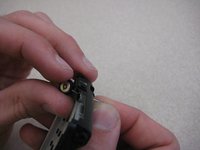
  1. Disassembling Ericsson CF 388 Microphone, Disassembling Ericsson CF 388 Battery: шаг 1, изображение 1 из 3 Disassembling Ericsson CF 388 Microphone, Disassembling Ericsson CF 388 Battery: шаг 1, изображение 2 из 3 Disassembling Ericsson CF 388 Microphone, Disassembling Ericsson CF 388 Battery: шаг 1, изображение 3 из 3
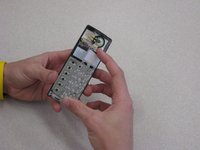
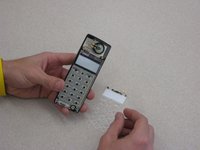
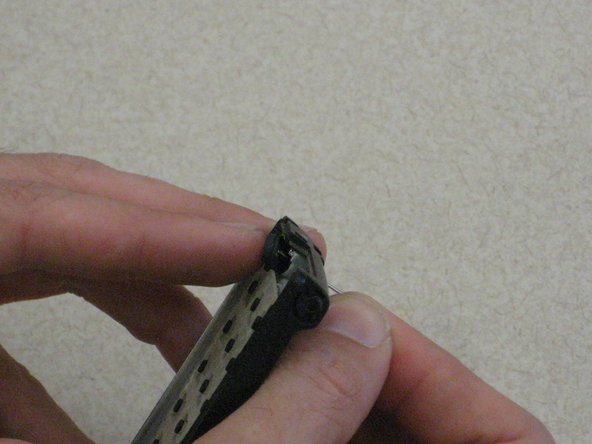
    • To remove the battery from the casing, grab the front panel and back panel with opposite hands (as shown). The back panel is the same as the battery.

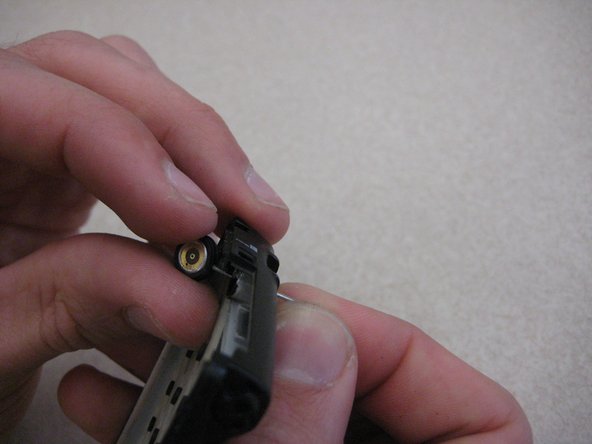
    • With your index finger, push in the button on the bottom of the battery to release it.

    • Pull the battery away from the phone.

  2. Disassembling Ericsson CF 388 Microphone, Phone Casing: шаг 2, изображение 1 из 3 Disassembling Ericsson CF 388 Microphone, Phone Casing: шаг 2, изображение 2 из 3 Disassembling Ericsson CF 388 Microphone, Phone Casing: шаг 2, изображение 3 из 3
    • After removing the battery, the front phone casing becomes accessible.

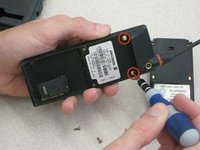
    • Locate the two star-shaped T6 screws on the bottom end of the rear of the phone, underneath the battery, as indicated by the red circles.

    • Remove these two screws using the Torx T6 Screwdriver.

  3. Disassembling Ericsson CF 388 Microphone: шаг 3, изображение 1 из 3 Disassembling Ericsson CF 388 Microphone: шаг 3, изображение 2 из 3 Disassembling Ericsson CF 388 Microphone: шаг 3, изображение 3 из 3
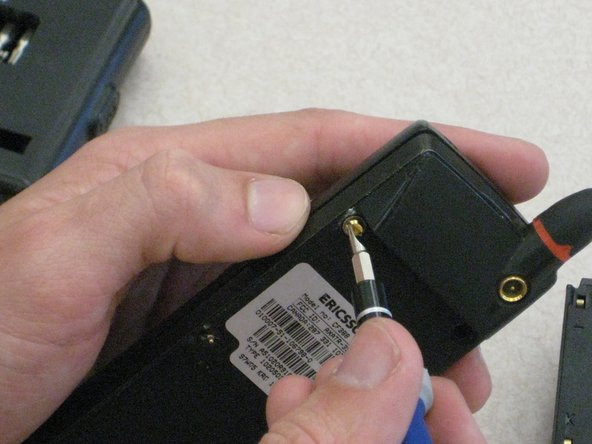
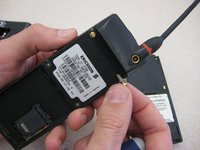
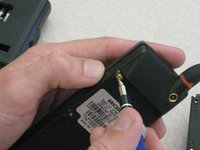
    • Locate the top two U-shaped screws on the back of the phone, as shown by the red circles.

    • Remove these two screws with a SP 2.6 screw driver.

    • Note: Remove gray plastic grommets with screws.

  4. Disassembling Ericsson CF 388 Microphone: шаг 4, изображение 1 из 2 Disassembling Ericsson CF 388 Microphone: шаг 4, изображение 2 из 2
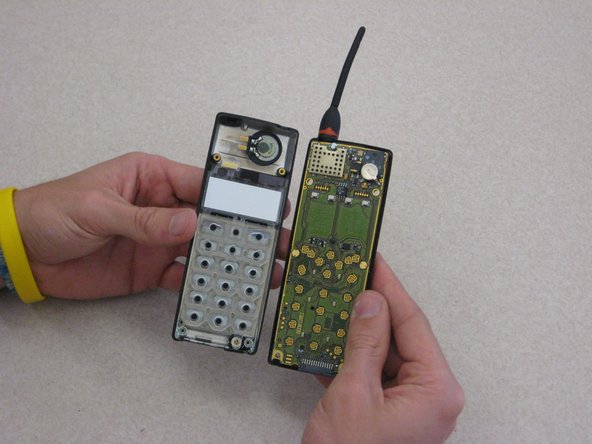
    • Grab opposite panels of the phone casing and carefully open and pull apart the phone, as shown in the image.

    • Note: Be careful not to damage the circuit board and components as you as open the casing.

  5. Disassembling Ericsson CF 388 Microphone, Keypad Support Skeleton: шаг 5, изображение 1 из 2 Disassembling Ericsson CF 388 Microphone, Keypad Support Skeleton: шаг 5, изображение 2 из 2
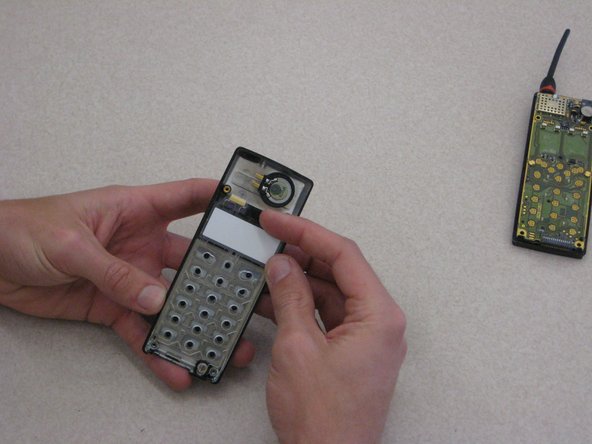
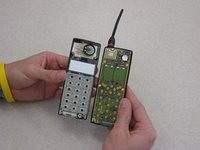
    • After removing the battery casing and taking apart the phone casing, the keypad is held in with a plastic skeleton structure as shown.

  6. Disassembling Ericsson CF 388 Microphone: шаг 6, изображение 1 из 3 Disassembling Ericsson CF 388 Microphone: шаг 6, изображение 2 из 3 Disassembling Ericsson CF 388 Microphone: шаг 6, изображение 3 из 3
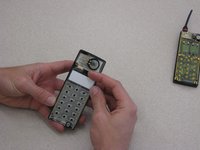
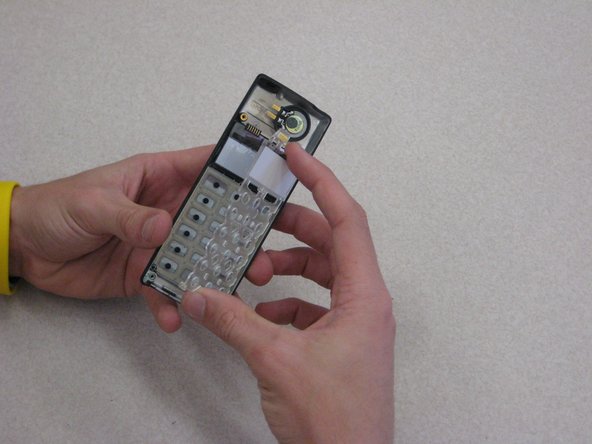
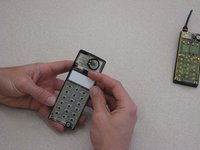
    • To remove the plastic skeleton structure, locate the tab at the top of the phone near the LCD display screen.

    • Carefully remove the skeleton by holding on the front phone casing with one hand and pull tab with your index finger while having your thumb at the bottom of the phone as shown.

  7. Disassembling Ericsson CF 388 Microphone, Microphone: шаг 7, изображение 1 из 1
    • After removing the keypad skeleton, the microphone becomes accessible.

    • Locate the microphone at bottom of the phone, below the keypad, as indicated by the red circle.

  8. Disassembling Ericsson CF 388 Microphone: шаг 8, изображение 1 из 3 Disassembling Ericsson CF 388 Microphone: шаг 8, изображение 2 из 3 Disassembling Ericsson CF 388 Microphone: шаг 8, изображение 3 из 3
    • To remove the microphone, carefully poke out the microphone through the front hole with a paper clip.

    • Slowly and carefully, push the microphone out.

    • Note: Do not push too hard as it could damage or fling the microphone. You don't want to lose it!

Заключение

To reassemble your device, follow these instructions in reverse order.

Niccolas Tones

Участник с: 03/09/12

60 Репутация

Автор 9 руководств

Команда

Clemson, Team 1-1, Benson Spring 2012 Участник Clemson, Team 1-1, Benson Spring 2012

CLEM-BENSON-S12S1G1

3 членов

Автор 21 руководств

0 Комментариев

Добавить комментарий

Просмотр статистики:

За последние 24часов: 0

За последние 7 дней: 0

За последние 30 дней: 0

За всё время: 952