Введение
Use this guide to replace a defective battery LED indicator from your Durofix RV332. A new battery LED is need to complete this repair.
Выберете то, что вам нужно
-
-
Remove the six 13 mm case screws with a #0 Phillips screwdriver from the side of the power screwdriver.
-
-
-
Using a plastic opening tool, separate the case in two to expose the internals of the cordless screwdriver.
-
-
-
-
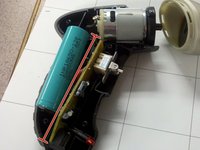
Remove printed circuit board, LED, battery, and motor assembly from the screwdriver casing.
-
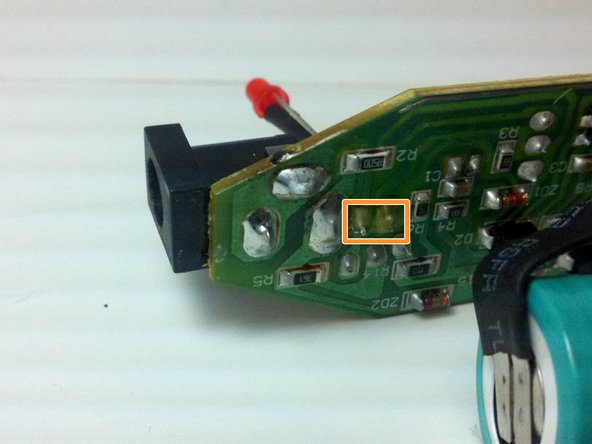
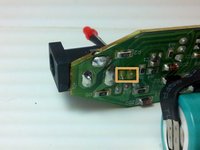
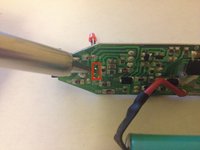
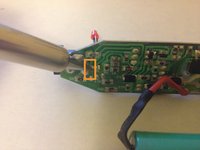
Use a soldering iron to melt the solder from the LED's two pins on the printed circuit board.
-
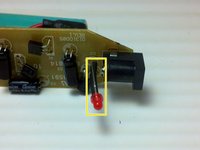
Remove the LED from the circuit board while the solder is still melted.
-
-
-
Place the positive leg of the new LED through the positive hole in the printed circuit board and solder it into place.
-
Place the negative leg of the LED through the negative hold in the printed circuit board and solder it into place.
-
To reassemble your device, follow these instructions in reverse order.
To reassemble your device, follow these instructions in reverse order.
Отменить: Я не выполнил это руководство.
Еще один человек закончил это руководство.
1Комментарий к руководству
Hello, I would ask the author about the type and model number of the electronic element marked as Q1 on the PCB (transistor or thyristor) on the third picture in Step 3 of this article, because mine is burnt out, and on this picture can't be read anything.
Greetings,
Plam


