Перейти к основному содержанию
Присоединяйся к сообществу ремонтников - Создай аккаунт

Enabot EBO SE Battery Replacement

Выберете то, что вам нужно

  1. Enabot EBO SE Battery Replacement, Wheel Assembly: шаг 1, изображение 1 из 1
    • Gently turn the robot upside down.

    • Place the robot on a stable surface to prevent it from rolling or falling.

    Спросите у FixBot
  2. Enabot EBO SE Battery Replacement: шаг 2, изображение 1 из 3 Enabot EBO SE Battery Replacement: шаг 2, изображение 2 из 3 Enabot EBO SE Battery Replacement: шаг 2, изображение 3 из 3
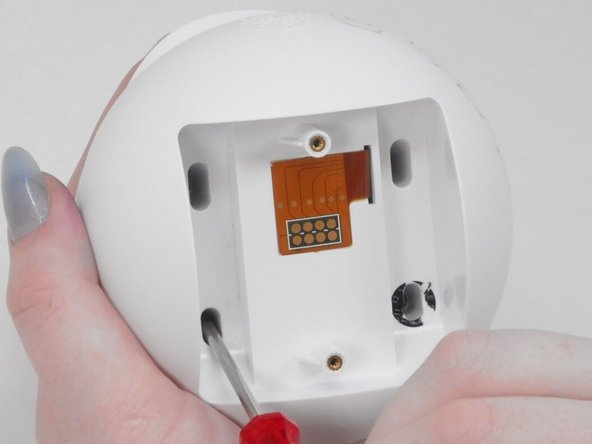
    • Use a flathead 2.5 mm screwdriver to remove the 5.7 mm screw from the wheels.

    • A tool should have been provided in the box for this purpose.

    Спросите у FixBot
  3. Enabot EBO SE Battery Replacement: шаг 3, изображение 1 из 2 Enabot EBO SE Battery Replacement: шаг 3, изображение 2 из 2
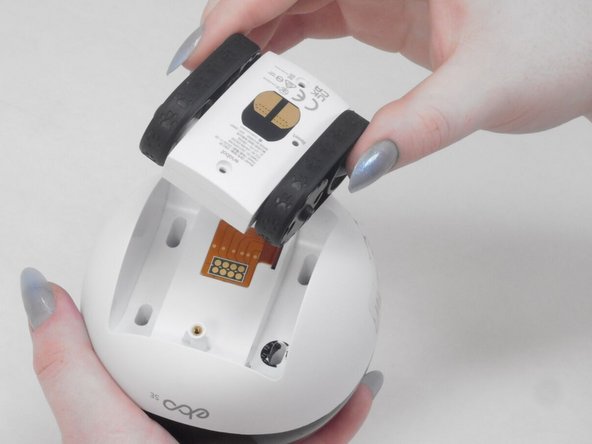
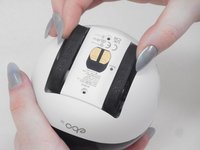
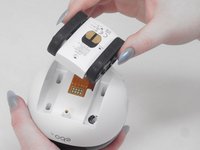
    • Pull the wheel assembly towards you so it comes straight off without resistance.

    • If there is resistance, make sure to apply gentle force when pulling as it can get damaged with too much force.

    Спросите у FixBot
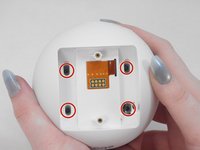
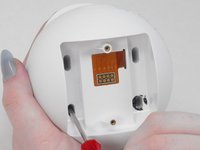
  4. Enabot EBO SE Battery Replacement, Lower Housing: шаг 4, изображение 1 из 2 Enabot EBO SE Battery Replacement, Lower Housing: шаг 4, изображение 2 из 2
    • Use a Torx screwdriver to remove the four 9 mm screws from the assembly.

    Спросите у FixBot
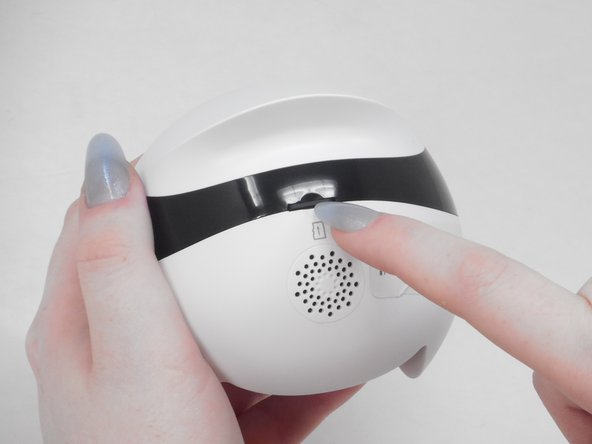
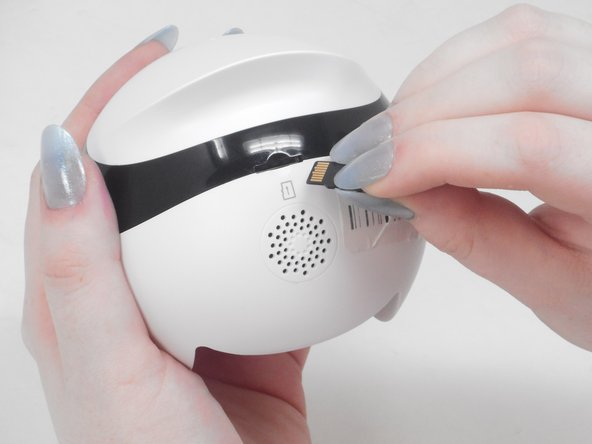
  5. Enabot EBO SE Battery Replacement: шаг 5, изображение 1 из 3 Enabot EBO SE Battery Replacement: шаг 5, изображение 2 из 3 Enabot EBO SE Battery Replacement: шаг 5, изображение 3 из 3
    • Use your fingernail to carefully press down and eject the Micro SD Card from the back of the Enabot.

    • Keep the Micro SD Card in a safe spot for later.

    Спросите у FixBot
  6. Enabot EBO SE Battery Replacement: шаг 6, изображение 1 из 2 Enabot EBO SE Battery Replacement: шаг 6, изображение 2 из 2
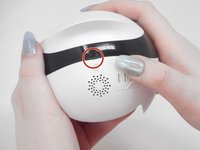
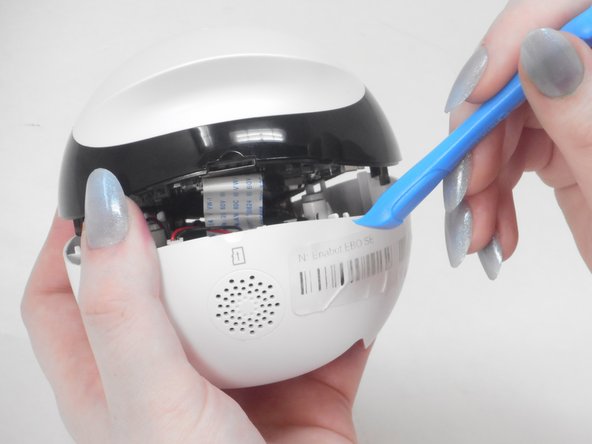
    • Place the iFixit opening tool inside the Micro SD slot.

    • Very carefully apply pressure to the top of the slot and pry open the casing to separate the upper and lower housing.

    Спросите у FixBot
  7. Enabot EBO SE Battery Replacement: шаг 7, изображение 1 из 3 Enabot EBO SE Battery Replacement: шаг 7, изображение 2 из 3 Enabot EBO SE Battery Replacement: шаг 7, изображение 3 из 3
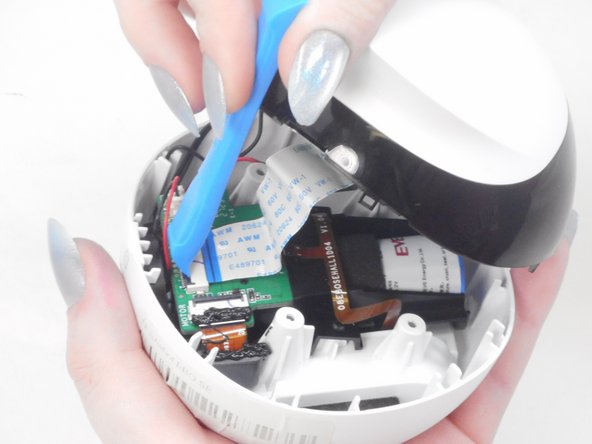
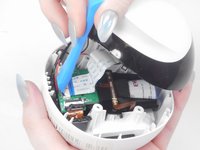
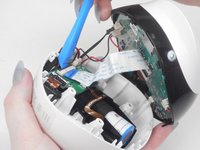
    • Using the iFixit opening tool or your fingernail, place it underneath the gray tab on the lower housing.

    • Lift the tab up and pull out the ribbon cable to disconnect it from the lower housing.

    Спросите у FixBot
  8. Enabot EBO SE Battery Replacement: шаг 8, изображение 1 из 3 Enabot EBO SE Battery Replacement: шаг 8, изображение 2 из 3 Enabot EBO SE Battery Replacement: шаг 8, изображение 3 из 3
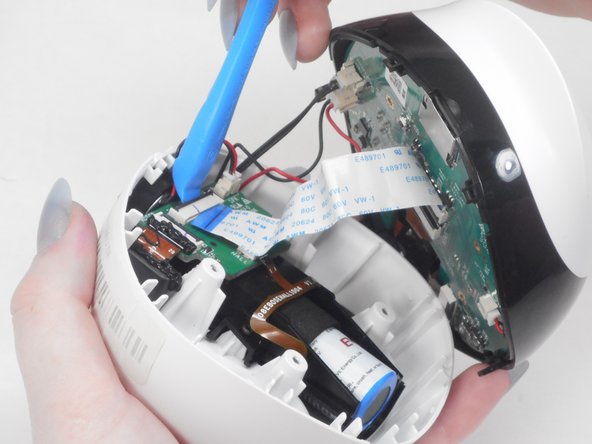
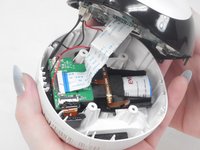
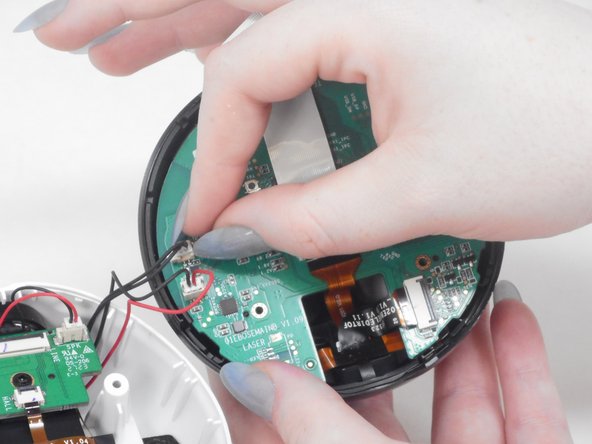
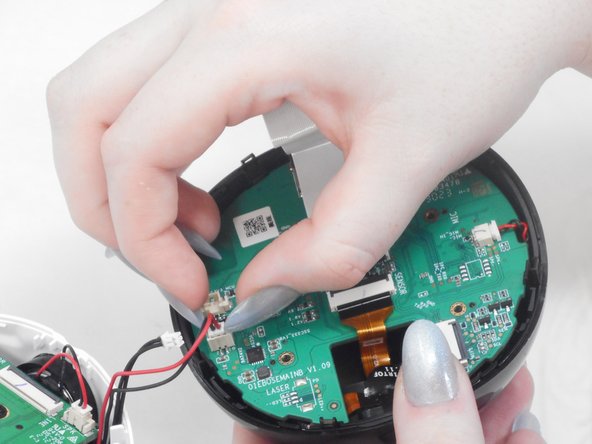
    • There are two black and red wire connectors attached to the upper and lower housing.

    • Gently use your finger nails to lift up and disconnect both wires to fully separate the upper and lower housings.

    Спросите у FixBot
  9. Enabot EBO SE Battery Replacement, Battery: шаг 9, изображение 1 из 3 Enabot EBO SE Battery Replacement, Battery: шаг 9, изображение 2 из 3 Enabot EBO SE Battery Replacement, Battery: шаг 9, изображение 3 из 3
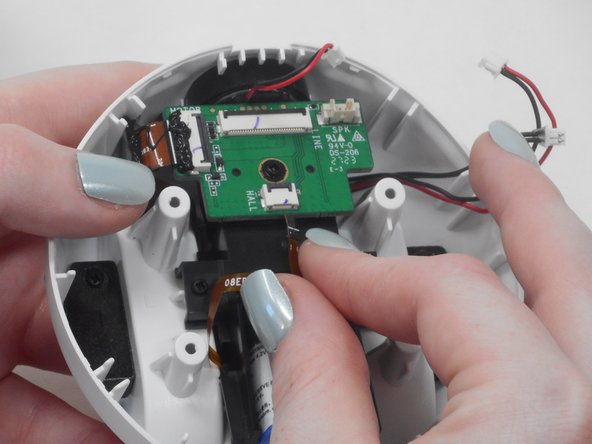
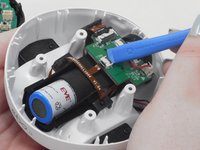
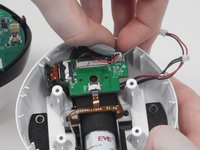
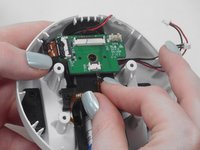
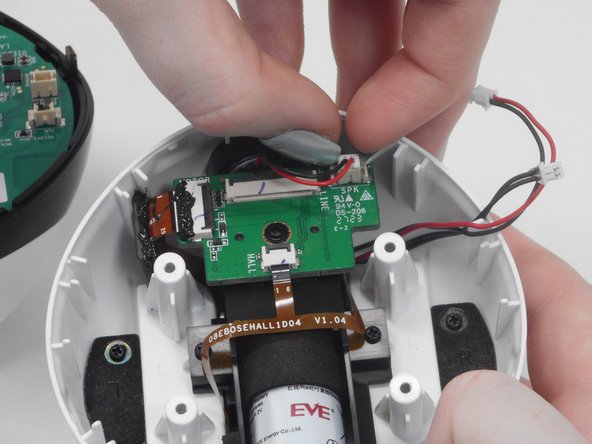
    • Use the iFixit opening tool or your fingernail to disconnect the cable by placing the edge underneath the gray tab.

    • Flip the tab up and pull the ribbon cable out.

    • Disconnect the red and blue wires from the daughterboard by using your finger nails to pull up on the connector to disconnect.

    Спросите у FixBot
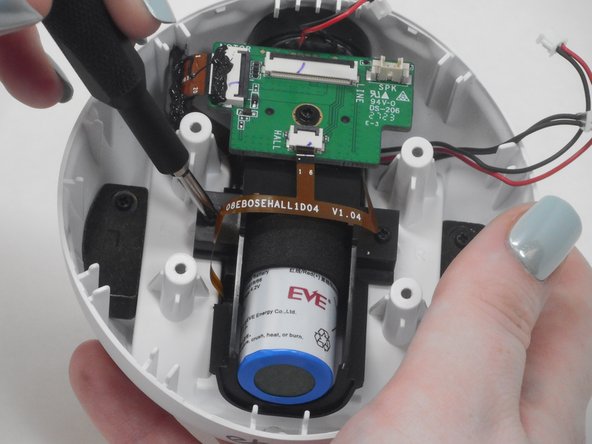
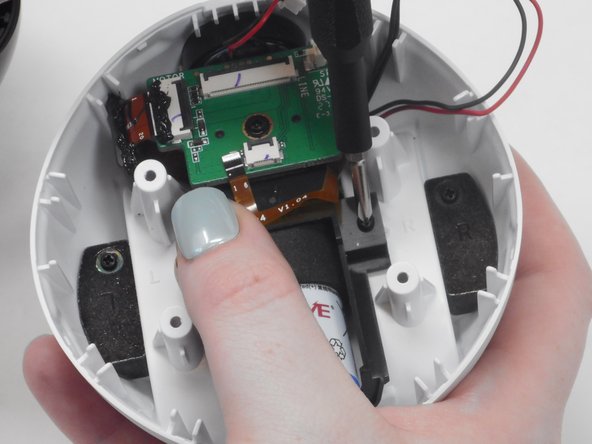
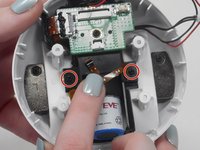
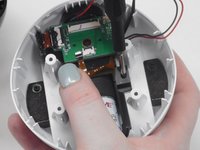
  10. Enabot EBO SE Battery Replacement: шаг 10, изображение 1 из 3 Enabot EBO SE Battery Replacement: шаг 10, изображение 2 из 3 Enabot EBO SE Battery Replacement: шаг 10, изображение 3 из 3
    • Use a Phillips #00 screwdriver to remove both 7.4 mm screws from the side of the battery's casing.

    Спросите у FixBot
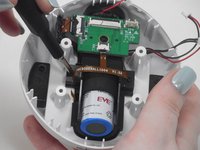
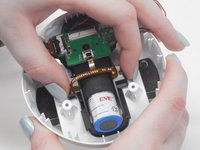
  11. Enabot EBO SE Battery Replacement: шаг 11, изображение 1 из 2 Enabot EBO SE Battery Replacement: шаг 11, изображение 2 из 2
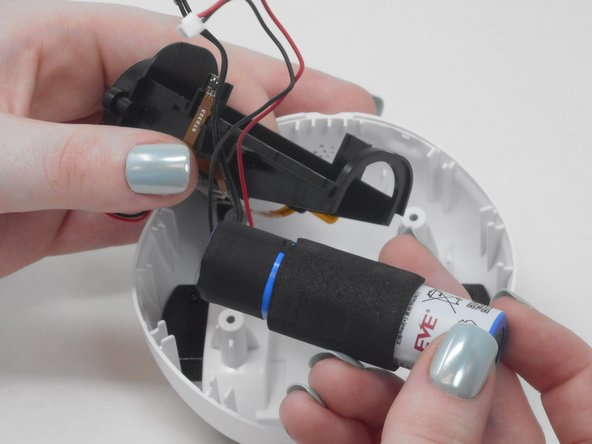
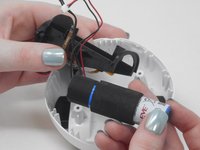
    • Pull the battery casing upwards from the lower half of the assembly to remove it.

    Спросите у FixBot
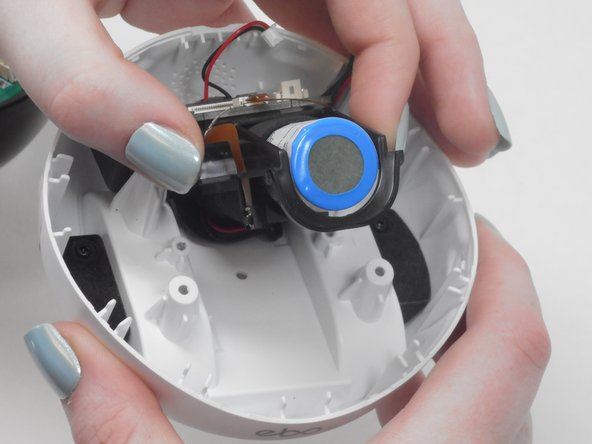
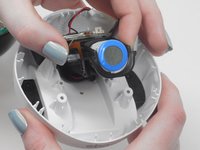
  12. Enabot EBO SE Battery Replacement: шаг 12, изображение 1 из 2 Enabot EBO SE Battery Replacement: шаг 12, изображение 2 из 2
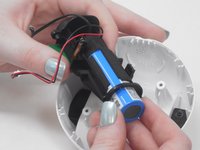
    • Carefully remove the battery from the casing in order to replace.

    Спросите у FixBot
Заключение

To reassemble your device, follow these instructions in reverse order.

6 человек успешно провели ремонт по этому руководству.

Kevin H.

Участник с: 02/15/24

716 Репутация

Автор 5 руководств

Команда

University of Memphis, Team 4-5, Sneed Spring 2024 Участник University of Memphis, Team 4-5, Sneed Spring 2024

UM-SNEED-S24S4G5

4 членов

Автор 10 руководств

8 Комментарии к руководству

Una guía fantástica, pero no puedo seguirla porque no encuentro el recambio de la batería ¿Se puede usar una genérica? ¿Alguna referencia que me ayude a encontrar el recambio?

Rubén Belmonte - Ответить Поделиться

tengo la misma duda, entendí perfecto el tutorial, que tipo de batería lleva?

Marina Daniela Regali - Ответить Поделиться
What type of battery?

Commissioner Gordon - Ответить Поделиться

18650 battery with ph2.0/2p connector

Camilo Jiménez - Ответить Поделиться

Do you know what's the original battery capacity in mah?

wcy pierre - Ответить Поделиться

Добавить комментарий

Статистика просмотров:

За последние 24 часов: 3

За последние 7 дней: 50

За последние 30 дней: 194

За всё время: 4,006