Перейти к основному содержанию
/
Мой рабочий стол для верстки руководств

Получите быстрый доступ к руководствам, запчастям и ответам касательно ваших устройств

Game Boy Color Motherboard Replacement

Game Boy Color Motherboard Replacement

Alex Wu

Alex Wu и 8 другие участники

Последнее обновление April 27, 2024

30 мин.
Средне
Предлагаемое руководство
Рекомендуемое руководство ученика

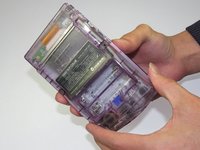
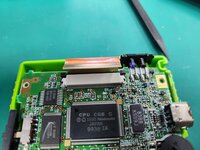
The Game Boy Color's motherboard contains all the electronics that make it operate. This guide will show you how to remove the circuit board from the Game Boy Color.

Выберете то, что вам нужно

Инструменты

  • Phillips #1 Screwdriver
    Phillips #1 Screwdriver
  • Spudger
    Spudger
  • Tri-point Y0 Screwdriver
    Tri‑point Y0 Screwdriver

Показать больше…

  1. Game Boy Color Motherboard Replacement, Battery: шаг 1, изображение 1 из 2 Game Boy Color Motherboard Replacement, Battery: шаг 1, изображение 2 из 2
    • Locate the battery compartment on the back of the Game Boy Color.

    • Push down on the tab and hinge the cover downwards and outwards to remove the battery cover.

  2. Game Boy Color Motherboard Replacement: шаг 2, изображение 1 из 1
    • Remove the batteries from the battery compartment.

  3. Game Boy Color Motherboard Replacement, Back Housing: шаг 3, изображение 1 из 1
    • Using a Y1 screwdriver, remove the six screws on the back of the device as pictured. The bottom two screws are located inside of the battery compartment.

  4. Game Boy Color Motherboard Replacement: шаг 4, изображение 1 из 2 Game Boy Color Motherboard Replacement: шаг 4, изображение 2 из 2
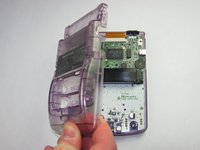
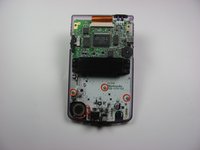
    • Gently lift and separate the back housing from the rest of the device. Now you've got the back housing out!

  5. Game Boy Color Motherboard Replacement, LCD Ribbon Cable: шаг 5, изображение 1 из 1
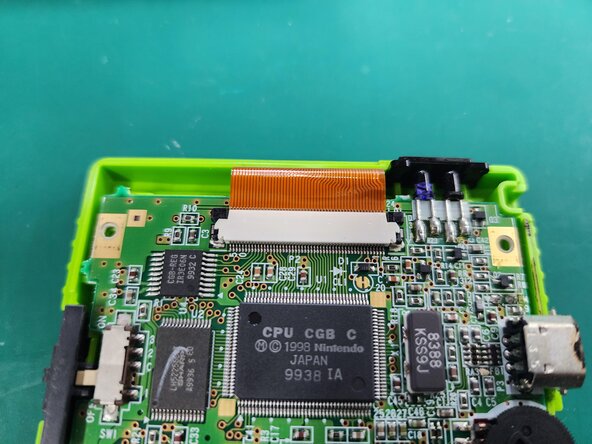
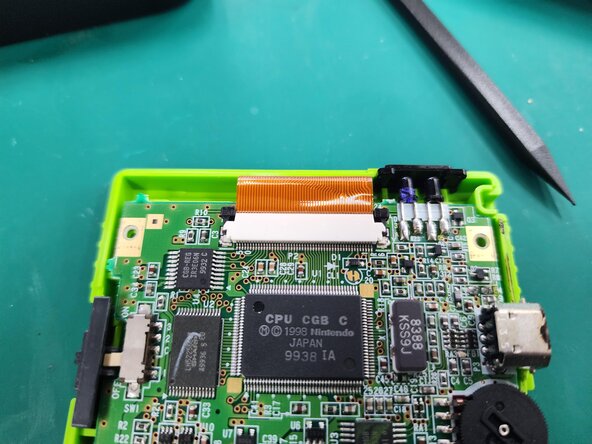
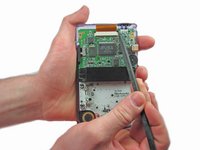
    • Push up on the tabs on either side of the ribbon with a spudger.

  6. Game Boy Color Motherboard Replacement: шаг 6, изображение 1 из 1
    • Gently remove the ribbon cable from the port

  7. Game Boy Color Motherboard Replacement, Motherboard: шаг 7, изображение 1 из 2 Game Boy Color Motherboard Replacement, Motherboard: шаг 7, изображение 2 из 2
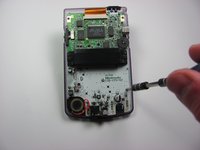
    • Using the Phillips #1 screwdriver, remove the 3 screws shown in the picture.

  8. Game Boy Color Motherboard Replacement: шаг 8, изображение 1 из 1
    • Gently lift the motherboard from the front housing.

Заключение

To reassemble your device, follow these instructions in reverse order.

21 человек успешно провели ремонт по этому руководству.

Alex Wu

Участник с: 01/11/13

1 526 Репутация

Автор 2 руководств

Команду

Cal Poly, Team 19-47, Regan Winter 2013 Участник Cal Poly, Team 19-47, Regan Winter 2013

CPSU-REGAN-W13S19G47

4 членов

Автор 61 руководств

0 Комментариев

Добавить комментарий

Статистика просмотров:

За последние 24 час(ов): 5

За последние 7 дней: 47

За последние 30 дней: 175

За всё время: 19,175