Перейти к основному содержанию

Gateway GWTC116-2BL Display Replacement

Выберете то, что вам нужно

  1. Gateway GWTC116-2BL Display Replacement, Back Panel: шаг 1, изображение 1 из 1
    • Ground yourself before disassembling and handling the computer.

    • Remove the ten 3.0 mm Phillips #00 screws from the back panel of the laptop.

  2. Gateway GWTC116-2BL Display Replacement: шаг 2, изображение 1 из 2 Gateway GWTC116-2BL Display Replacement: шаг 2, изображение 2 из 2
    • Use the spudger to pry the back panel away from the body of the laptop.

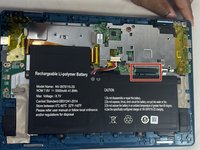
  3. Gateway GWTC116-2BL Display Replacement, Battery: шаг 3, изображение 1 из 1
    • Remove the five 3.0 mm Phillips #00 screws.

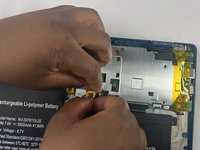
  4. Gateway GWTC116-2BL Display Replacement: шаг 4, изображение 1 из 2 Gateway GWTC116-2BL Display Replacement: шаг 4, изображение 2 из 2
    • Using your fingers, flick open the battery connector bracket.

    • Remove the connector from bracket.

  5. Gateway GWTC116-2BL Display Replacement: шаг 5, изображение 1 из 1
    • Pull up the battery to remove from the base.

  6. Gateway GWTC116-2BL Display Replacement, Motherboard: шаг 6, изображение 1 из 1
    • Using your fingers, flick the cable connector bracket open.

    • Remove the cable from the connector.

  7. Gateway GWTC116-2BL Display Replacement: шаг 7, изображение 1 из 2 Gateway GWTC116-2BL Display Replacement: шаг 7, изображение 2 из 2
    • Using your fingers, disconnect the black and white connector brackets underneath the gray cable.

  8. Gateway GWTC116-2BL Display Replacement: шаг 8, изображение 1 из 2 Gateway GWTC116-2BL Display Replacement: шаг 8, изображение 2 из 2
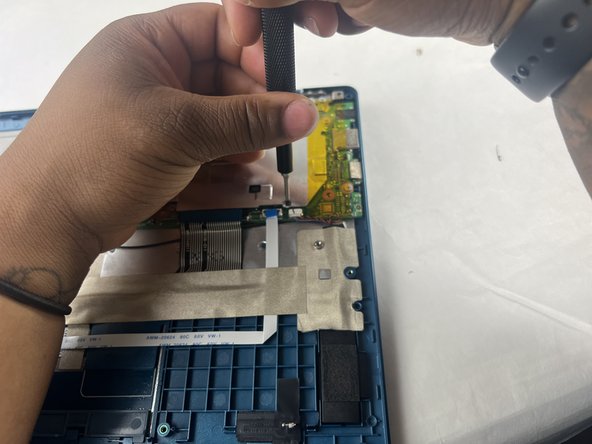
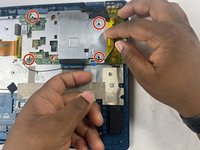
    • Remove the four 3.0 mm Phillips #00 screws located on the motherboard casing.

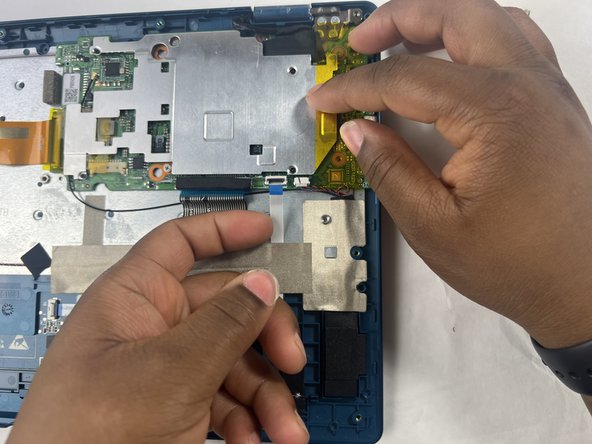
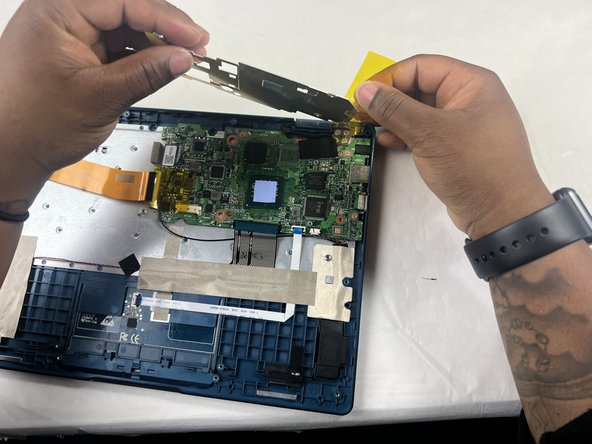
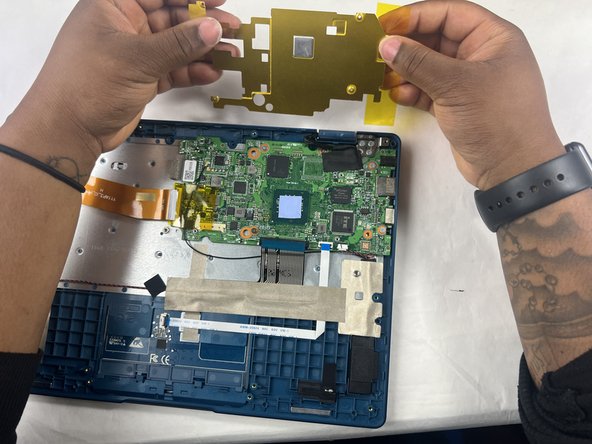
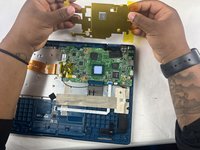
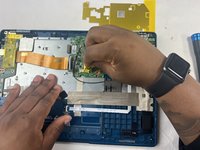
  9. Gateway GWTC116-2BL Display Replacement: шаг 9, изображение 1 из 3 Gateway GWTC116-2BL Display Replacement: шаг 9, изображение 2 из 3 Gateway GWTC116-2BL Display Replacement: шаг 9, изображение 3 из 3
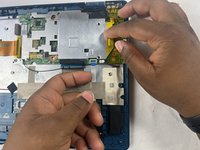
    • Peel the yellow tape off of the casing.

    • Lift the casing off of the motherboard.

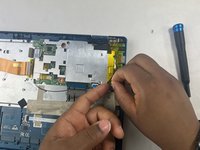
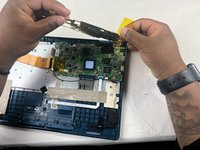
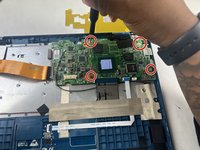
  10. Gateway GWTC116-2BL Display Replacement: шаг 10, изображение 1 из 2 Gateway GWTC116-2BL Display Replacement: шаг 10, изображение 2 из 2
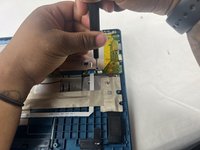
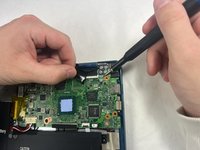
    • Peel off the yellow tape.

    • Remove four 3.0 mm Phillips #00 screws.

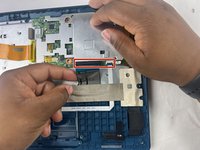
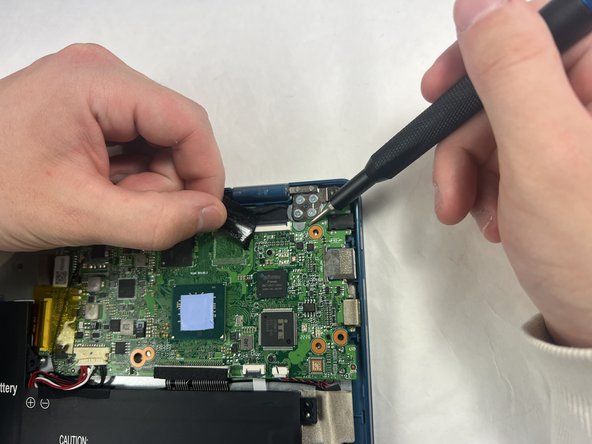
  11. Gateway GWTC116-2BL Display Replacement: шаг 11, изображение 1 из 2 Gateway GWTC116-2BL Display Replacement: шаг 11, изображение 2 из 2
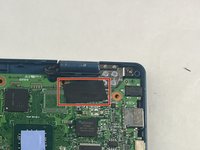
    • Peel off the black piece of tape covering the display cable.

  12. Gateway GWTC116-2BL Display Replacement: шаг 12, изображение 1 из 2 Gateway GWTC116-2BL Display Replacement: шаг 12, изображение 2 из 2
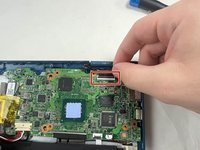
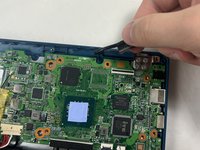
    • Flick open the bracket securing the display cable and disconnect the cable from the motherboard.

  13. Gateway GWTC116-2BL Display Replacement: шаг 13, изображение 1 из 1
    • Remove the motherboard from the device.

  14. Gateway GWTC116-2BL Display Replacement, Display: шаг 14, изображение 1 из 1
    • Remove seven 3.0 mm Phillips #00 screws from the laptop.

  15. Gateway GWTC116-2BL Display Replacement: шаг 15, изображение 1 из 1
    • Applying some force, use your hands to pry the display of the laptop away from the base.

Заключение

To reassemble your device, follow these instructions in reverse order.

Kailey Sousa

Участник с: 03/22/24

513 Репутация

Автор 4 руководств

Команду

UMass Dartmouth, Team 6-2, Botvin Spring 2024 Участник UMass Dartmouth, Team 6-2, Botvin Spring 2024

UMASSD-BOTVIN-S24S6G2

3 членов

Автор 5 руководств

Один комментарий

Mon écran ne s'allume pas au démarrage. Que faire ?

Youssouf SAWADOGO - Ответить

Добавить комментарий

Статистика просмотров:

За последние 24 час(ов): 6

За последние 7 дней: 16

За последние 30 дней: 55

За всё время: 454