Введение
If your HP 15-ay114cy (also known as the HP Notebook 15) has muffled or crackled sound, then you may have faulty or broken laptop speakers that will need to be replaced.
Proper working speakers would provide clear and crisp sound from the laptop with no delay and would allow for proper high to low volume adjustment. If you laptop is new, then you may have faulty speakers. However, after extensive use of your laptop it is possible for you speakers to become dirty with dust that can damage the laptop speakers causing the same symptoms.
Before removing the speakers, relate back to this troubleshooting page for further information about what is causing your symptoms. Moving forward, be sure to follow all prerequisite guides included for dismantling your device.
No special skills are required to remove and replace the device fan. However, you will need a plastic opening tool (plastic spudger) as well as a Phillips #0 Screwdriver.
Выберете то, что вам нужно
-
-
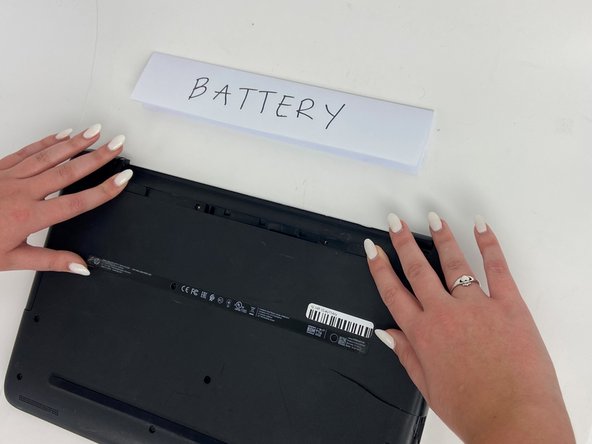
Orient the Laptop so the HP logo is facing the table and the battery tabs are accessible.
-
-
-
Place your index fingers on each of the two battery holder clips.
-
Using your index fingers, push the battery holder clips inwards (towards the center of the laptop).
-
-
-
After the battery clips are pushed in, use either hand to grab hold of the battery.
-
Gently push up to remove the battery.
-
-
-
-
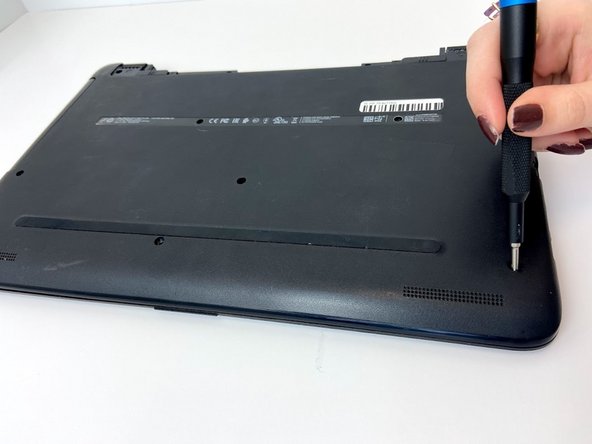
Use a Phillips #0 screwdriver to remove the 8 mm Phillips-head screws that are holding on the bottom cover of the Laptop.
-
-
-
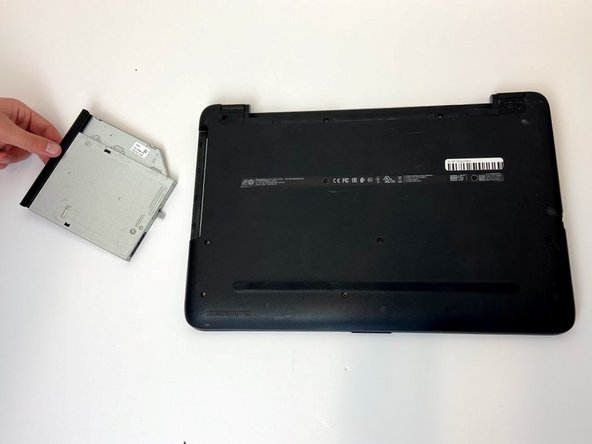
Grab a hold of the disk drive and carefully pull it away from the computer.
-
Continue to slide the disk drive out of the laptop until fully removed.
-
-
-
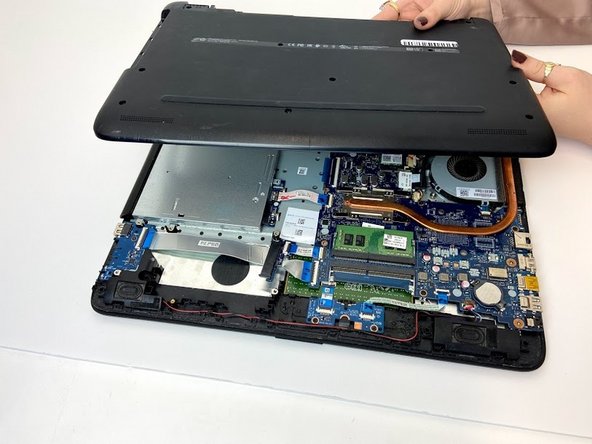
Place a plastic opening tool in-between the upper and lower pieces of the bottom cover.
-
Using your hands and the plastic opening tool, gently separate the cover from the frame.
-
Slowly remove the bottom cover from the base of the laptop.
-
-
-
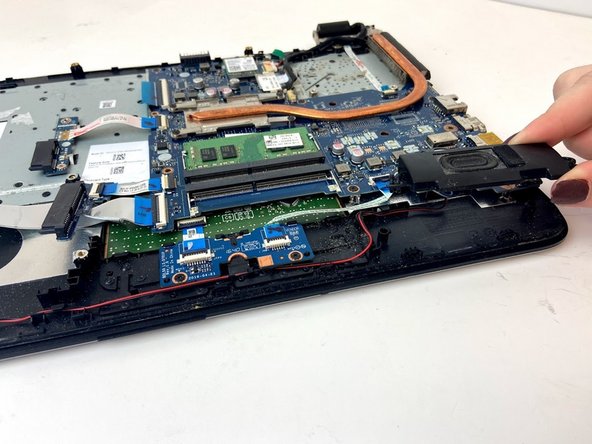
Using your index finger and thumb, lift the right speaker to remove it from its housing. This will give enough room to pull the wiring harness from the adapter.
-
Follow the connected wire to the harness.
-
-
-
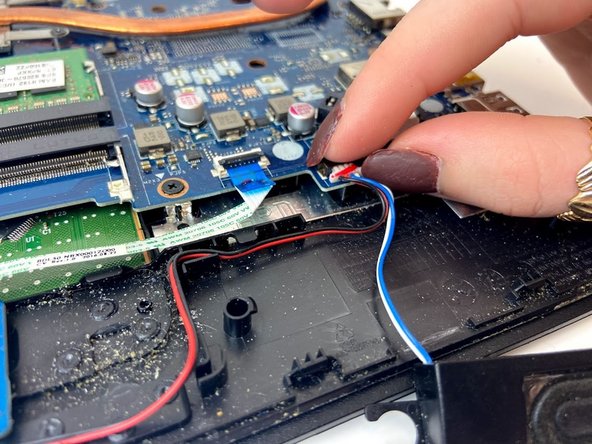
Grabbing the base of the wiring harness, use a bit of force to separate the harness from the motherboard adapter.
-
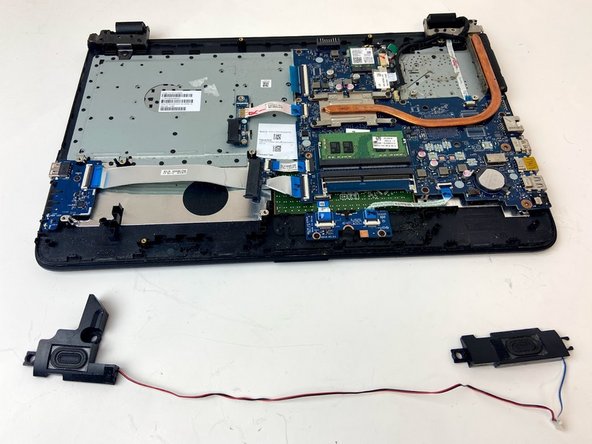
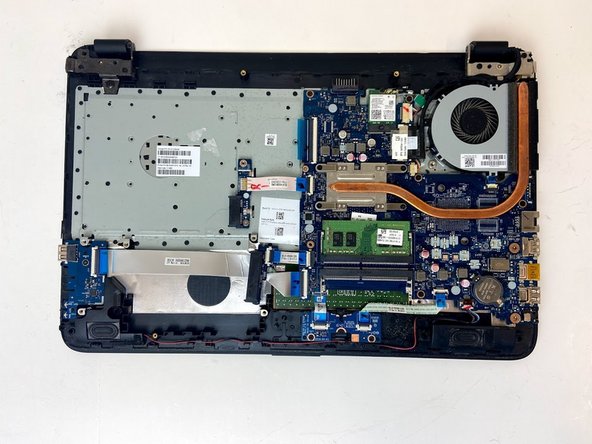
Lift up the old speakers and remove the wiring from the plastic routing tabs.
-


To reassemble your device, follow these instructions in reverse order.
To reassemble your device, follow these instructions in reverse order.

