Введение
This guide will show you how to find your RAM and how to remove it properly. To determine that the RAM is the source of your issue, make sure to troubleshoot first by following the steps listed here and here. To replace faulty or corrupt RAM or upgrade the RAM capacity on your laptop, follow this guide.
Выберете то, что вам нужно
-
-
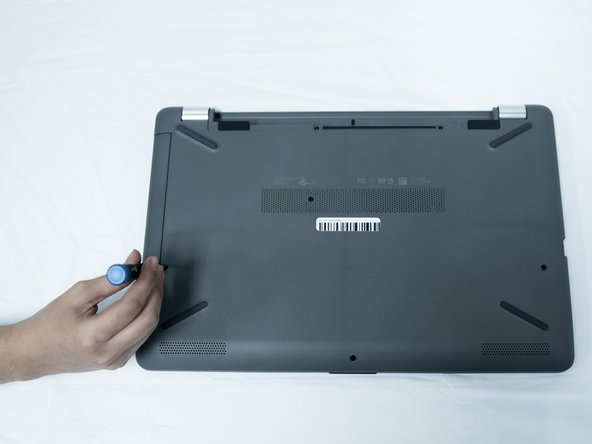
Slide the Battery lock slider to the right until you see the “Unlocked” lock symbol.
-
-
-
Slide the Battery release slider towards the battery while pulling the battery out.
-
-
-
-
Use a Phillips #0 screwdriver to remove the six 10.5 mm screws visible on the bottom of the laptop.
-
-
-
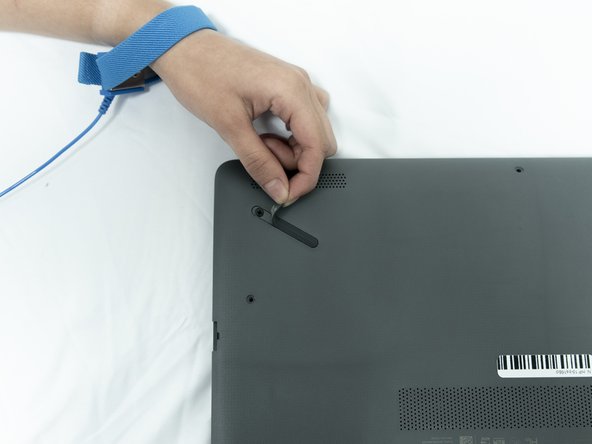
Carefully peel the four rubber feet off the bottom to reveal the four hidden screws.
-
Use a Phillips #0 screwdriver to remove the four 10.5 mm screws.
-
-
-
Flip the laptop over and open the screen.
-
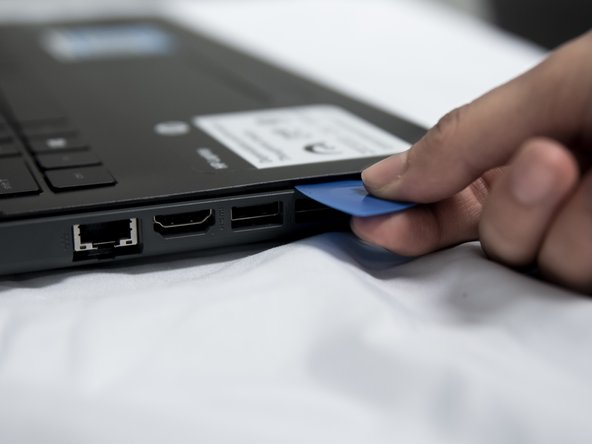
Carefully use a flat plastic card to separate the bottom plastic shell from the main body of the computer. Slowly slide the plastic card around the computer in between the two halves of its casing.
-
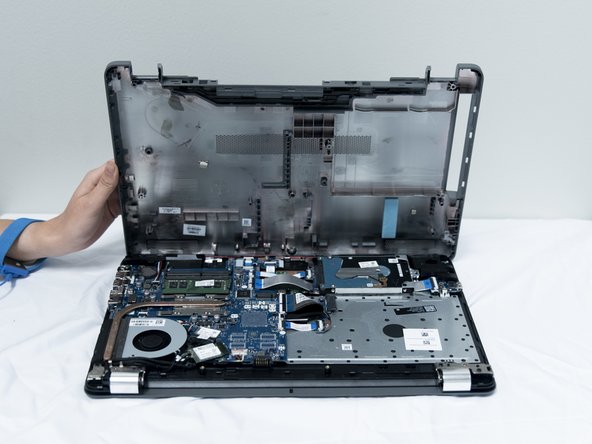
Flip the computer back over and remove the bottom plastic shell.
-
-
-
Pop out the clips on the RAM stick using a plastic spudger.
-
Remove the RAM stick.
-


To reassemble your device, follow these instructions in reverse order.
To reassemble your device, follow these instructions in reverse order.
Отменить: Я не выполнил это руководство.
3 участников успешно повторили данное руководство.

Команда

UC Santa Barbara, Team S3-G3, Nowak Fall 2019 Участник UC Santa Barbara, Team S3-G3, Nowak Fall 2019
UCSB-NOWAK-F19S3G3
3 членов
Автор 6 руководств