Введение
The touchpad works like a mouse and is used to interact with your HP Chromebook 11A G6 EE. If you find yourself unable to move your cursor or click on icons, it could become very frustrating. Start with troubleshooting to see if you can resolve the issue without replacing any parts. If it's determined that the issue is the touchpad itself, you can follow this guide for steps to replace your touchpad assembly.
1. Before starting, turn off the computer. If you are unsure whether the computer is off or in hibernation, turn the computer on, and then shut it down through the operating system.
2. Disconnect the power from the computer by unplugging the power cord from the computer.
3. Disconnect all external devices from the computer.
Выберете то, что вам нужно
-
-
Remove six 6.6 mm screws from the back case using a Phillips #1 screwdriver.
-
Remove two 8.7 mm screws from the back case using a Phillips #1 screwdriver.
-
Turn the computer over and open it as if you are going to use it.
-
-
-
Use the iFixit opening tool to get between the keyboard bezel and the outer edge of the laptop.
-
Move the opening tool or spudger around the perimeter until you unclipped the keyboard on all sides.
-
-
-
-
Carefully lift the top of the keyboard up to access the ribbon cables connecting it to the device.
-
Use the tip of a spudger or your fingernail to flip up the small locking flap on each connector. Then, pull the connector out.
-
Remove the keyboard and set aside.
-
-
-
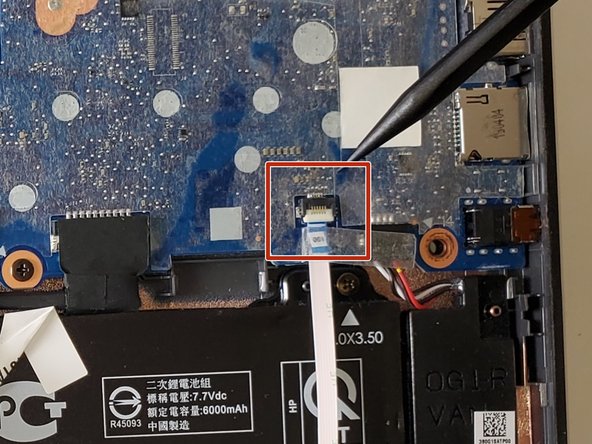
Peel back the tape that secures the battery cable connector to the system board.
-
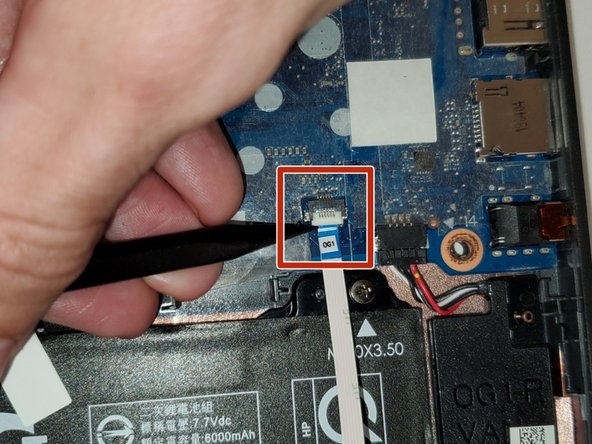
Using the pointy end of the spudger, lift the tab lock up that holds the ribbon cable in place.
-
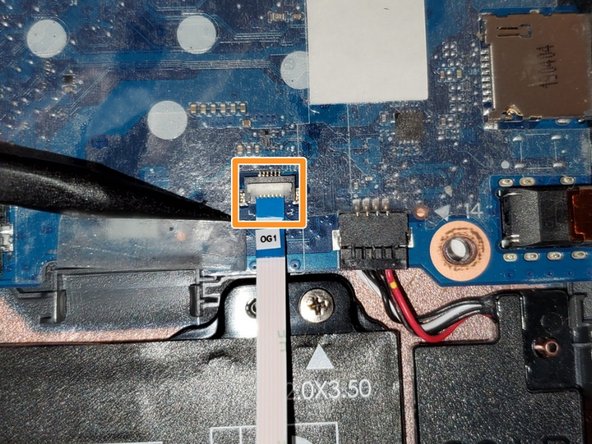
Slide the battery cable out from the connector.
-
-
-
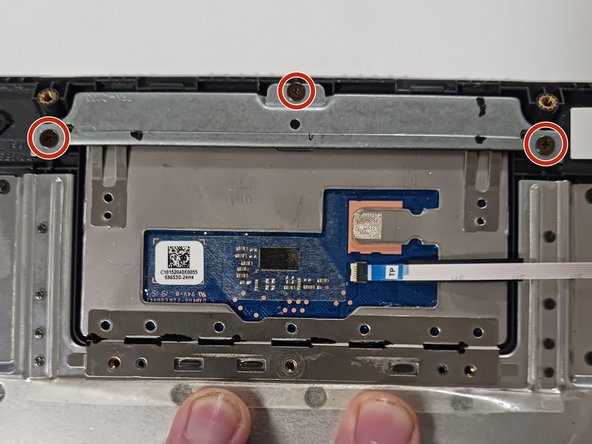
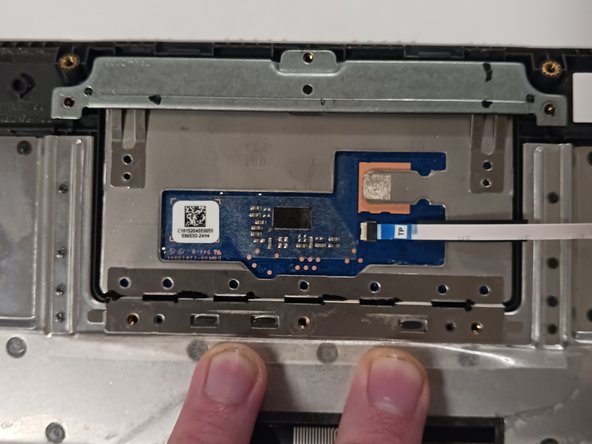
Remove the three 2.5 mm screws that secure the touchpad and touchpad bracket to the keyboard/top cover using a Phillips #1 screwdriver.
-
Remove the three 2.0 mm screws that secure the touchpad to the keyboard/top cover using a Phillips #1 screwdriver.
-
-
-
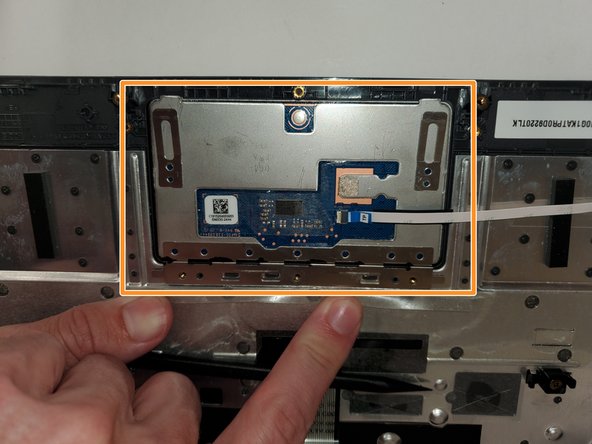
Using a spudger, remove the touchpad bracket.
-
Push up on the touchpad from the keyboard side and remove the touchpad.
-


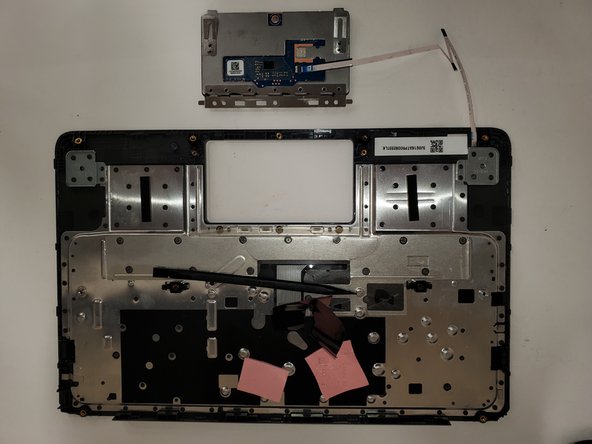
To reassemble your device, follow these instructions in reverse order.
To reassemble your device, follow these instructions in reverse order.
Команда

Austin Community College, Team 13-2, Watkins Fall 2022 Участник Austin Community College, Team 13-2, Watkins Fall 2022
AUSTINCC-WATKINS-F22S13G2
4 членов
Автор 5 руководств