Введение
These steps will show how to replace the drive belt from the printer. This guide may be used if the rollers of your printer are working incorrectly. The drive belt gears are very specific in fit and position so take a good look at their locations before removing them.
Выберете то, что вам нужно
-
-
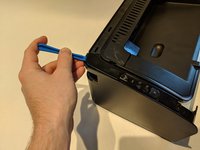
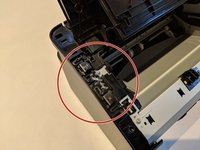
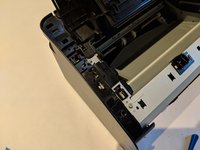
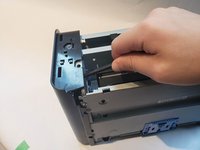
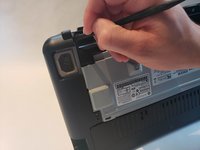
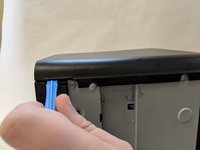
Flip printer on it's back. Using the plastic spudger, pry off front panel. There will be two main points to focus as shown.
 Спросите у FixBot
-
-
-
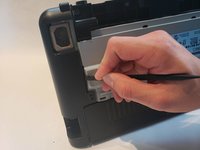
Using the plastic spudger, remove the button housing from the top left of printer.
-
-
-
-
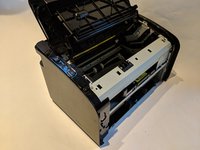
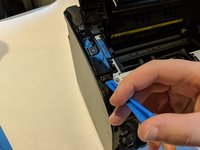
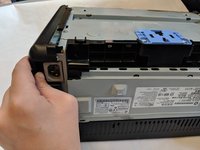
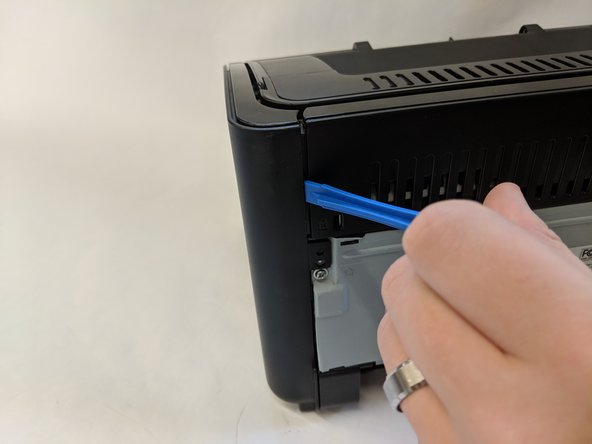
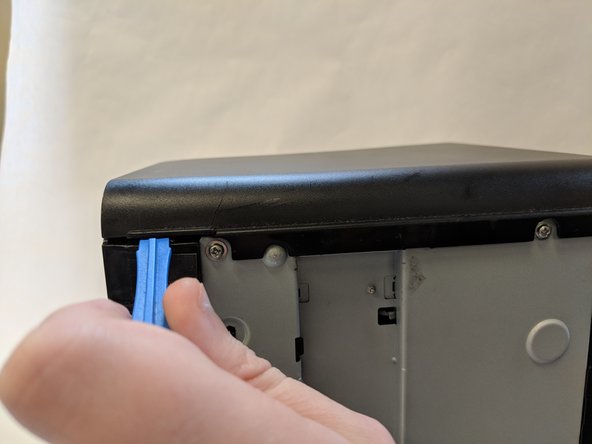
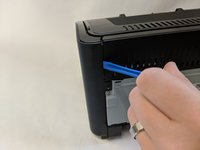
Use the plastic spudger to remove the side panel. There are three main prying points as shown.
-
-
-
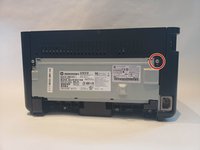
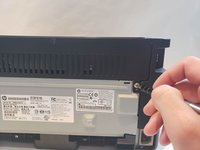
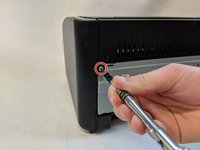
With a #1 Phillips screwdriver remove only the top Phillips 60mm screw.
-
With the spudger pry the side panel off. There will be four flanges to unhitch.
-
-
-
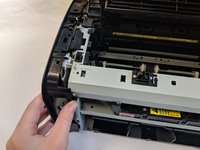
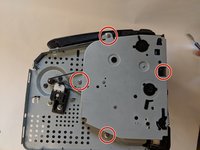
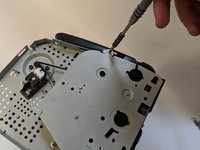
With side panel removed, there will be four Phillips 60mm screws to unscrew using a #1 Phillips screwdriver.
-
-
Инструмент, используемый на этом этапе:Tweezers$4.99
-
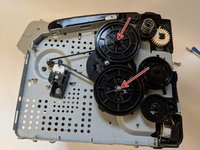
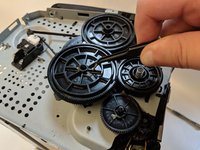
Remove top two big gears using tweezers.
-
-
-
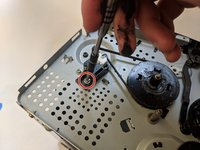
With the #1 Phillips screwdriver remove the 60mm Phillips screw holding the belt tension-er.
-
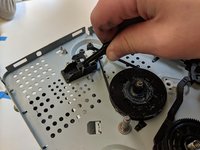
With the screw removed, pull tension-er out.
-
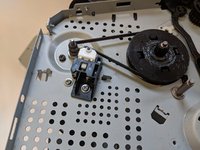
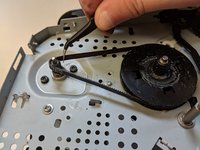
Use tweezers to remove the loose drive belt.
-

















To reassemble your device, follow these instructions in reverse order.
Отменить: Я не выполнил это руководство.
6 человек успешно провели ремонт по этому руководству.

Команда

UW Stout, Team S6-G4, Ogden Fall 2018 Участник UW Stout, Team S6-G4, Ogden Fall 2018
UWSTOUT-OGDEN-F18S6G4
4 членов
Автор 12 руководств
3 Комментарии к руководству
the tight side panel clips make this a difficult procedure, so take care both disassembling and assembling, for example make sure the power button is aligned with the level components behind before you push to clip the front home, as misalignment can break or dislocate internal parts.
Que dois je faire si mon imprimante fait beaucoup de bruit en imprimant et que la totalité de feuille imprimée ne sort pas?
In my case, the roller is worn out. I haven't been able to find a replacement. Can you give me the part code so I can buy it?
