Введение
If your HP ProBook 450 G4 keyboard is being unresponsive, there might be debris underneath the keys or there could be a faulty connection between the keyboard and the computer frame. The easiest way to fix these problems would be to clean the underside of your keyboard with an air compressor or to replace your keyboard. Before using this guide, make sure that the Filter Keys accessibility function is turned off. Sometimes this function can accidentally get turned on which can make it seem like your keystrokes are not being registered. To turn this function off, hold the right shift button for eight seconds, or disable it from the access center in the Windows control panel. If the Filter Keys accessibility function was not turned on, follow the instructions in this guide to safely and properly remove your laptop’s keyboard. Before beginning, make sure to power off your laptop and disconnect it from all power sources.
Выберете то, что вам нужно
-
-
Flip the laptop over.
-
Orient the laptop so the two vents on the bottom face upward and are further away from you.
 Спросите у FixBot
-
-
-
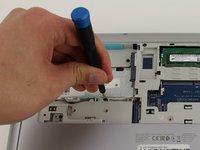
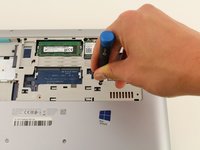
Use the Phillips #0 screwdriver to remove the 6.8 mm screw that secures the vent panel to the laptop.
-
Use the spudger to separate the vent panel from the laptop.
-
Slide the vent panel off the backside of the laptop.
-
-
-
Use the Phillips #0 screwdriver to remove the black 3.2mm screw that secures the hard drive to the left side of the laptop.
-
-
-
-
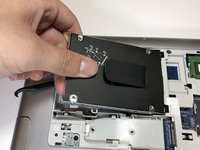
Use the spudger to lift the left side of the hard drive up.
-
Pull the hard drive diagonally to the left to release the hard drive from the laptop.
-
-
-
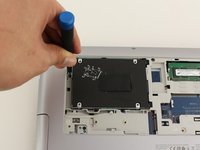
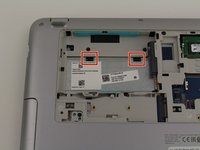
Remove the 6.6mm T8 Torx screw located below where the hard drive used to be.
-
Remove the 6.6mm T8 Torx screw located below and to the left of the circular, silver and black fan.
-
-
-
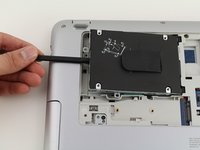
Use the spudger to press down on the two black tabs that are underneath where the hard drive used to be.
-
Apply pressure to the black tabs until they release and pop out.
-
-
-
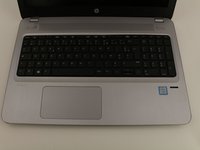
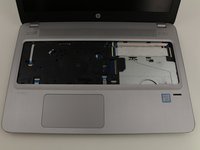
Orient the laptop so the keyboard is facing upwards and towards you.
-
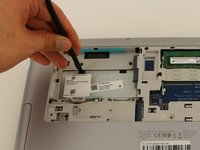
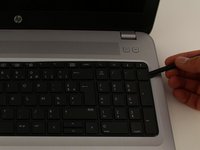
Insert the spudger in between the edge of the keyboard and the computer frame.
-
Slide the spudger around the edge of the keyboard until the keyboard is loose.
-
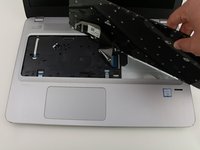
Gently pull the keyboard away from the body of the laptop.
-
-
-
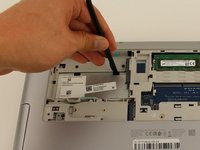
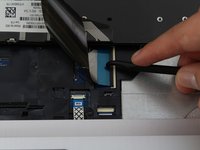
Use a spudger to gently lift up the black locking bar on the keyboard connector.
-
Slide the keyboard ribbon out of the connector.
-
Remove the keyboard.
-


To reassemble your device, follow these instructions in reverse order.
Отменить: Я не выполнил это руководство.
3 человек успешно провели ремонт по этому руководству.

Команда

Cal Poly, Team S1-G3, White Winter 2020 Участник Cal Poly, Team S1-G3, White Winter 2020
CPSU-WHITE-W20S1G3
4 членов
Автор 18 руководств