Введение
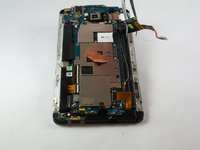
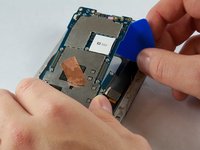
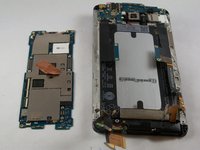
In this guide you will learn how to replace the motherboard in the HTC One Max.
Выберете то, что вам нужно
-
-
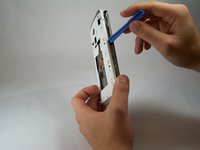
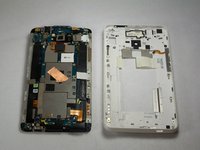
Lift back cover while pressing highlighted release switch towards the center of the phone.
-
-
-
Remove the four white stickers in each corner that cover the Tri-Wing screws.
-
Remove the white sticker near the buttons that control the volume.
-
Remove the white sticker near the SIM card.
-
Remove the big white sticker with the bar-code in the center of the phone.
-
-
-
Remove the thirteen Tri-Wing Y00 screws (Upper & Lower screws are 5 mm length, middle screws are 3.8 mm length) from the back case.
-
Disconnect the cable near the volume buttons.
-
-
-
Инструмент, используемый на этом этапе:Tweezers$4.99
-
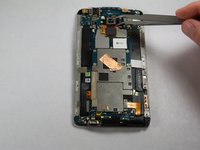
Use Tweezers to disconnect the ribbon cable connecting the fingerprint sensor to the motherboard.
-
When replacing the fingerprint sensor, make sure the ribbon cable snaps into the port on the motherboard.
-
-
-
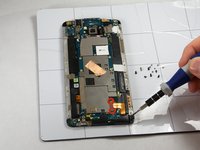
Remove the two 2.2 mm Phillips #000 screws holding the battery cable.
-
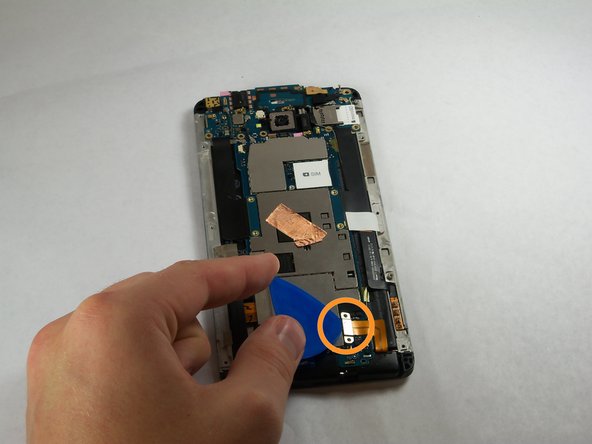
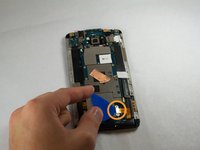
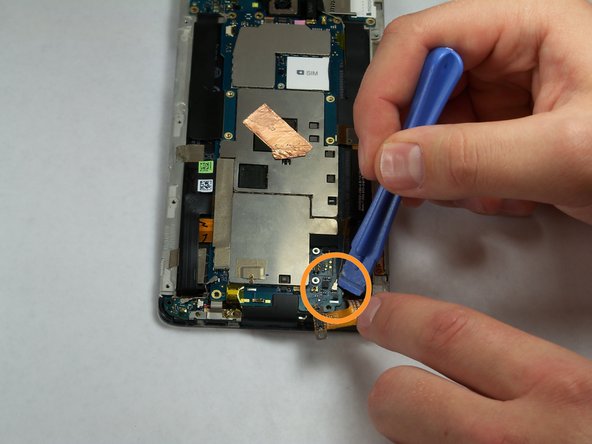
Use a plastic tool to remove the ribbon cable.
-
-
-
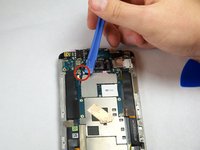
Use the plastic opening tool to disconnect the two antenna wires at the top of the phone.
-
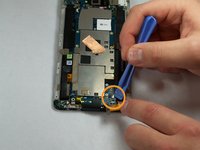
Use the plastic opening tool to disconnect a third antenna wire at the bottom of the phone.
-
-
-
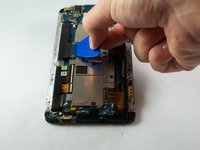
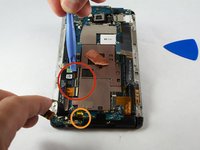
Use a plastic tool to pry up and disconnect the large ribbon cables on each side of the motherboard.
-
-
-
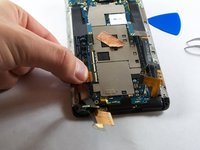
Remove the tape covering three flex cable gate connectors on the bottom left side of the phone.
-
Use small plastic opening tool to pry open the latch on each of these gate connectors to disconnect the three cables.
-
Use small plastic opening tool to pry open the latch on each of these gate connectors to disconnect the three cables.
-
-
-
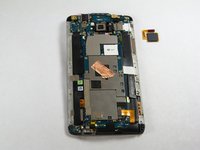
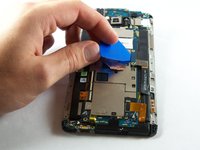
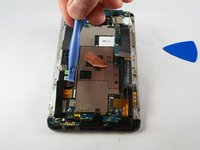
Use a plastic tool to lift and remove the motherboard.
-
Use a heat gun to loosen adhesive at bottom if needed.
-
To reassemble your device, follow these instructions in reverse order.
Отменить: Я не выполнил это руководство.
6 человек успешно провели ремонт по этому руководству.


