Введение
This guide provides step-by-step instructions for replacing the screen on the HTC One S. No soldering is required for this replacement.
Выберете то, что вам нужно
-
-
Heat the iOpener for thirty seconds.
-
Throughout the repair procedure, as the iOpener cools, reheat it in the microwave for an additional thirty seconds at a time.
-
-
-
Remove the iOpener from the microwave, holding it by one of the two flat ends to avoid the hot center.
-
-
-
Fill a pot or pan with enough water to fully submerge an iOpener.
-
Heat the water to a boil. Turn off the heat.
-
Place an iOpener into the hot water for 2-3 minutes. Make sure the iOpener is fully submerged in the water.
-
Use tongs to extract the heated iOpener from the hot water.
-
Thoroughly dry the iOpener with a towel.
-
Your iOpener is ready for use! If you need to reheat the iOpener, heat the water to a boil, turn off the heat, and place the iOpener in the water for 2-3 minutes.
-
-
-
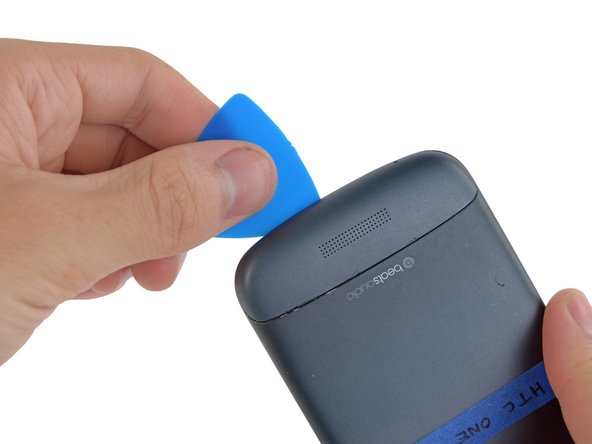
Handling it by the tag, place the heated iOpener across the bottom casing.
-
-
-
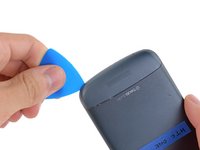
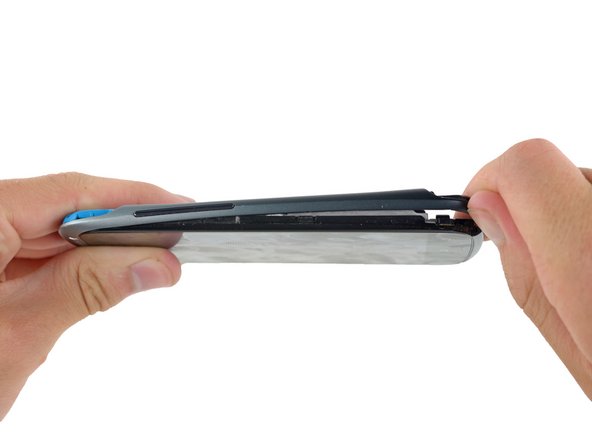
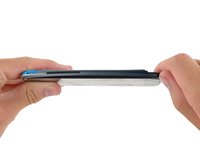
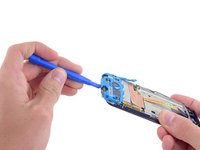
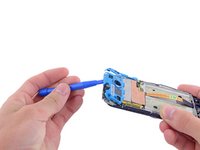
Gently place an opening pick in the corner of the gap between the bottom casing and rear case.
-
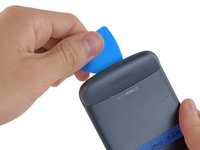
Slide the opening pick along the side of the casing, prying it away from the adhesive as you go.
-
-
-
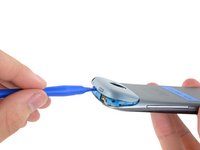
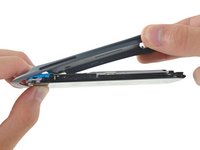
Starting at the groove near the headphone jack, use a plastic opening tool to lift the top casing.
-
-
-
Remove the following screws holding the rear case to the rest of the phone:
-
Two 3.15 mm Phillips #00 screws
-
One 4.15 Torx T5 screw
-
One 4 mm Torx T5 screw
-
-
-
-
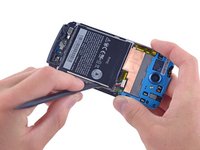
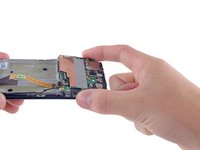
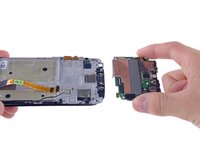
Place your fingers on either side of the phone and gently push up on the rear case.
-
-
-
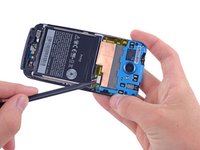
Using the pointed end of a spudger, lift the battery cable and release the connector.
-
-
-
Switching to the flat end of the spudger, work your way underneath the battery and peel it away from the adhesive.
-
-
-
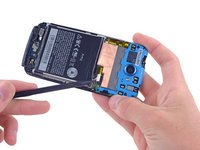
Remove the three 3.15mm Phillips #00 screws from the turquoise case.
-
-
-
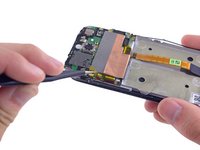
Using a plastic opening tool, lift the turquoise case from the end near the headphone jack.
-
-
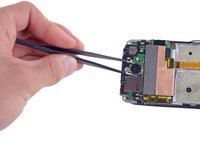
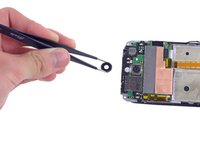
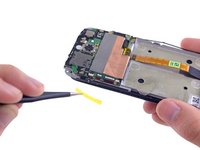
Инструмент, используемый на этом этапе:Tweezers$4.99
-
A camera filter is now free to move, so remove it using tweezers.
-
-
-
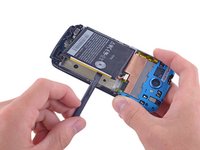
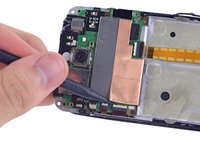
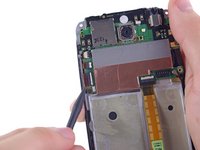
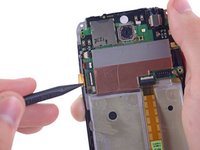
Use the pointed end of a spudger to lift the white tab on the largest ZIF connector opposite the USB connector.
-
-
-
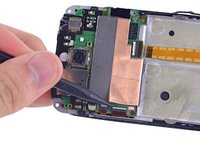
Repeat the procedure from steps 19 and 20 to remove the cables from the remaining ZIF connectors.
-
-
-
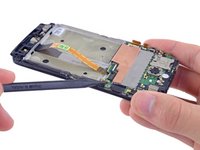
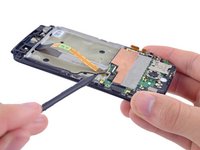
Using the pointed end of the spudger, pop the antenna cable from its connector on the motherboard.
-
-
-
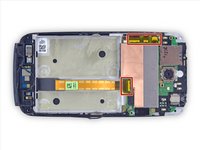
Using a hair dryer, heat the front and back of the phone to soften the adhesive. The hair dryer should be approximately 4-6 inches above the phone.
-


To reassemble your device, follow these instructions in reverse order.
Команда

IUPUI, Team S4-G3, Harley Spring 2017 Участник IUPUI, Team S4-G3, Harley Spring 2017
IUPUI-HARLEY-S17S4G3
3 членов
Автор 5 руководств