Введение
The liquid display screen (LCD) is protected behind the exterior plastic case of the phone. Screen damage is one of the main reasons for phone replacement but you don't have to replace your whole phone! This guide will show you how to replace the LCD of your HTC SMT 6175 phone if you've dropped the phone and screen cracks or if you have other damage to the LCD.
Выберете то, что вам нужно
-
-
First, flip the phone over so that the back is facing upwards.
 Спросите у FixBot
-
-
-
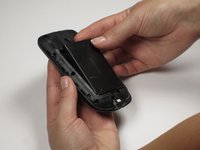
Using both thumbs, push the back side of the phone's exterior up and remove the front face of the phone.
-
-
-
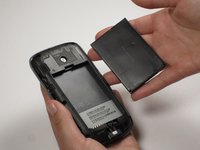
Insert your finger or a pry tool into the slot above the battery. Remove it and set aside.
-
-
-
-
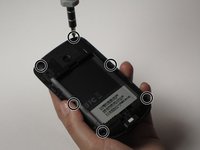
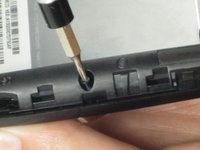
To remove the case, use a small, pentagonal screwdriver to unscrew the 6 screws that can be found around the edges.
-
-
-
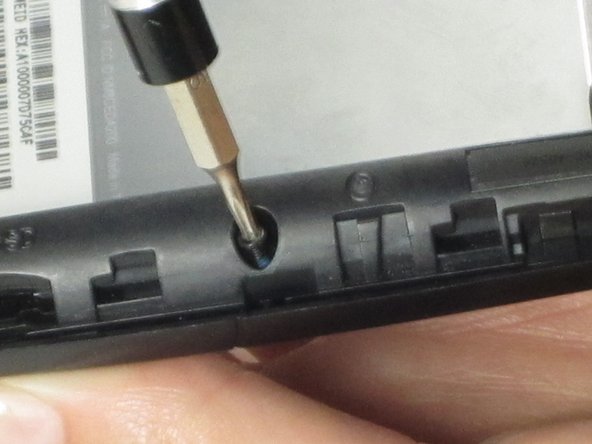
Next, unscrew the top screw using a small, Philips screwdriver.
-
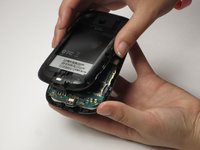
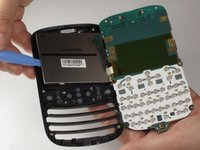
Pull back the motherboard.
-
-
-
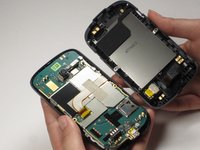
Using a spudger, remove the display screen from its cell within the front case. Insert the spudger next to the LCD on the opposite side of where the motherboard is attached.
-
-
Инструмент, используемый на этом этапе:Tweezers$4.99
-
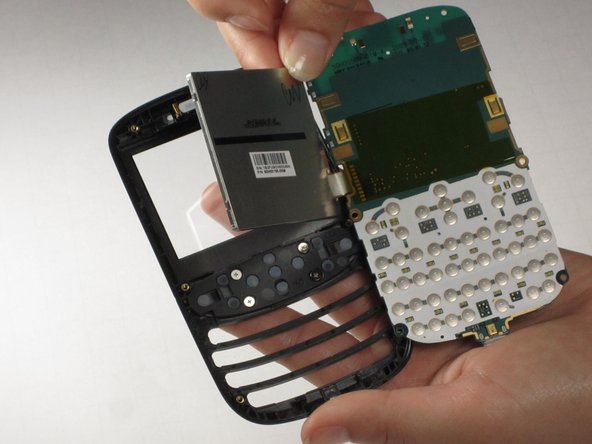
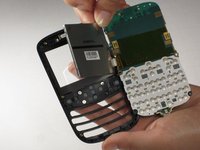
Place the motherboard down on top of the LCD. Using tweezers, remove the yellow piece of tape covering the end of the flat ribbon cable.
-
-
-
Peel off the silver tape covering the flat ribbon cable. The motherboard is now free from the rest of the phone.
-


To reassemble your device, follow these instructions in reverse order.
Отменить: Я не выполнил это руководство.
Еще один человек закончил это руководство.
Команда

Cal Poly, Team 25-29, Garner Spring 2011 Участник Cal Poly, Team 25-29, Garner Spring 2011
CPSU-GARNER-S11S25G29
3 членов
Автор 15 руководств