Введение
This guided instructions go through the process to replace the HTC Trophy headphone jack. The headphone jack is a port to plug in headphones allowing audio to play in a discrete manner or connect to speakers. The headphone jack is soldered onto the motherboard so you’ll need to know how to solder and desolder connections before proceeding with this guide. Please read the How to Solder and Desolder Connections guide for more information on soldering connections.
Indication that this part may need replacement:
- Audio will not play over headphones
- The port shows indications of substances in it not allowing it to function
Выберете то, что вам нужно
-
-
Power off the phone before starting.
-
Remove the back panel by inserting the IFixIt opening tool into gap at the top of the rear and prying upward.
-
-
-
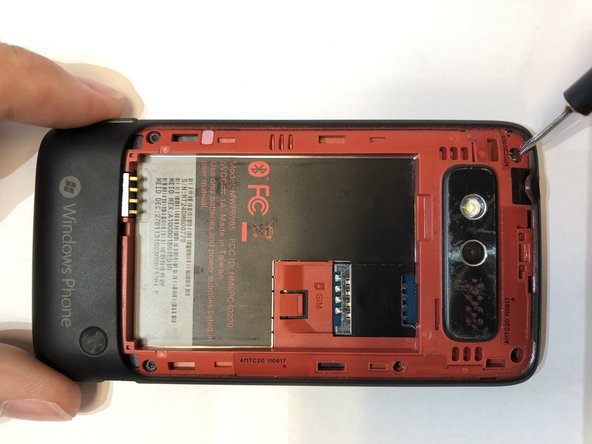
Remove the battery by inserting the IFixIt opening tool into the small gap between the battery and the surrounding plastic.
-
Apply a small force towards the bottom of the phone and lift upwards.
-
-
-
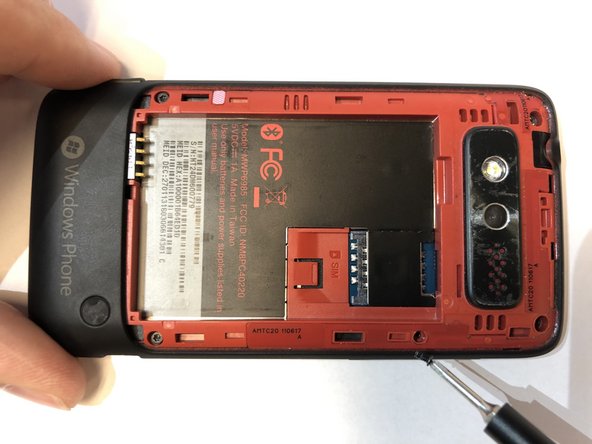
Remove the 5 screws holding the two phone halves together.
-
Three 4mm long T5 Torx screws.
-
Press a T5 Torx screwdriver into the void sticker and remove the 4mm long T5 Torx screw.
-
One 4mm long Philips #000 screw.
-
-
-
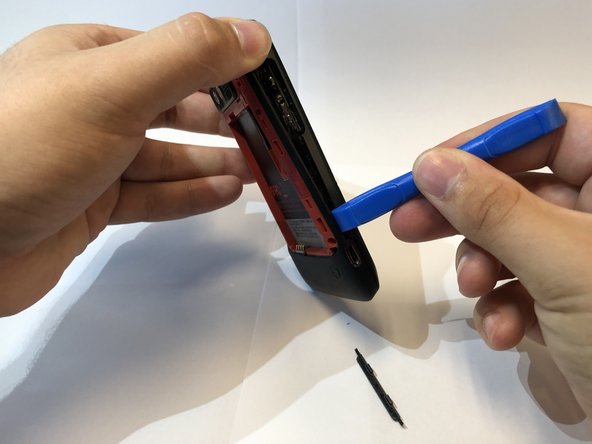
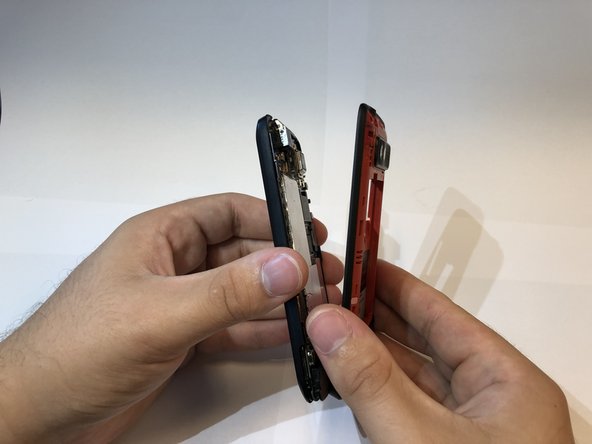
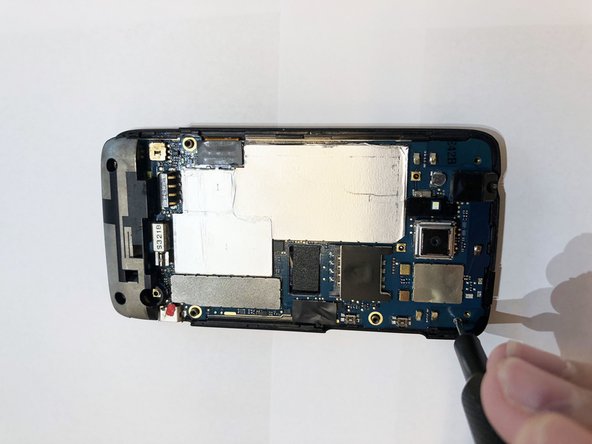
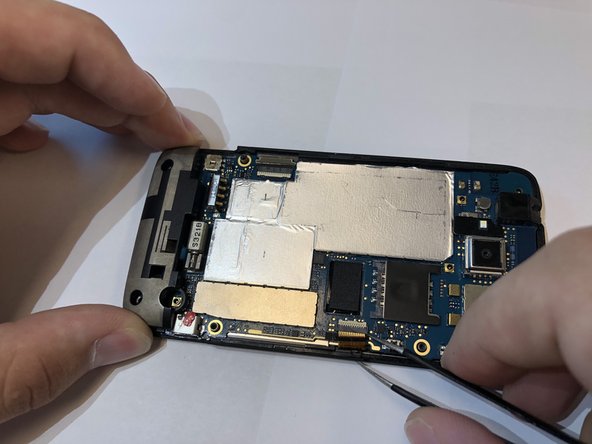
Insert the IFixIt opening tool into the seem of the plastic around the edge of the phone and pry the two halves apart.
-
-
-
-
Remove the three screws holding the mother board to the display assembly.
-
One 2mm long Philips #000 screw.
-
Two 4mm long T5 Torx screws in the holes of the plastic.
-
-
-
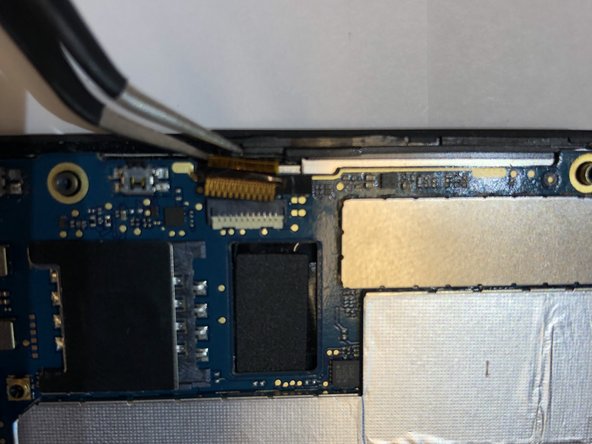
Remove the black tape cover the ribbon cable connectors with tweezers.
-
Disconnect the ribbon cables from the connectors.
-
-
-
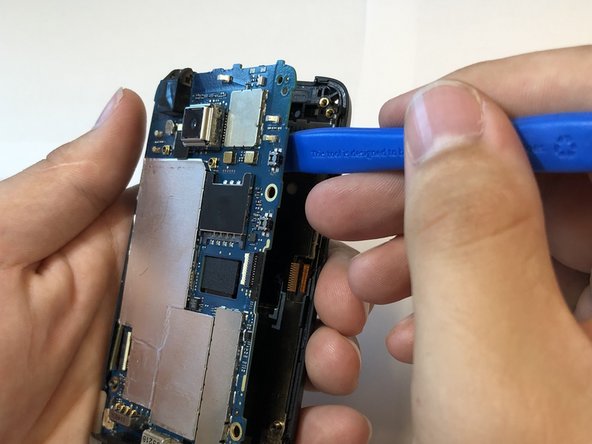
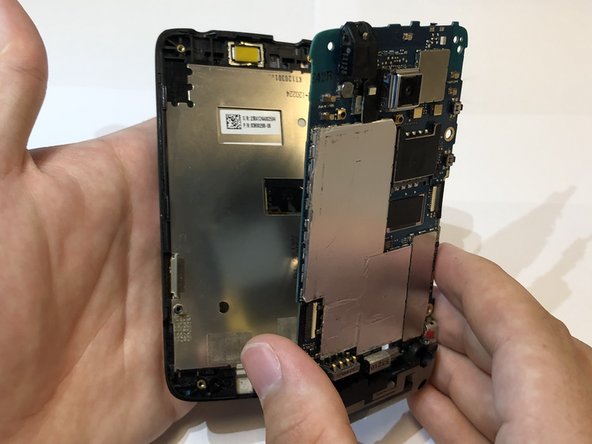
Use the iFixit opening tool to separate the motherboard from the display assembly.
-
-
-
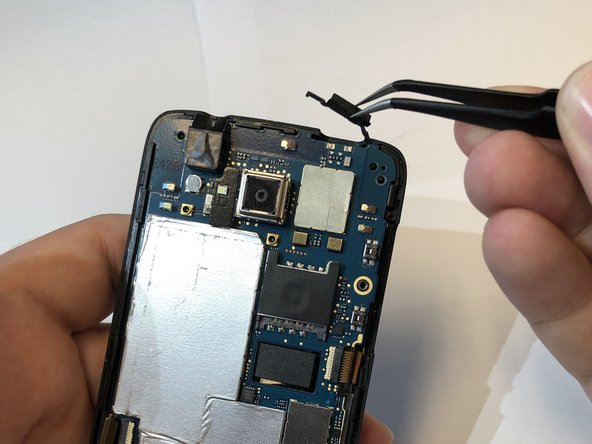
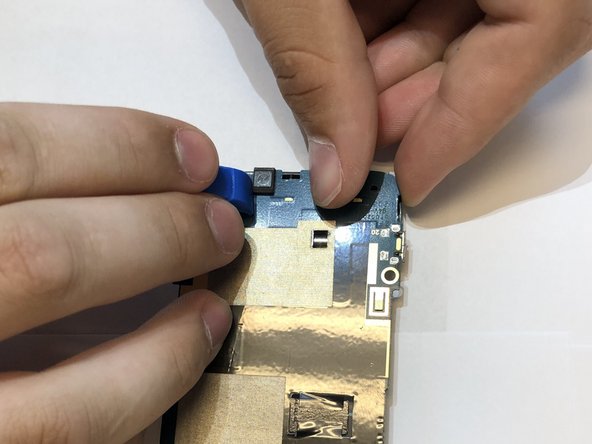
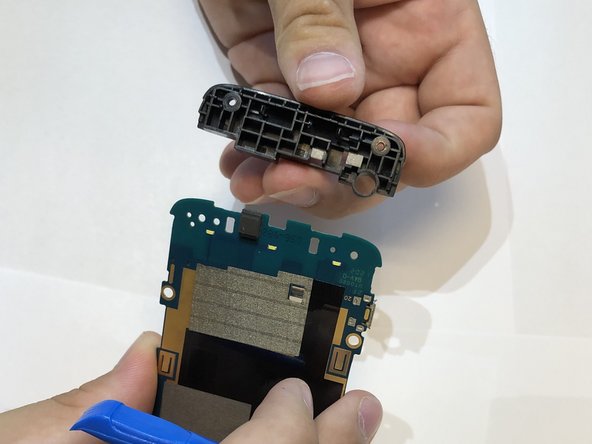
Remove the plastic piece off of the motherboard.
-
Put pressure outwards to release these clips with the iFixit opening tool and you fingers.
-


To reassemble your device, follow these instructions in reverse order.
To reassemble your device, follow these instructions in reverse order.
Отменить: Я не выполнил это руководство.
Еще один человек закончил это руководство.
Команда

Embry-Riddle Aeronautical University, Team S13-G2, Lamothe Fall 2019 Участник Embry-Riddle Aeronautical University, Team S13-G2, Lamothe Fall 2019
ERAU-LAMOTHE-F19S13G2
3 членов
Автор 12 руководств