Введение
After extended use, the speakers might lose sound quality and require replacement.
Выберете то, что вам нужно
-
-
Remove the back cover of the device using a combination of both plastic opening tools.
-
Use your plastic opening tool to pry open a corner of the device. Continue using the tool down the side of the device to open it completely.
-
-
-
-
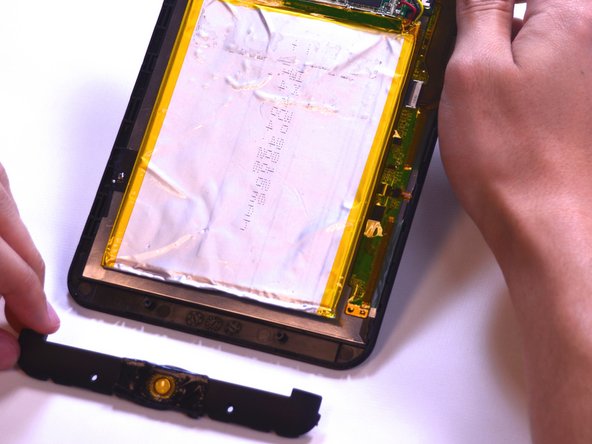
Use a Phillips head #00 screwdriver to remove the two 4.43mm screws on the bottom that keep the speakers in place.
-
-
-
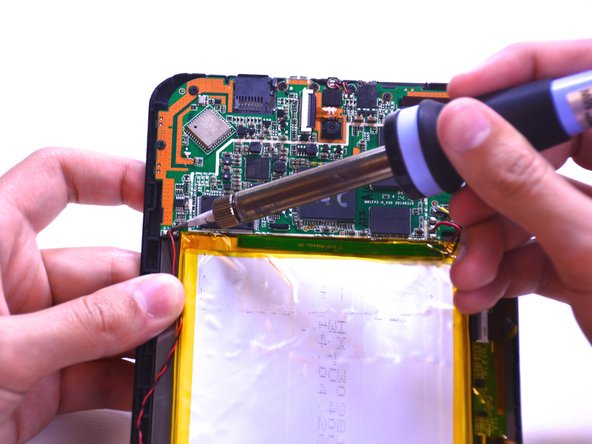
Unsolder the red and black wires connecting the speaker to the motherboard. Take a look at this guide to learn how to solder and unsolder connections.
-


To reassemble your device, follow these instructions in reverse order.
To reassemble your device, follow these instructions in reverse order.
Отменить: Я не выполнил это руководство.
Еще один человек закончил это руководство.
Команда

USF Tampa, Team 1-2, Leahy Winter 2015 Участник USF Tampa, Team 1-2, Leahy Winter 2015
USFT-LEAHY-W15S1G2
3 членов
Автор 10 руководств