Введение
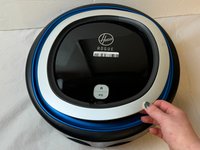
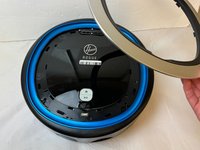
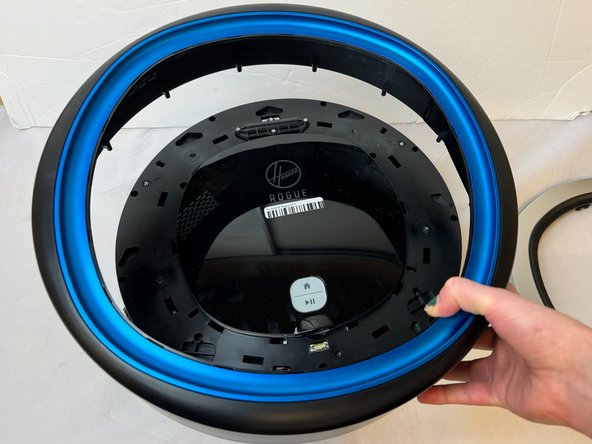
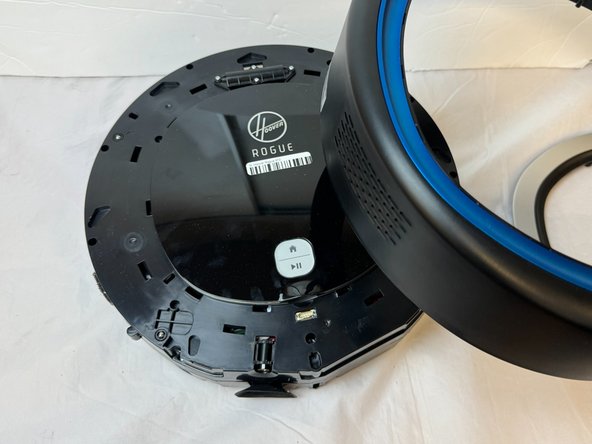
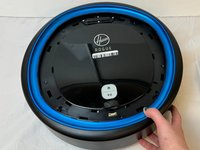
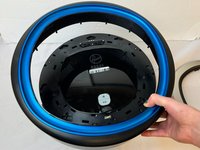
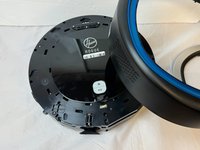
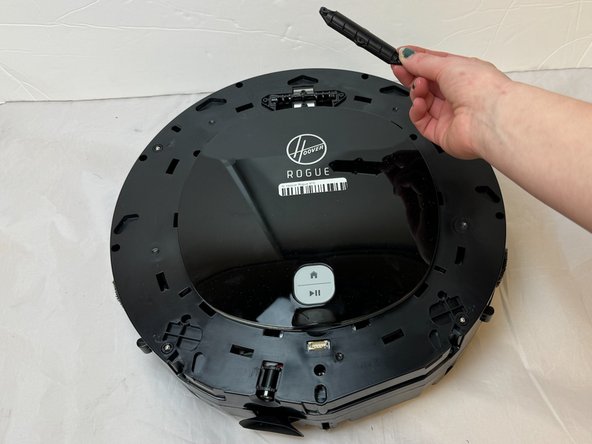
This guide is for the Hoover Rogue 970 (Model BH70970) Smart Vacuum.
Is your Hoover Rogue 970 bumping into walls repeatedly? Is it wandering around aimlessly with no direction? This may be the fix for you! This is a guide to replace your vacuum's sensor!
Выберете то, что вам нужно
-
-
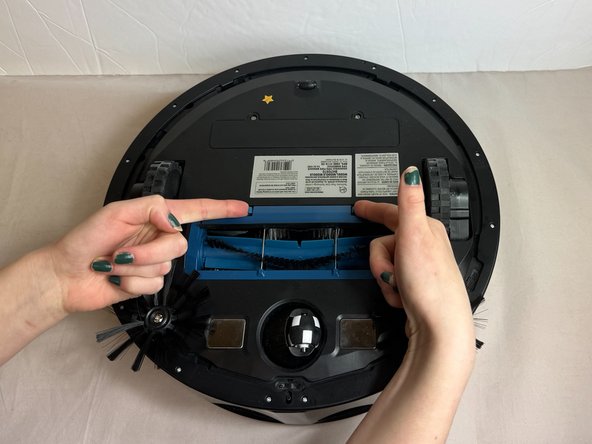
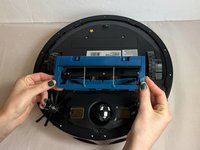
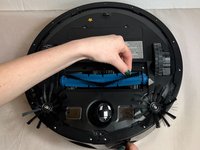
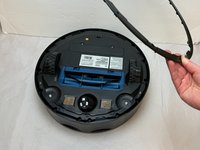
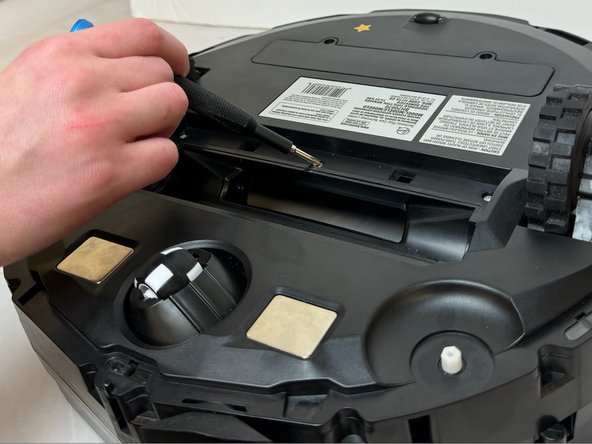
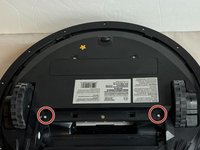
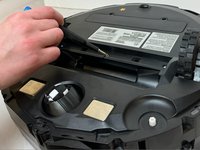
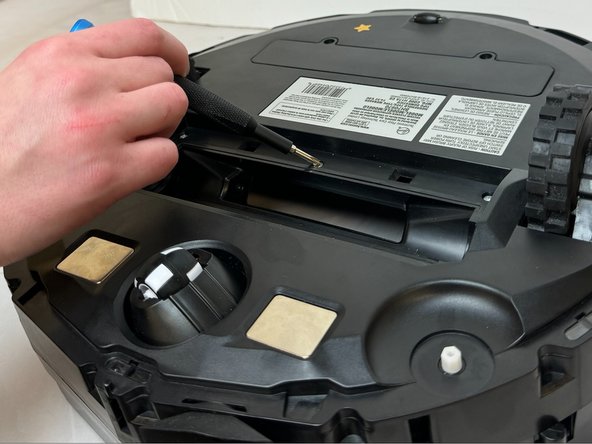
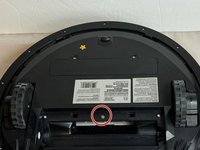
Press the buttons on the brush roll cover inward.
-
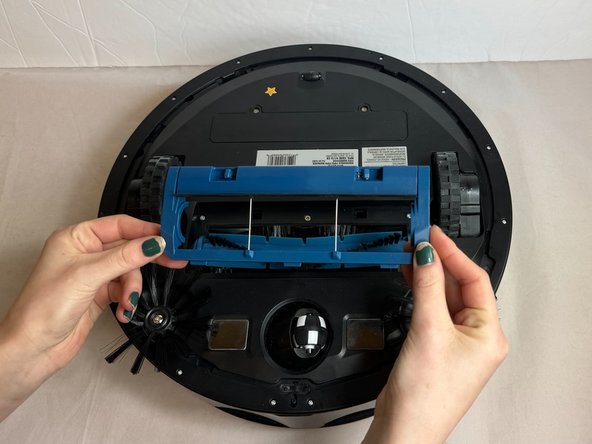
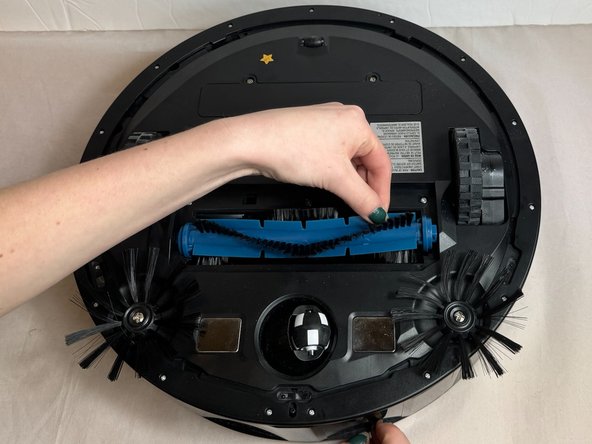
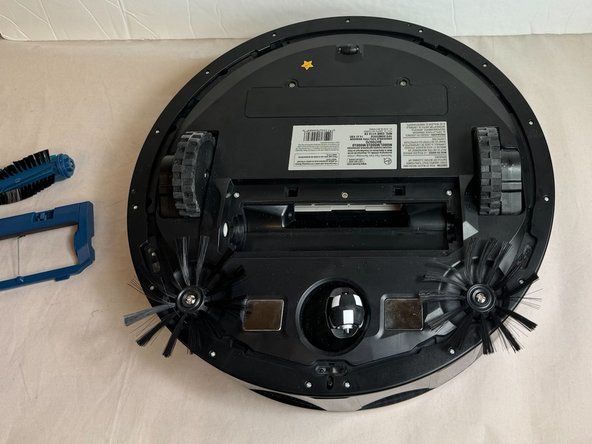
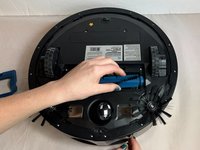
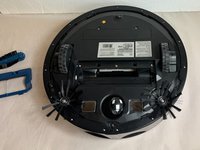
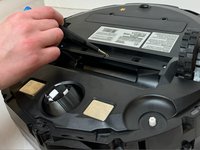
Gently pull the brush roll cover away from the vacuum.
-
-
-
-
Flip the vacuum over so that the underside is facing up.
-
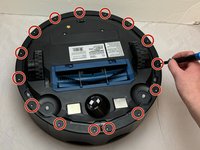
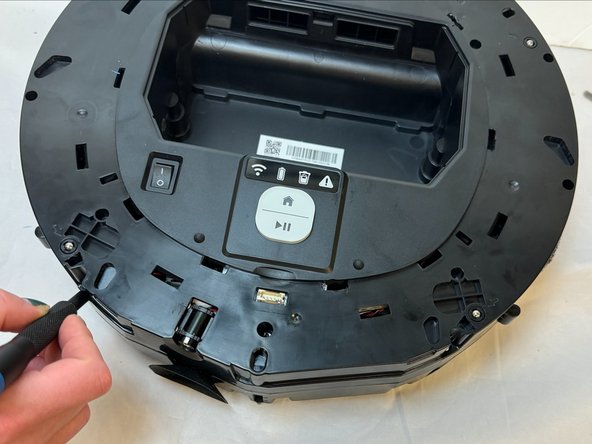
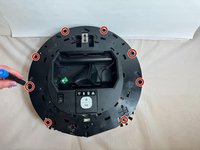
Remove the fifteen 9.3 mm screws from the bottom frame with a Phillips #0 screwdriver.
-
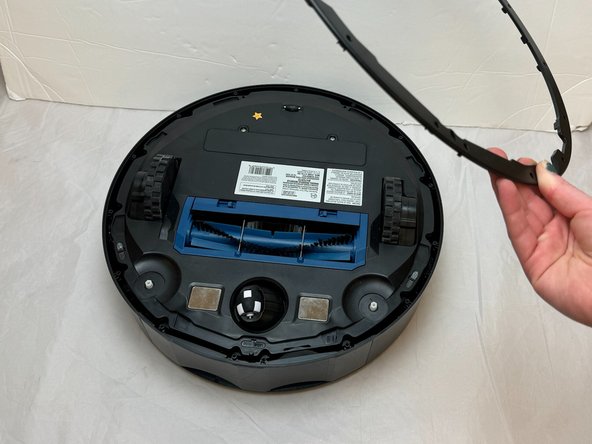
Lift the bottom frame away from the vacuum.
-
-
-
Flip the device over so that the top side of the vacuum is facing up.
-
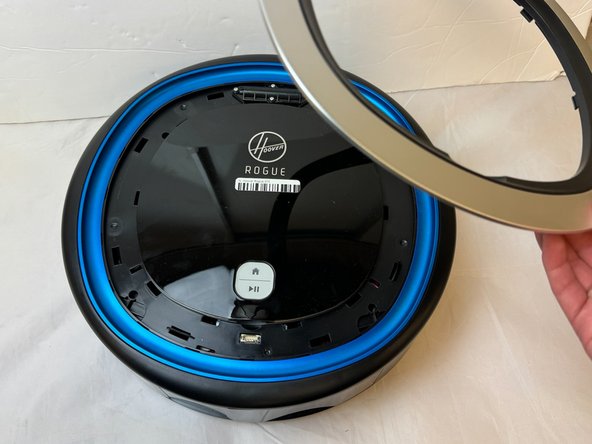
Firmly pull the silver face-plate away from the vacuum.
-
-
-
Remove four 8.7 mm screws using a Phillips #0 screwdriver.
-
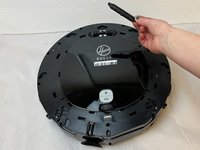
Pull the top cover with the 'Hoover Rogue' markings away from the vacuum.
-
-
-
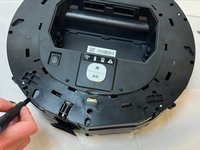
Remove the eight 15.8 mm screws from the vacuum using a Phillips #0 screwdriver.
-
Gently pry along seam with an iFixit opening tool in order to break the glue seals.
-
-
-
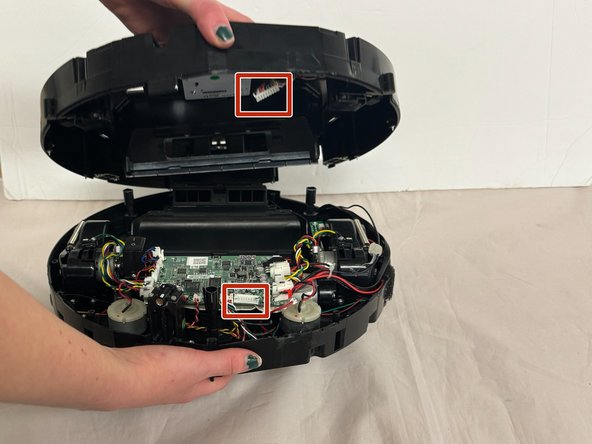
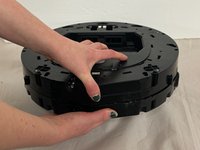
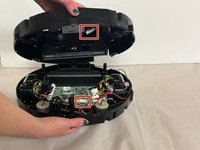
Firmly grasp the top and bottom portions of the vacuum with each thumb exerting pressure in opposite directions.
-
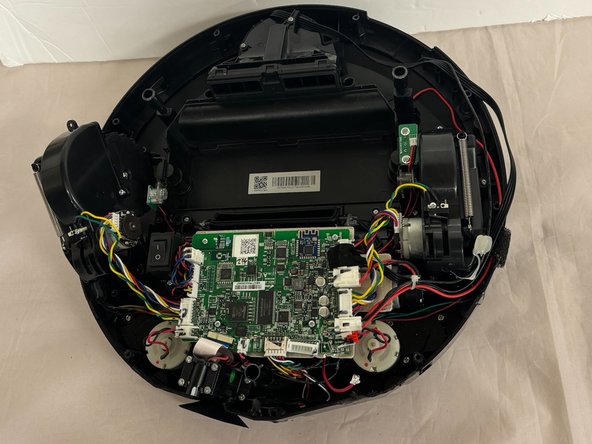
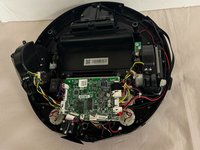
Disconnect the motherboard from the base assembly.
-
-
-
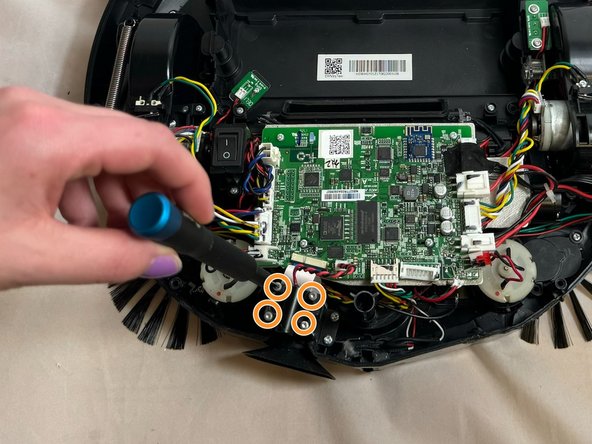
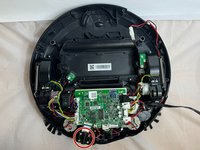
Locate the sensor.
-
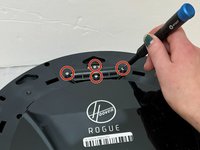
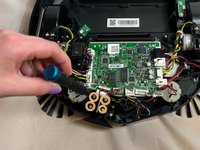
Remove the four 12.5 mm screws with a Torx TR7 screwdriver.
-
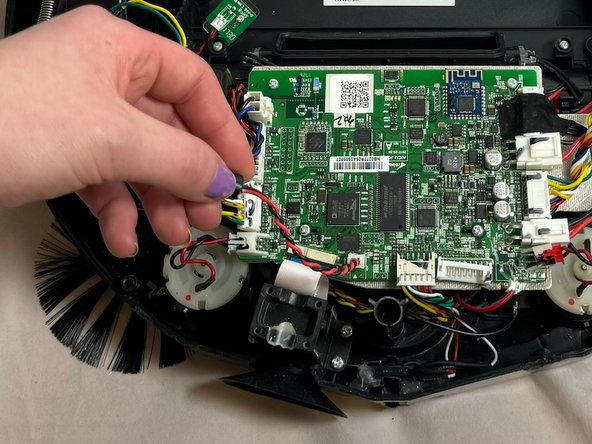
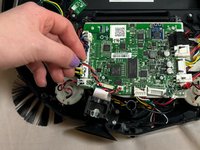
Lift the sensor up and away from the device to access the white power cable connecting the sensor to the circuit board.
-
-
-
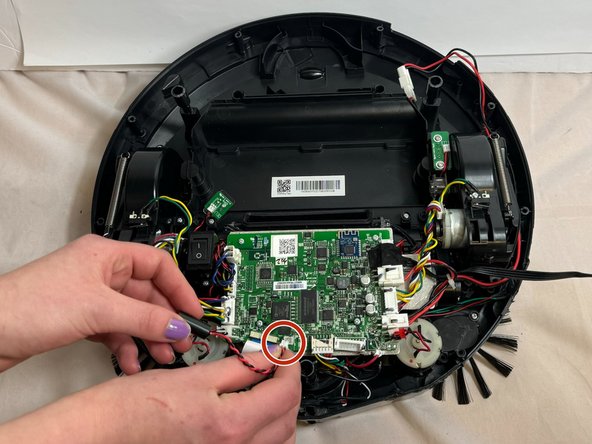
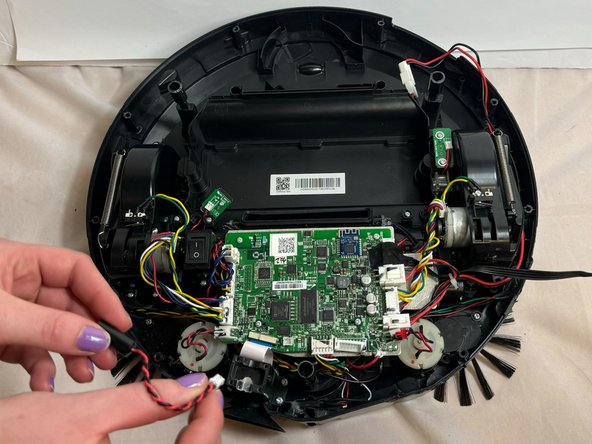
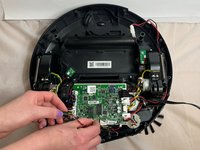
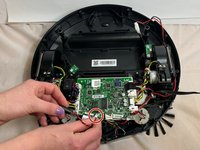
Disconnect the white power cable that connects the sensor to the circuit board.
-
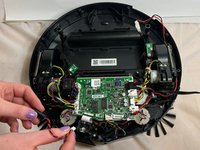
Lift the disconnected sensor away from the vacuum.
-
To reassemble your device, follow these instructions in reverse order.


