Перейти к основному содержанию

Эта версия возможно содержит некорректные исправления. Переключить на последнюю проверенную версию.

Выберете то, что вам нужно

  1. Этот шаг не переведен. Помогите перевести

    : шаг 1, изображение 1 из 3 : шаг 1, изображение 2 из 3 : шаг 1, изображение 3 из 3
    • Measure top and bottom of damaged section.

    • When replacing a corner bead, you must measure at least 1.5 inches from the corner.

    • Use a straight edge between the the top and bottom and draw a straight-line connecting the marking.

    • You can even use the putty knife if the damaged section is not too long.

    • Mark with a pencil, or cut lightly with utility knife.

    • Use caution when using the utility knife as the blade is very sharp and may cause an injury.

  2. Этот шаг не переведен. Помогите перевести

    : шаг 2, изображение 1 из 2 : шаг 2, изображение 2 из 2
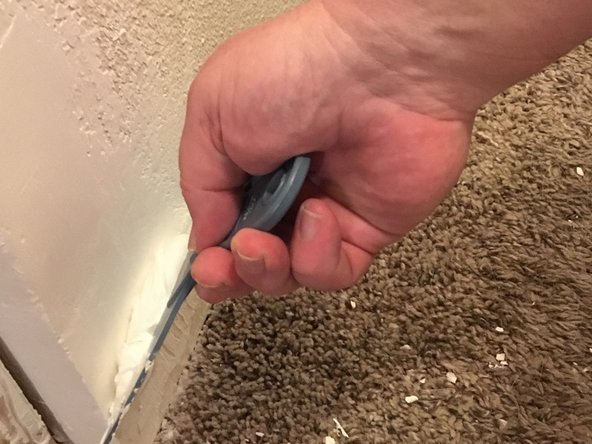
    • Using your putty knife, dig out of the spackle inside your marking.

    • You need to get down to the metal, or vinyl corner drywall bead.

    • Use caution to not dig too deep.

  3. Этот шаг не переведен. Помогите перевести

    : шаг 3, изображение 1 из 1
    • Unscrew screws in the section of bead that you are going to remove.

    • If it is a vinyl corner bead, then break taped underside with corner of putty knife carefully.

    • Cut the metal corner bead with tin snips.

    • If Vinyl, then use your utility knife.

    • Measure new corner bead and cut.

    • Place new corner bead on corner and fasten in place using screws or tape.

  4. Этот шаг не переведен. Помогите перевести

    : шаг 4, изображение 1 из 1
    • Apply joint compound with a 4 inch putty knife.

    • The more compound the better. It will shrink while drying.

    • Do not worry about getting corners the perfect.

    • Dry for 12 hours.

  5. Этот шаг не переведен. Помогите перевести

    : шаг 5, изображение 1 из 3 : шаг 5, изображение 2 из 3 : шаг 5, изображение 3 из 3
    • Sand area with 80 grit sandpaper.

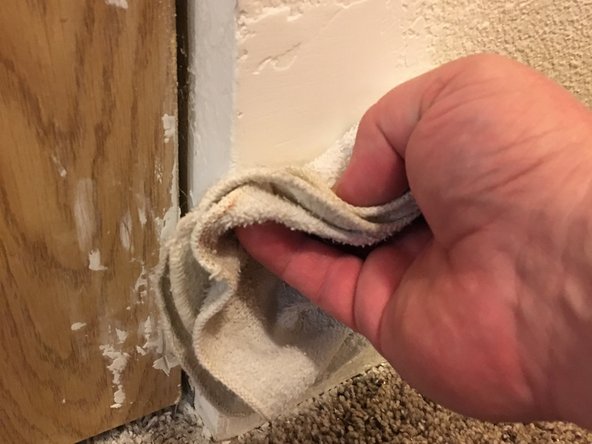
    • Wipe down with damp cloth, sponge, or paper towel.

    • Be careful to not wet down the patch with too much water. Only minimum amount of dampness needed to wipe away sanding dust.

    • Apply thinner coat of joint compound with a 6, or 8 inch putty knife.

    • Pay attention to put pressure on the outside edge.

    • Let dry for 2 hours.

  6. Этот шаг не переведен. Помогите перевести

    : шаг 6, изображение 1 из 1
    • Sand the area with 120 grit sandpaper.

    • If needed, repeat Step 5 again.

    • Paint the patched area to match wall

Финишная черта

Еще один человек закончил это руководство.

Michael Cioffi

Участник с: 04/08/19

160 Репутация

1 руководство автора

Команда

Eastern Washington University, Team S25-G1, Crane Spring 2019 Участник Eastern Washington University, Team S25-G1, Crane Spring 2019

EWU-CRANE-S19S25G1

4 членов

Автор 3 руководств

0 Комментариев

Добавить комментарий

Просмотр статистики:

За последние 24часов: 9

За последние 7 дней: 33

За последние 30 дней: 119

За всё время: 19,975