Введение
This guide will show you how to replace the buttons on a Huawei M750 smartphone.
Выберете то, что вам нужно
-
-
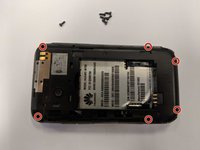
Depress the top of the battery cover, and pull downwards towards the base of the phone.
 Спросите у FixBot
-
-
-
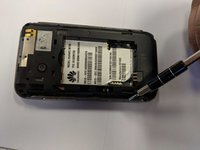
Remove the battery by levering the battery out, using the cut just below the camera.
-
-
-
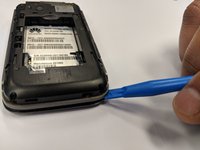
Use the opening tool to start prying the camera and speaker cover, starting from the battery side.
-
Work the opening tool around the border of the camera and speaker cover, until it comes loose.
-
-
-
-
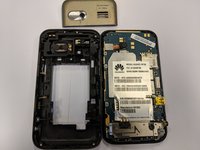
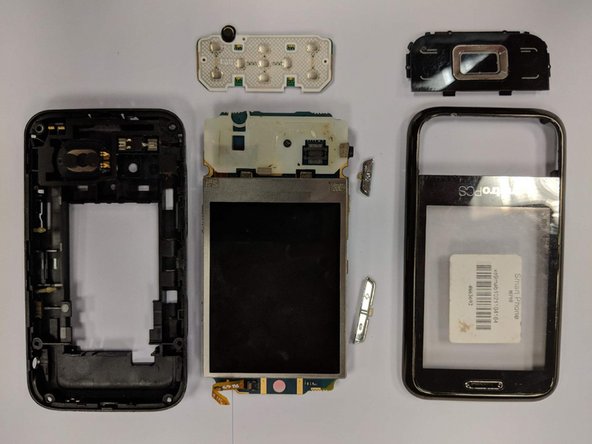
Using the opening tool, pry the back panel from the front panel.
-
Work your way around the phone until the panels separate evenly.
-
-
Инструмент, используемый на этом этапе:Tweezers$4.99
-
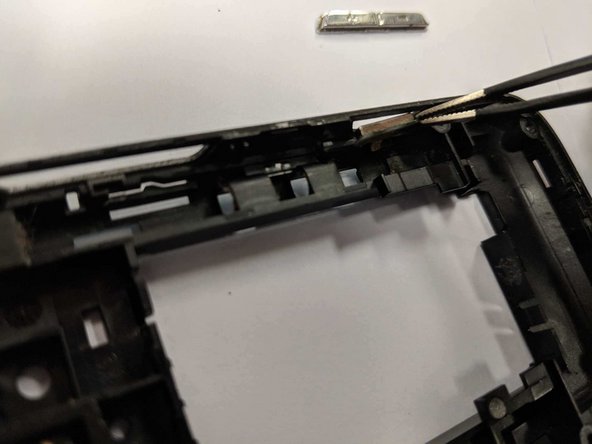
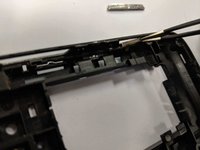
Use a pair of tweezers to grab hold of each button on an edge from inside of the casing and pull out to remove.
-
-
-
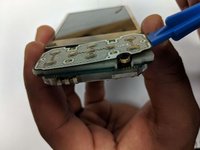
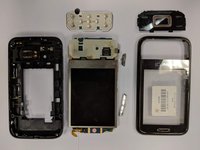
If it is the actual main screen panel control buttons that need to be replaced, grab the front panel as seen in the picture and push from the outside in with little pressure as if you were regularly trying to use the button.
-
-
-
If the buttons aren't broken and the phone just isn't getting the signal when the button is depressed, try replacing the actual electronic board under the buttons replaced in the last step.
-
Using the plastic opening tool, insert just under the electronic board and apply slight pressure upward.
-


To reassemble your device, follow these instructions in reverse order.
Команда

University of North Texas, Team S1-G6, Thompson Spring 2018 Участник University of North Texas, Team S1-G6, Thompson Spring 2018
UNT-THOMPSON-S18S1G6
3 членов
Автор 20 руководств