Введение
The IBM ThinkPad T30 is a laptop that was commonly used in both professional and personal settings. The optical drive allows users to read CDs and DVDs, making it useful for installing software, accessing media, or transferring files. As the device ages, the optical drive can begin to fail, causing issues such as discs not reading properly, unusual noises, or the drive failing to open at all.
These symptoms often indicate that the optical drive is worn out or no longer functioning correctly. Replacing the drive is a straightforward repair that can restore this functionality and improve the overall usability of the laptop.
In this guide, you will follow a step-by-step process to remove and replace the optical drive in the ThinkPad T30. This repair is considered easy and requires only basic tools, making it accessible for users with little to no repair experience.
Before starting, make sure the laptop is powered off, unplugged, and the battery is removed to prevent electrical damage. Although this repair is simple, internal components can still be sensitive, so avoid using excessive force when removing the drive.
Выберете то, что вам нужно
-
-
Flip the ThinkPad upside down with the bottom facing you.
-
Slide the latch to the right into the unlock position.
-
While holding the latch in the unlock position, lift the battery out with your other hand.
 Спросите у FixBot
-
-
-
Locate the 4.8mm Phillips #0 screw on the far left of the ThinkPad, closest to the edge and above the battery, and unscrew it with a Phillips #0 screwdriver.
-
-
-
-
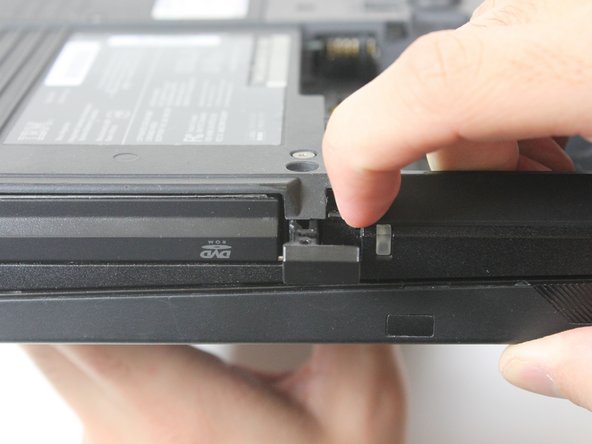
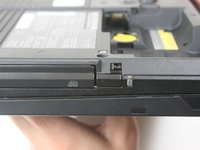
On the side of the ThinkPad, locate a lock next to the optical drive. Use your fingernail to slide the lock to the right.
-
-
-
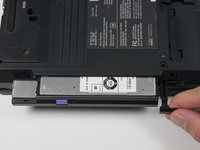
Once it is unlocked, a small tab will pop out. Pull on the tab with your fingers.
-
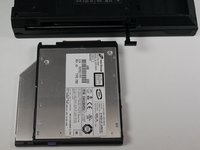
The optical drive will easily slide out. Remove the optical drive.
-


To reassemble your device, follow these instructions in reverse order.
Отменить: Я не выполнил это руководство.
Еще один человек закончил это руководство.
Команда

Cal Poly, Team 3-20, Amido Fall 2012 Участник Cal Poly, Team 3-20, Amido Fall 2012
CPSU-AMIDO-F12S3G20
3 членов
Автор 17 руководств