Введение
The Infinity v2 10.1 battery should be replaced when it no longer holds a charge. If the battery is not powering the device for as long as it did when the device was new, the battery could be worn and in need of replacing. Replacing the battery on this device can be dangerous due to the requirement of soldering, as well as the need to apply heat around a battery. Make sure to follow all the safety warnings and instructions in this guide and in the instructions of your soldering iron.
WARNING: When following this guide. Be sure to follow all the safety warnings and instructions related to soldering.
Выберете то, что вам нужно
-
-
Slightly pry open one corner of the device by using your finger nail to separate the screen from the back case.
-
Use an opening tool to carefully detach the back case from the tablet. Start by inserting the tool where your fingernail opened a gap, and work around all four sides of the device.
-
Once the case is completely free, carefully lift it and place it face up on the workstation, being cautious not to damage the speaker wires connecting the two halves.
-
-
-
Remove the speakers from the case by gently lifting them up and out of their slots.
-
-
-
-
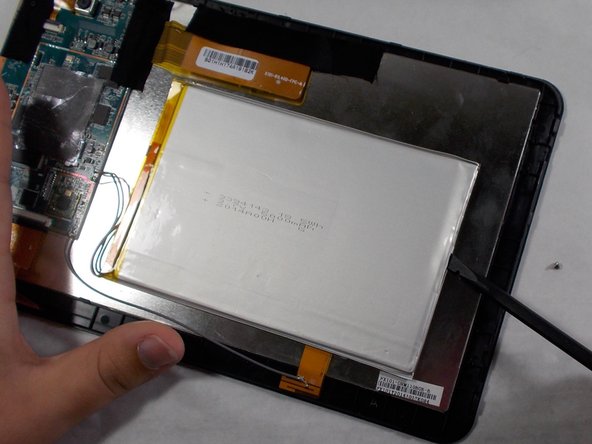
Desolder the red and black wires connecting the battery to the motherboard.
-
Once the solder is melted, use tweezers to remove both wires from the motherboard.
-


To reassemble your device, follow these instructions in reverse order.
To reassemble your device, follow these instructions in reverse order.
Отменить: Я не выполнил это руководство.
Еще один человек закончил это руководство.

Команда

UMass Dartmouth, Team S2-G4, Barthe Fall 2019 Участник UMass Dartmouth, Team S2-G4, Barthe Fall 2019
UMASSD-BARTHE-F19S2G4
3 членов
Автор 6 руководств