Перейти к основному содержанию

Insignia Flex 11.6 Battery Replacement

Выберете то, что вам нужно

  1. Insignia Flex 11.6 Battery Replacement, Battery: шаг 1, изображение 1 из 3 Insignia Flex 11.6 Battery Replacement, Battery: шаг 1, изображение 2 из 3 Insignia Flex 11.6 Battery Replacement, Battery: шаг 1, изображение 3 из 3
    • Before working on the device, make sure the device is off and not plugged into any power source for safety reasons. Failure to comply could result in injury.

    • Detach the keyboard from the screen in 2 different places by putting one hand on the keyboard while gently pulling up on the screen with the other hand.

  2. Insignia Flex 11.6 Battery Replacement: шаг 2, изображение 1 из 2 Insignia Flex 11.6 Battery Replacement: шаг 2, изображение 2 из 2
    • Remove the two 6.1 mm Phillips J000 screws from the bottom of the device. Use Phillips Screwdriver size J1.

    • If any screws are stripped, refer to the iFixit guide for how to remove a stripped screw.

  3. Insignia Flex 11.6 Battery Replacement: шаг 3, изображение 1 из 3 Insignia Flex 11.6 Battery Replacement: шаг 3, изображение 2 из 3 Insignia Flex 11.6 Battery Replacement: шаг 3, изображение 3 из 3
    • Using a plastic opening tool, gently pry off the back cover.

  4. Insignia Flex 11.6 Battery Replacement: шаг 4, изображение 1 из 3 Insignia Flex 11.6 Battery Replacement: шаг 4, изображение 2 из 3 Insignia Flex 11.6 Battery Replacement: шаг 4, изображение 3 из 3
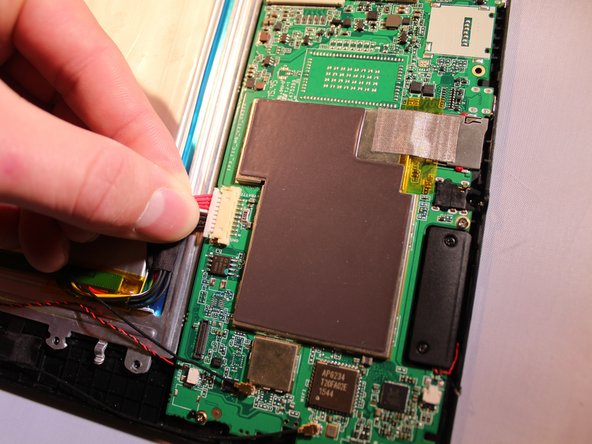
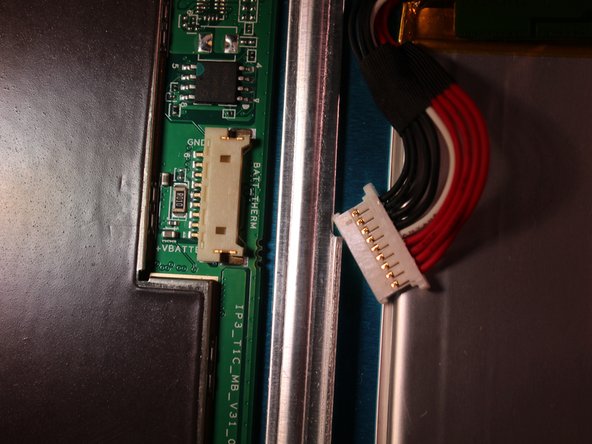
    • Remove the electrical connector that connects to the battery to remove the power to the battery.

  5. Insignia Flex 11.6 Battery Replacement: шаг 5, изображение 1 из 3 Insignia Flex 11.6 Battery Replacement: шаг 5, изображение 2 из 3 Insignia Flex 11.6 Battery Replacement: шаг 5, изображение 3 из 3
    Инструмент, используемый на этом этапе:
    Plastic Cards
    $2.99
    Купить
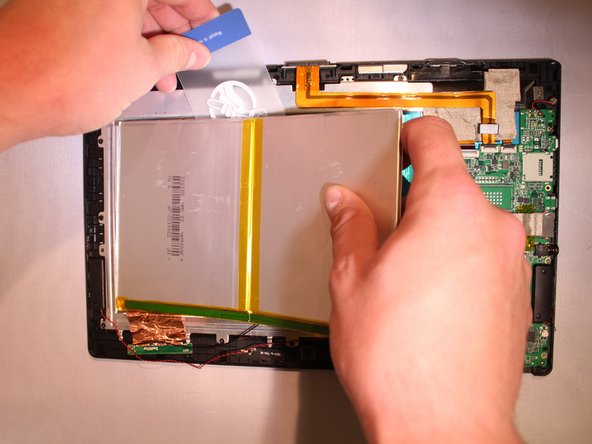
    • Make sure not to bend the battery too excessively as if bent too much, it could rupture a cell within the battery and possibly cause a fire.

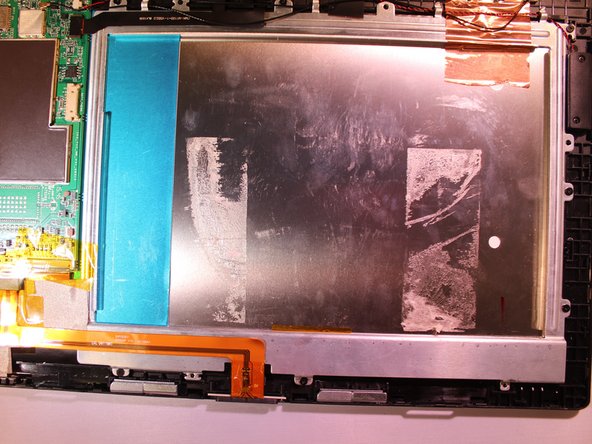
    • The battery is glued onto the device. To remove it, use a nylon spudger or plastic card to slide underneath the battery and scrape back and forth to remove the glue until the battery is removed from the device.

Заключение

To reassemble your device, follow these instructions in reverse order.

5 участников успешно повторили данное руководство.

Connor Sweeney

Участник с: 09/28/16

449 Репутация

Автор 5 руководств

Команда

Eastern Washington University, Team 2-4, Mathisen Fall 2016 Участник Eastern Washington University, Team 2-4, Mathisen Fall 2016

EWU-MATHISEN-F16S2G4

4 членов

Автор 10 руководств

6 Комментариев

Donde puedo adquirir la batería?

arag12 - Ответить

There are no screws on the bottom edge of my invicta model P11A8100. Can I bypass removing screws and proceed to removing the back?

Robert Sandfort - Ответить

There are no screws on the bottom of my model P11A8100. Can I bypass removal is said screws and proceed to opening the back?

Robert Sandfort - Ответить

Great instructions but I cant find a battery replacement. Battery number 3394122-2p

Hank Drabczak - Ответить

Great instructions but now I cant find the battery anywhere it is 3394122-2p

Hank Drabczak - Ответить

Добавить комментарий

Просмотр статистики:

За последние 24часов: 0

За последние 7 дней: 3

За последние 30 дней: 14

За всё время: 4,594