Эта версия возможно содержит некорректные исправления. Переключить на последнюю проверенную версию.
Выберете то, что вам нужно
-
Этот шаг не переведен. Помогите перевести
-
Start with no other headphone components attached to the speaker cable.
-
-
Этот шаг не переведен. Помогите перевести
-
The speaker covers must be put back on the speaker cable.
-
Put the speaker cable end with the blue wire through the hole in the speaker cover marked with an "L".
-
If having difficulty, very gently pull the cable through using needle nose pliers.
-
-
Этот шаг не переведен. Помогите перевести
-
Put the speaker cable end with the red wire through the hole in the speaker cover marked with an "R".
-
If having difficulty, very gently pull the cable through using needle nose pliers.
-
-
-
Этот шаг не переведен. Помогите перевести
-
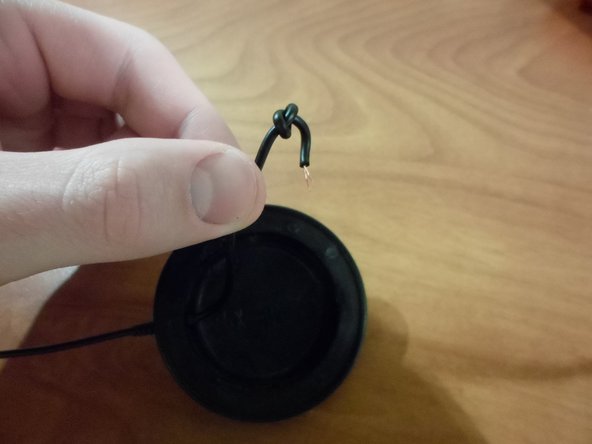
Once the speaker cable is through each of the speaker cover holes, tie a small knot towards the end of the cable.
-
-
Этот шаг не переведен. Помогите перевести
-
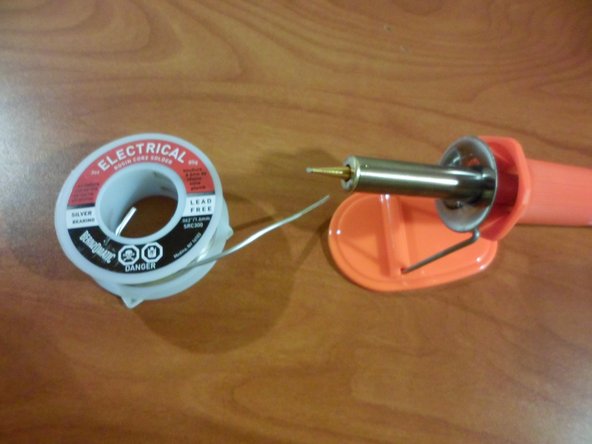
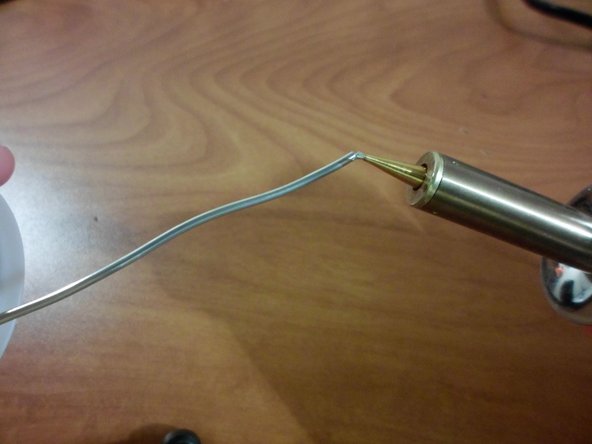
Before soldering the wires back onto the speakers, first the soldering iron must be prepared by cleaning the tip of the soldering iron with a damp sponge or rag.
-
Refer to the iFixit guide How to Solder and Desolder Connections for additional help with soldering.
-
After soldering iron is hot, touch the tip of the soldering iron to the end of the soldering wire. This will "tin" the tip of the soldering iron and will help to create a better solder.
-
Place the soldering iron back on its stand until it is needed.
-
-
Этот шаг не переведен. Помогите перевести
-
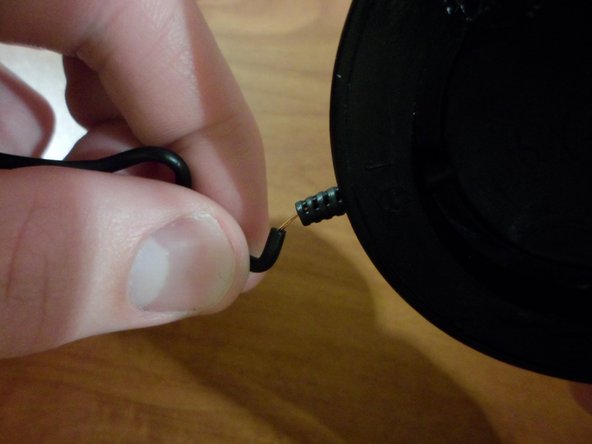
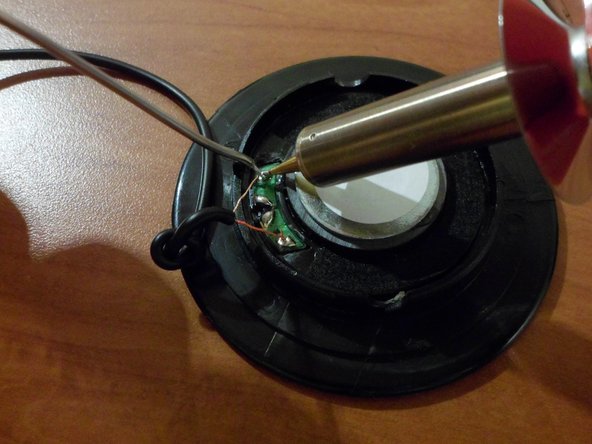
After the soldering iron is prepared, place the wires in the correct positions on the speakers.
-
Both the blue and red wires go on the right-side terminal on their corresponding speaker.
-
-
Этот шаг не переведен. Помогите перевести
-
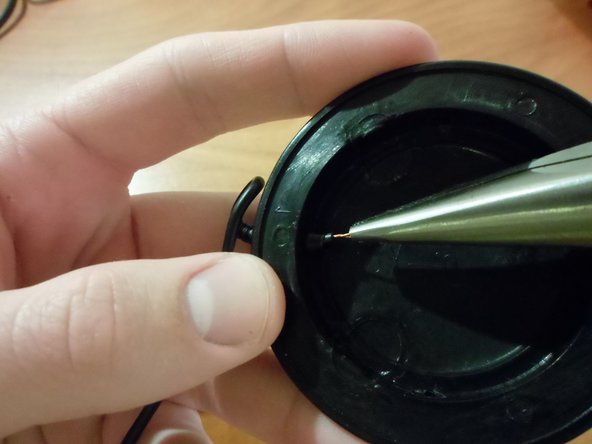
With the wires placed in the correct position, the speaker and speaker cable wires are ready to be soldered.
-
Starting with one terminal, place the "tinned" soldering iron on both the terminal and the wire for 1-2 seconds. Then immediately place the soldering wire down on the terminal and speaker cable wire.
-
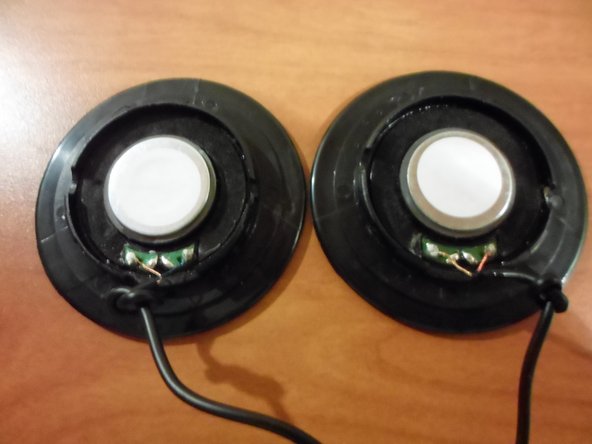
Repeat this process for each terminal on each speaker.
-


Команда

Clemson, Team 1-3, Benson Spring 2014 Участник Clemson, Team 1-3, Benson Spring 2014
CLEM-BENSON-S14S1G3
3 членов
Автор 18 руководств