Перейти к основному содержанию

Kindle 10 Charging Port Replacement

Выберете то, что вам нужно

  1. Kindle 10 Charging Port Replacement, Battery: шаг 1, изображение 1 из 2 Kindle 10 Charging Port Replacement, Battery: шаг 1, изображение 2 из 2
    • Gently use a metal spudger to pry, twist, and lift the bezel away from the display.

  2. Kindle 10 Charging Port Replacement: шаг 2, изображение 1 из 1
    • Remove the eight 2.6 mm screws using a T5 Torx screwdriver.

  3. Kindle 10 Charging Port Replacement: шаг 3, изображение 1 из 2 Kindle 10 Charging Port Replacement: шаг 3, изображение 2 из 2
    • Use the metal spudger to gently lift the screen out of the back frame.

  4. Kindle 10 Charging Port Replacement: шаг 4, изображение 1 из 1
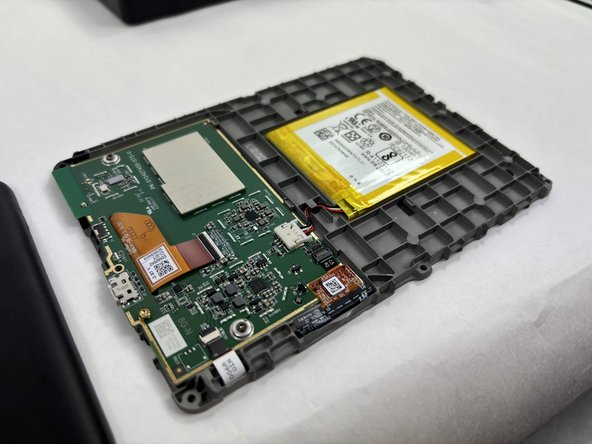
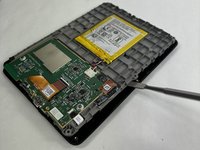
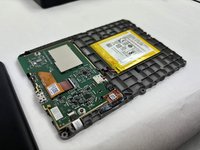
    • Detach the battery connector from the motherboard.

    • The battery pack may be glued on to the gray plastic frame. Take care when prying it out not to rip the battery, since it is made of a lithium polymer which is flammable and deforms easily.

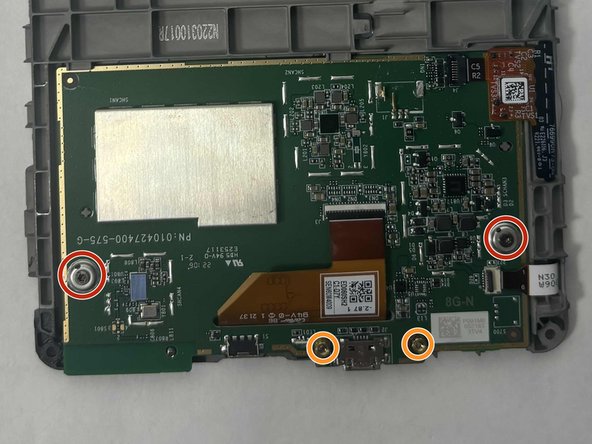
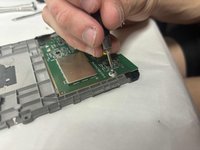
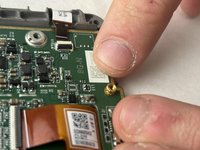
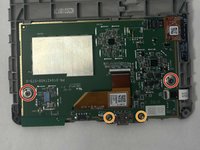
  5. Kindle 10 Charging Port Replacement, Motherboard: шаг 5, изображение 1 из 3 Kindle 10 Charging Port Replacement, Motherboard: шаг 5, изображение 2 из 3 Kindle 10 Charging Port Replacement, Motherboard: шаг 5, изображение 3 из 3
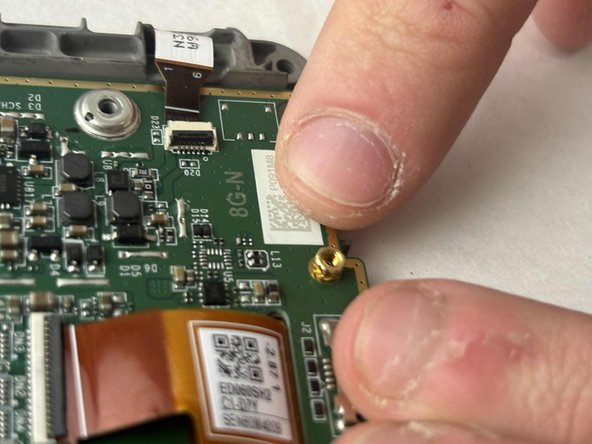
    • Remove the two outer silver screws with a T5 Torx screwdriver.

    • Use your fingers to remove the two gold screws in the middle.

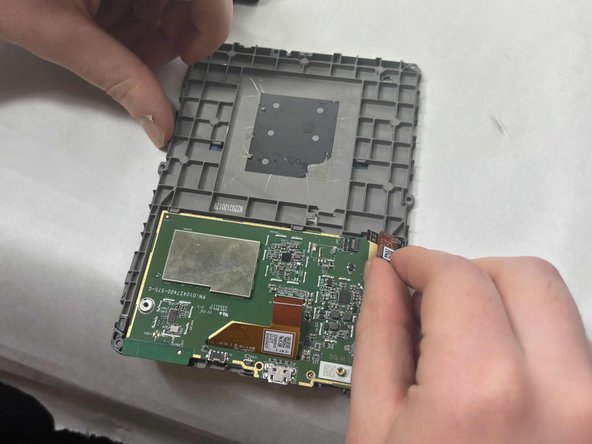
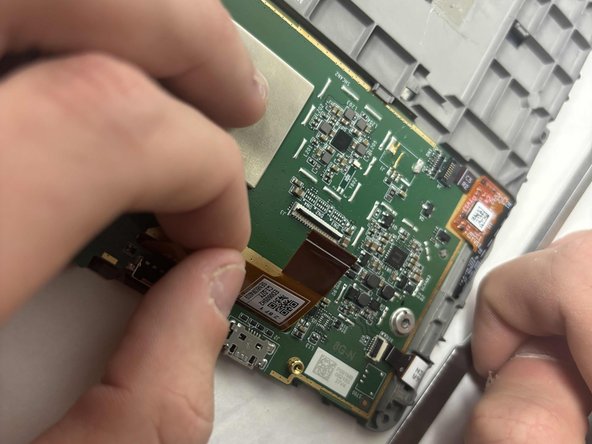
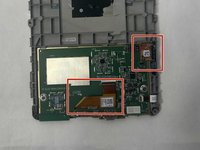
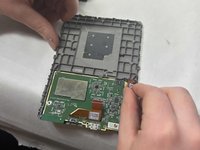
  6. Kindle 10 Charging Port Replacement: шаг 6, изображение 1 из 3 Kindle 10 Charging Port Replacement: шаг 6, изображение 2 из 3 Kindle 10 Charging Port Replacement: шаг 6, изображение 3 из 3
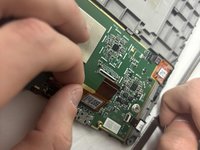
    • Disconnect the two orange clear plastic ribbons on the upper right and center.

  7. Kindle 10 Charging Port Replacement: шаг 7, изображение 1 из 2 Kindle 10 Charging Port Replacement: шаг 7, изображение 2 из 2
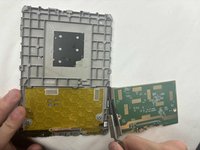
    • Pry the motherboard away from the display frame

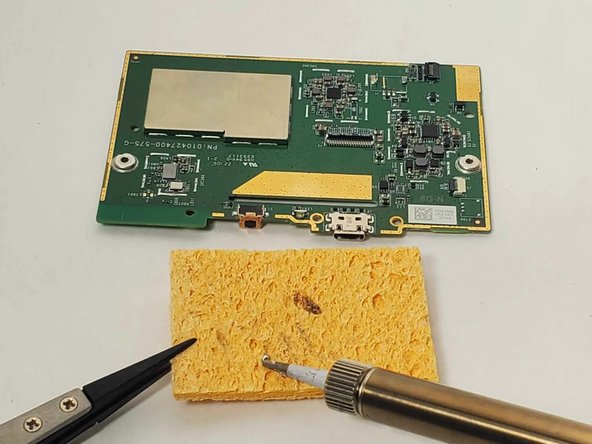
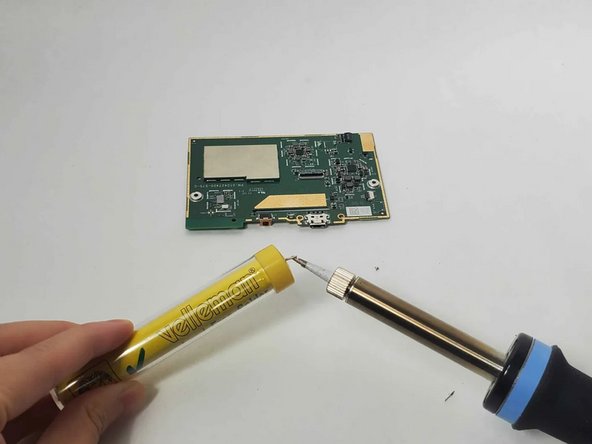
  8. Kindle 10 Charging Port Replacement, Charging Port: шаг 8, изображение 1 из 3 Kindle 10 Charging Port Replacement, Charging Port: шаг 8, изображение 2 из 3 Kindle 10 Charging Port Replacement, Charging Port: шаг 8, изображение 3 из 3
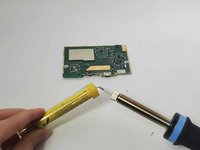
    • Follow the guide How To Solder to prepare your soldering iron.

    • Turn on the soldering iron.

    • Clean the tip after old solder has melted by dragging it across a sponge.

    • Prime the soldering iron by touching its tip with a dab of lead-free wire. Your soldering iron is ready when the solder readily melts.

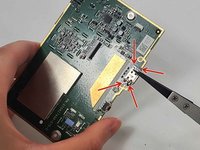
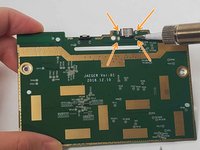
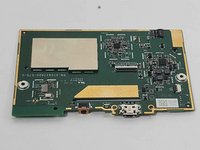
  9. Kindle 10 Charging Port Replacement: шаг 9, изображение 1 из 3 Kindle 10 Charging Port Replacement: шаг 9, изображение 2 из 3 Kindle 10 Charging Port Replacement: шаг 9, изображение 3 из 3
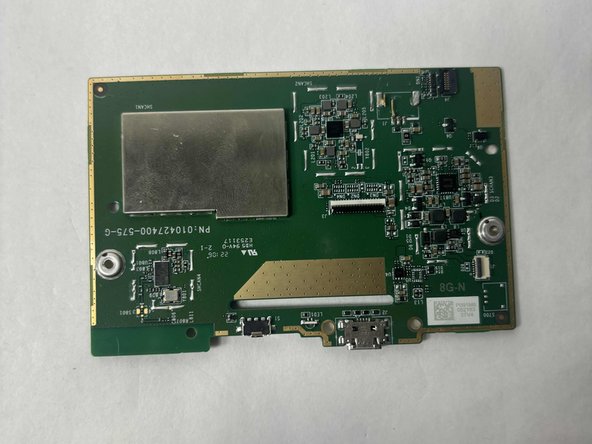
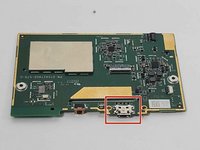
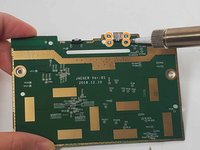
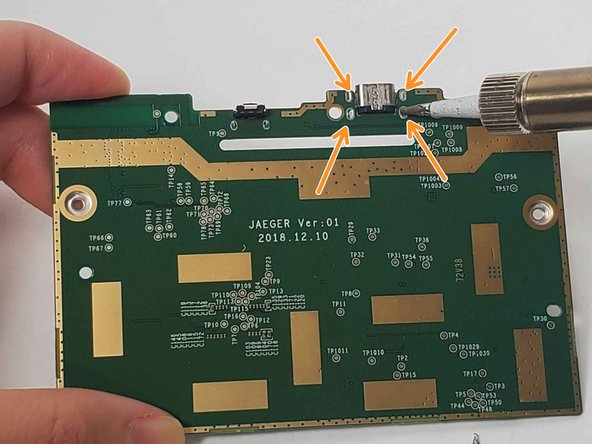
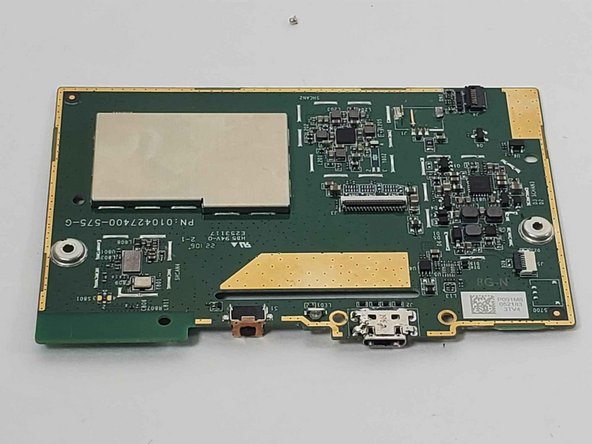
    • The charging port is located to the right of the button and status light. The motherboard is facing up in the photo, as indicated by the silver block of memory on the upper left.

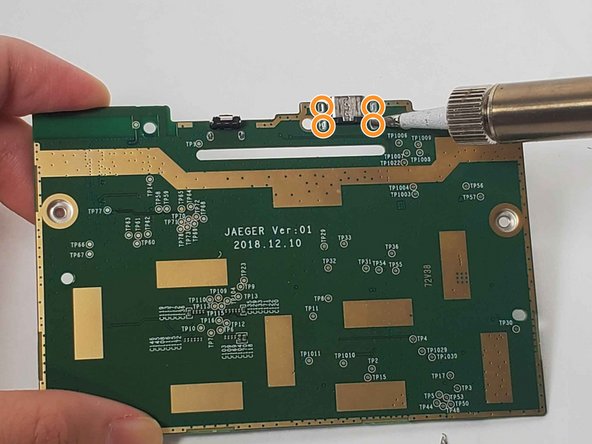
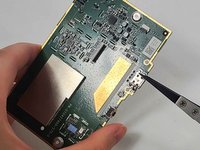
    • Desolder the four connections on the back of the motherboard behind the charging port by holding the tip of the hot soldering iron to each connection.

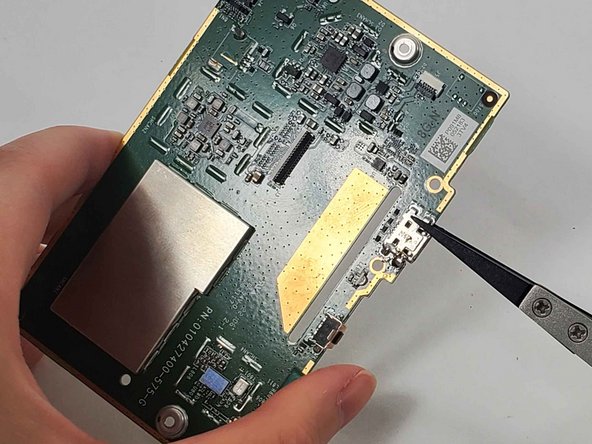
    • If you are replacing the charging port, remove the charging port component with a pair of tweezers.

    • If you want to reinforce the soldering joints without replacing, just hold the tip of the soldering iron to each connection with a bead of melted lead-free solder wire.

    • Always use tweezers to handle components near the soldering tip as it will be hot.

  10. Kindle 10 Charging Port Replacement: шаг 10, изображение 1 из 3 Kindle 10 Charging Port Replacement: шаг 10, изображение 2 из 3 Kindle 10 Charging Port Replacement: шаг 10, изображение 3 из 3
    • Search for "Through-Hole Soldering" on this How To Solder guide to ensure you replace and solder the charging port correctly.

    • If you are just improving the connection and not replacing the component, skip this step.

    • Pull the wires on the four sides of the replacement charging port through the holes in the circuit where the charging port was previously.

    • Solder its joints in the back. Be sure that the soldering joints creates a concave tent shape indicating a strong connection.

    • Always use a tool such as a tweezer to hold the new LED in place so that your hands are not near the hot soldering iron.

Заключение

To reassemble your device, follow these instructions in reverse order.

hzheng2

Участник с: 10/21/24

521 Репутация

Автор 4 руководств

Команду

UMass Dartmouth, Team 1-2, Konn Fall 2024 Участник UMass Dartmouth, Team 1-2, Konn Fall 2024

UMASSD-KONN-F24S1G2

3 членов

Автор 5 руководств

0 Комментариев

Добавить комментарий

Статистика просмотров:

За последние 24 час(ов): 1

За последние 7 дней: 7

За последние 30 дней: 28

За всё время: 118