Введение
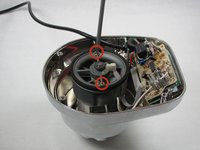
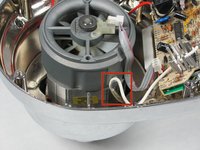
The fan cools down the motor and circuit board when the blender is operating.
Выберете то, что вам нужно
-
-
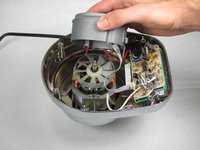
Remove the glass container and place the blender upside down on a solid surface.
-
Remove the four rubber feet using the needle nose pliers.
-
Remove the four #7.5 Phillips 25mm screws that were located underneath the rubber feet using the Phillips #2 screwdriver.
 Спросите у FixBot
-
-
-
Lift the back panel up, sliding it along the power cord.
-
-
-
-
Remove the two #5 Phillips 95 mm machine screws using the Phillips #2 screwdriver.
-
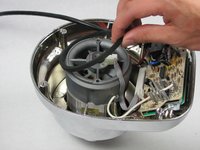
Remove the rubber O-ring by lifting it up.
-
Remove the ribbon cable from the chassis by lifting it up.
-
-
-
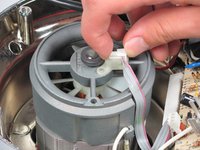
Unhook the white wire that is looped around the peg by pulling it out of the clip.
-
Repeat this process with the red wire on the other side of the chassis.
-
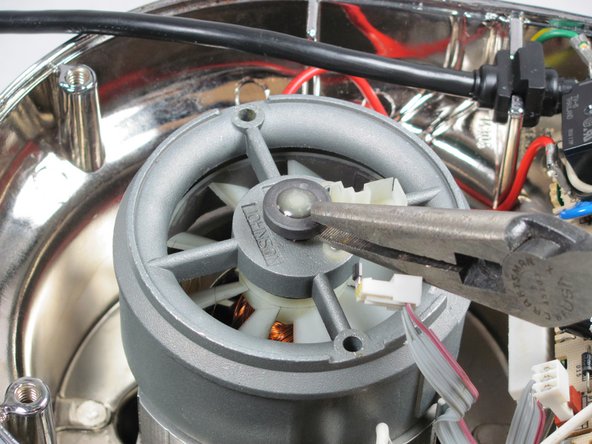
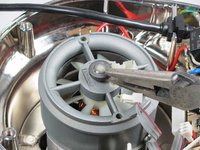
Remove the end cap using the 8" needle nose pliers.
-
Pull up the fan chassis.
-


To reassemble your device, follow these instructions in reverse order.
Отменить: Я не выполнил это руководство.
Еще один человек закончил это руководство.
Команда

Cal Poly, Team 12-5, Forte Fall 2014 Участник Cal Poly, Team 12-5, Forte Fall 2014
CPSU-FORTE-F14S12G5
5 членов
Автор 6 руководств
3 Комментарии к руководству
Hi,
Do you know if it is possible to convert Kitchenaid Artisan stand mixer to 240v, has anyone looked inside or know if i should change something.
Does raplacing the fan mean that the fan itself (when broken) can be ordered? So just the white plastic round part. If so, could someone please give me a reference number? Would be highly appreciated.
Hugo, the Netherlands.
my blender turn on all the numbers light at the same time and is not working at all. do you know what the problem could be?