Перейти к основному содержанию

LG Optimus F60 Front Camera Replacement

Выберете то, что вам нужно

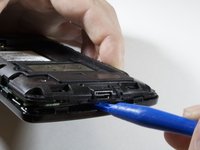
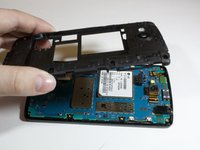
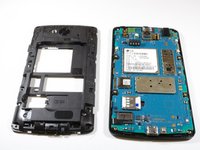
  1. LG Optimus F60 Front Camera Replacement, Battery: шаг 1, изображение 1 из 3 LG Optimus F60 Front Camera Replacement, Battery: шаг 1, изображение 2 из 3 LG Optimus F60 Front Camera Replacement, Battery: шаг 1, изображение 3 из 3
    • Hold the phone in your hand and position the small plastic opening tool or your finger under the lip of the phone by the USB port.

    • Pry or lift up on the indent with the opening tool.

    • Remove the back panel.

  2. LG Optimus F60 Front Camera Replacement: шаг 2, изображение 1 из 3 LG Optimus F60 Front Camera Replacement: шаг 2, изображение 2 из 3 LG Optimus F60 Front Camera Replacement: шаг 2, изображение 3 из 3
    • Place the small plastic opening tool or your finger at the indentation at the base of the battery.

    • Pry upwards or lift with your finger and remove battery.

  3. LG Optimus F60 Front Camera Replacement, Front Camera: шаг 3, изображение 1 из 2 LG Optimus F60 Front Camera Replacement, Front Camera: шаг 3, изображение 2 из 2
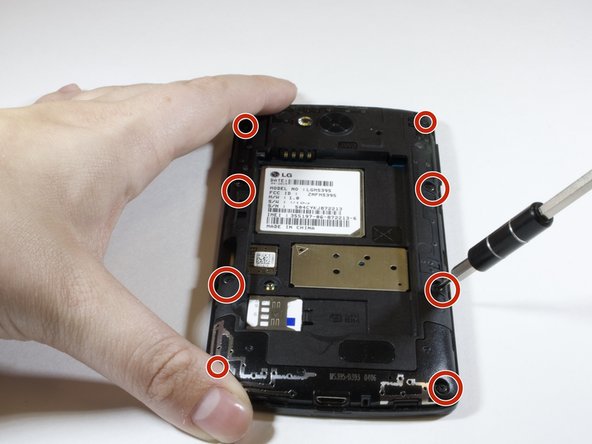
    • Use the phillips #000 Screwdriver to unscrew eight 4mm screws.

  4. LG Optimus F60 Front Camera Replacement: шаг 4, изображение 1 из 2 LG Optimus F60 Front Camera Replacement: шаг 4, изображение 2 из 2
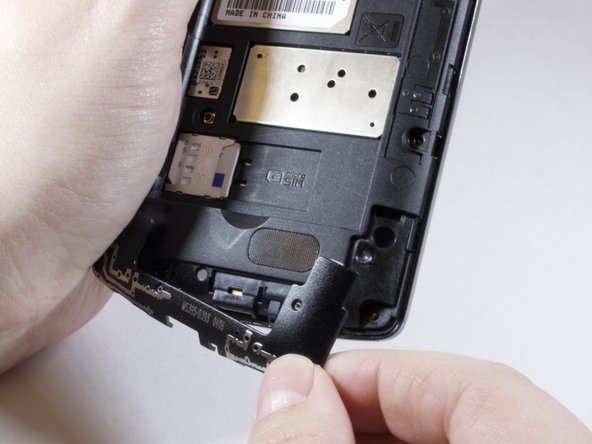
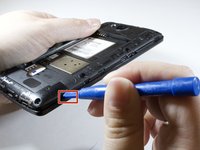
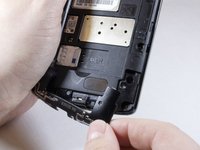
    • Insert the plastic opening tool in the indentation marked by the red square.

    • Pry the plastic opening tool upwards to release the lower back panel.

    • Remove the lower back panel from the device.

  5. LG Optimus F60 Front Camera Replacement: шаг 5, изображение 1 из 3 LG Optimus F60 Front Camera Replacement: шаг 5, изображение 2 из 3 LG Optimus F60 Front Camera Replacement: шаг 5, изображение 3 из 3
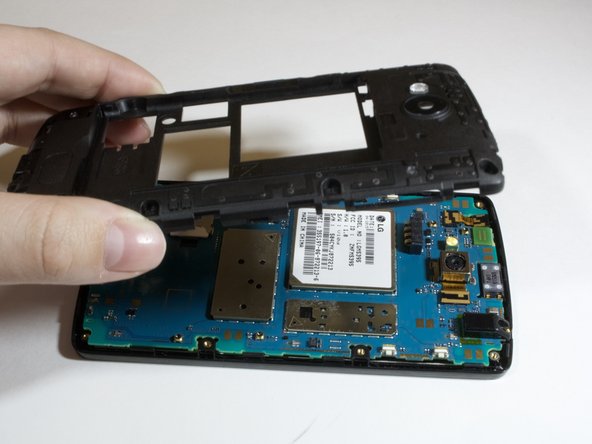
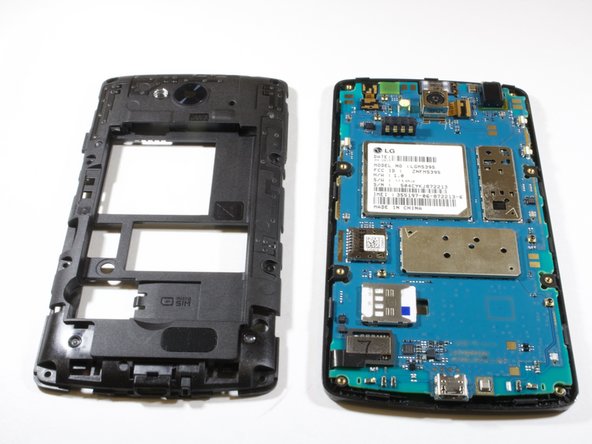
    • Continue moving plastic opening tool around device until back panel is loose enough to remove.

    • Remove the back panel

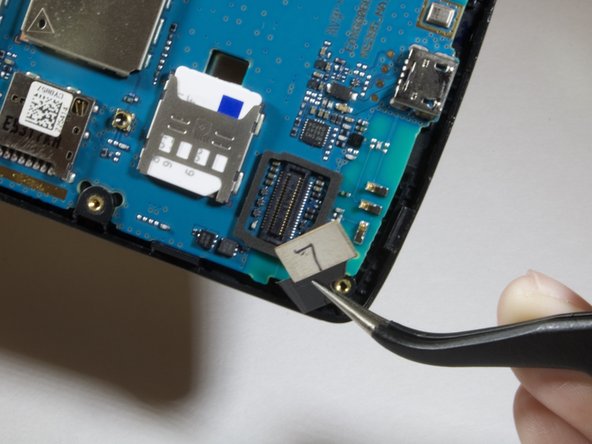
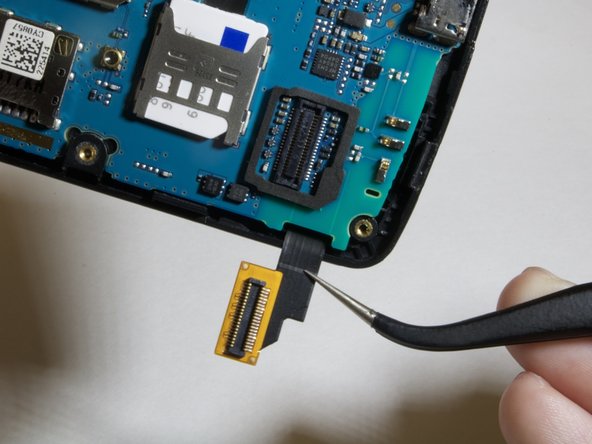
  6. LG Optimus F60 Front Camera Replacement: шаг 6, изображение 1 из 3 LG Optimus F60 Front Camera Replacement: шаг 6, изображение 2 из 3 LG Optimus F60 Front Camera Replacement: шаг 6, изображение 3 из 3
    • Locate the digitizer connection on the lower left hand side of the device.

    • Use the tweezers to lift up and gently remove the connector.

  7. LG Optimus F60 Front Camera Replacement: шаг 7, изображение 1 из 3 LG Optimus F60 Front Camera Replacement: шаг 7, изображение 2 из 3 LG Optimus F60 Front Camera Replacement: шаг 7, изображение 3 из 3
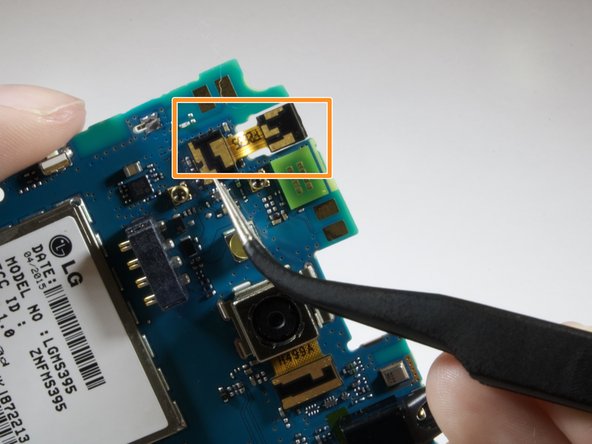
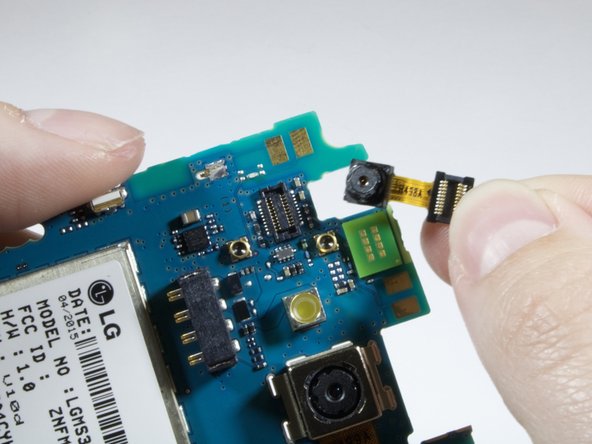
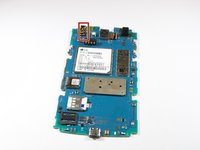
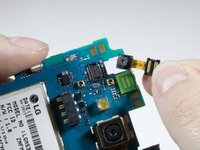
    • Locate the front camera on the upper left hand side of the device. The camera is marked in red.

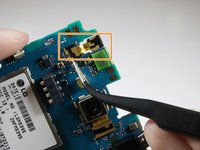
    • Use the tweezers to remove the front camera from the connector marked in orange.

    • Remove and replace front camera.

Заключение

To reassemble your device, follow these instructions in reverse order.

Austin Johnson

Участник с: 04/09/18

171 Репутация

1 руководство автора

Команда

Eastern Washington University, Team S3-G3, Rowley Spring 2018 Участник Eastern Washington University, Team S3-G3, Rowley Spring 2018

EWU-ROWLEY-S18S3G3

6 членов

Автор 6 руководств

0 Комментариев

Добавить комментарий

Просмотр статистики:

За последние 24часов: 0

За последние 7 дней: 0

За последние 30 дней: 0

За всё время: 202