Введение
If the LCD screen on your LG VX5200 is damaged or is non-functional, use this guide to replace the LCD screen.
The LCD screen is the visual display of the device. If the screen has physical damage, is not displaying anything, or is illegible, the screen may need to be replaced.
Before committing to replacing the LCD screen, reset your phone and see if the LCD screen is displaying properly.
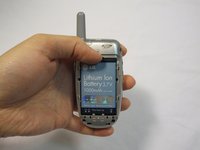
Before disassembly, make sure you completely turn off the phone.
Выберете то, что вам нужно
-
-
Orient the phone as shown.
-
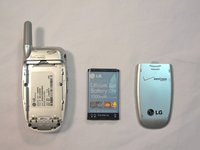
Remove the battery cover by pushing upward with your thumb.
-
-
-
Place your fingernail at the top of the battery and pry the battery out towards you.
-
-
-
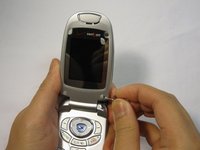
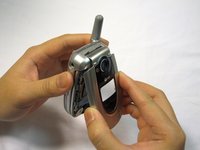
Flip the phone open.
-
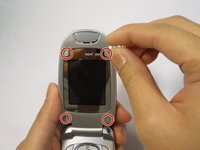
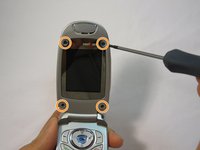
Remove the four rubber plugs, located at the corners of the LCD screen, with a push-pin.
-
Use a Phillips #00 screwdriver to remove the four screws located underneath the rubber plugs.
-
-
-
-
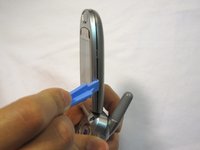
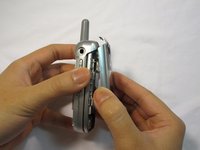
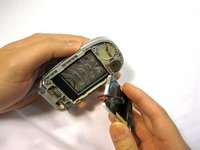
Insert the opening tool in the seam of the top portion of the flip phone.
-
Gently pry the seam open.
-
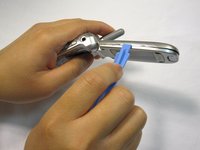
Move the opening tool around the perimeter of the seam and gently take the front LCD face plate out.
-
-
-
Close the flip phone.
-
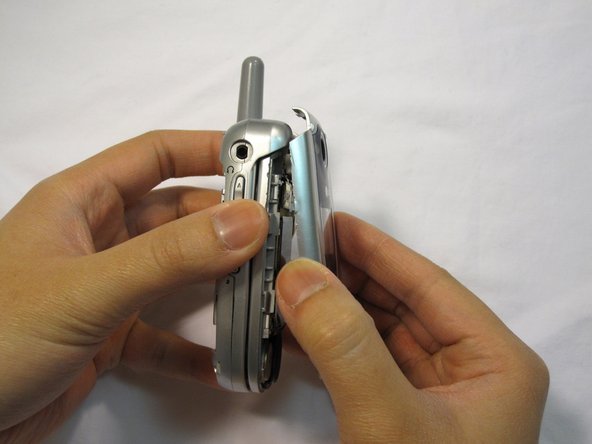
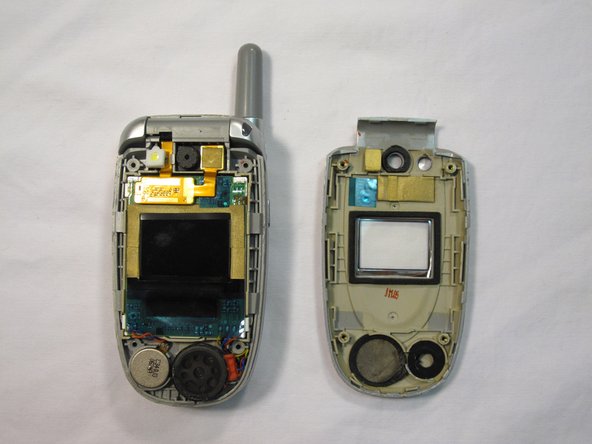
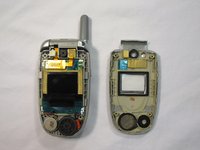
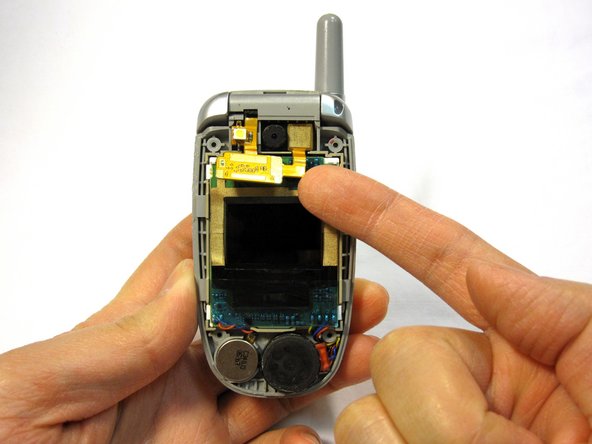
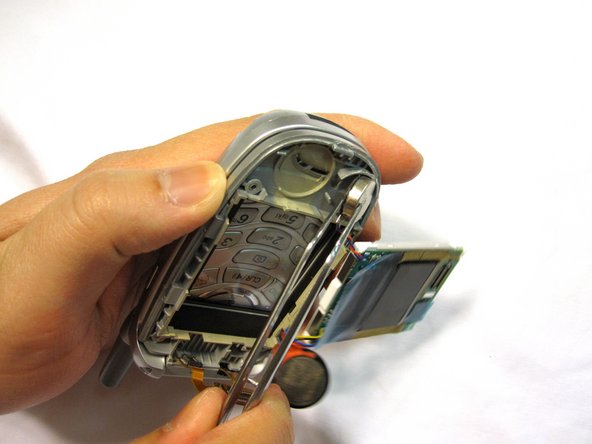
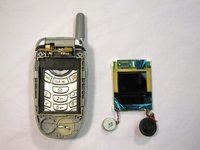
Hold the base of the phone and gently remove the faceplate.
-
Place the phone and the faceplate on a clean, flat surface.
-
-
-
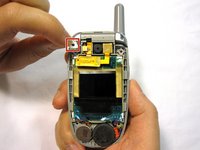
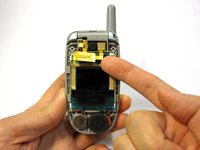
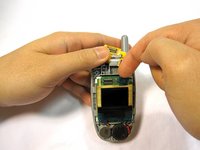
Remove the white stopper from the camera light located above the gold connector.
-
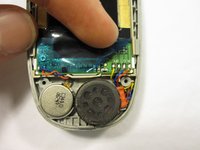
Lift the gold connector up with your finger to detach it.
-
-
Инструмент, используемый на этом этапе:Tweezers$4.99
-
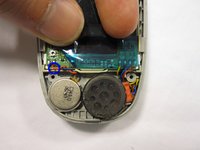
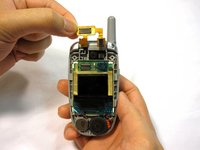
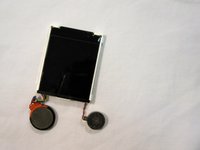
Gently lift out the square LCD assembly being careful with the attached vibrator wires.
-
Gently remove the vibrator with tweezers.
-


To reassemble your device, follow these instructions in reverse order.
Отменить: Я не выполнил это руководство.
3 человек успешно провели ремонт по этому руководству.

Команда

Cal Poly, Team 4-13, Forte Winter 2010 Участник Cal Poly, Team 4-13, Forte Winter 2010
CPSU-FORTE-W10S4G13
5 членов
Автор 15 руководств