Введение
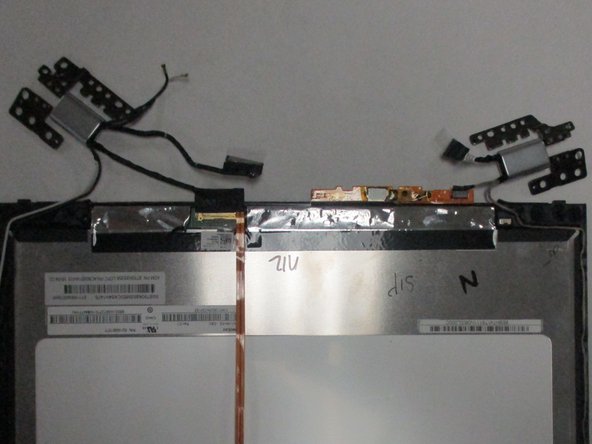
The Lenovo Yoga 710-11ISK’s hinges are fairly important as they allow the display to be opened up and allow the computer to function similar to a tablet. This guide shows how to disassemble the computer in order to access the hinges and replace them.
Выберете то, что вам нужно
-
-
Remove the eleven screws that secure the bottom panel using a T5 Torx screwdriver.
-
-
-
Insert an opening tool between the bottom panel and chassis, then pry around the entire perimeter until the five clips detach, releasing the bottom panel.
-
-
-
Use a Phillips #000 screwdriver to remove the ten black screws on the two hinge brackets.
-
-
-
-
Wedge an opening tool between the display and display housing, then slide the opening tool around the perimeter of the display while gently prying until the display releases.
-
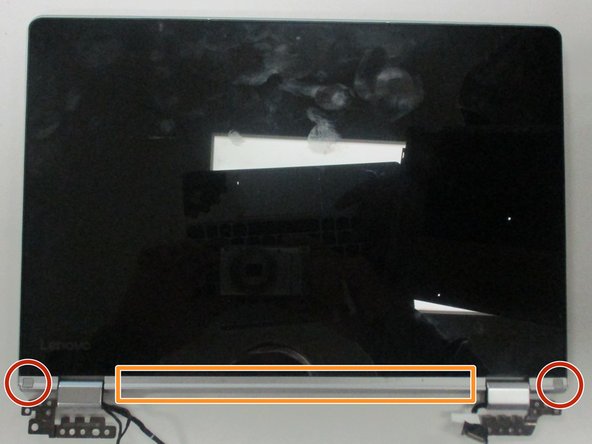
Remove the screw covers located near the hinges on the display side using an opening tool.
-
Remove the cover panel between the screw covers using an opening tool.
-
-
-
Remove the screws securing the hinge brackets with a Phillips #000 screwdriver.
-
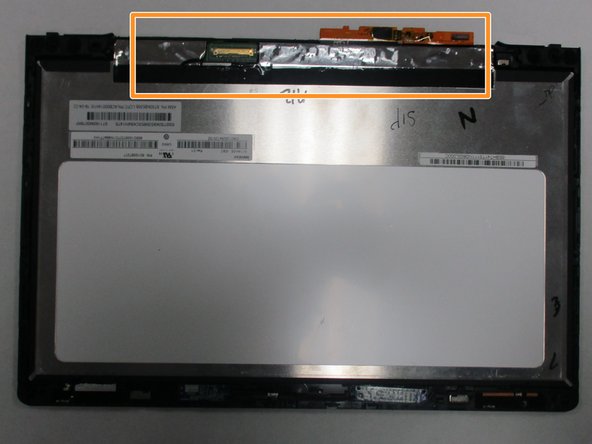
Remove the plastic cover that holds the wires in place.
-
-
-
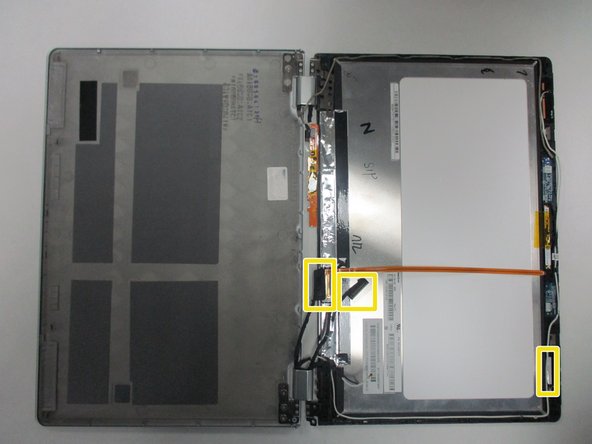
Disconnect the black and white wires from the sides of the display.
-
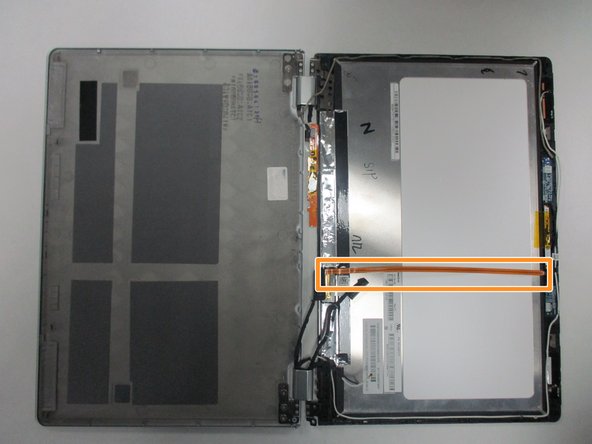
Disconnect the orange ribbon cable.
-
Remove the tape, covers, and stickers that hold in the components.
-
-
-
Use a soldering iron to disconnect the ends of both wires that are embedded into the display.
-
Remove the hinges and their components from the computer.
-
To reassemble your device, follow these instructions in reverse order.
To reassemble your device, follow these instructions in reverse order.


