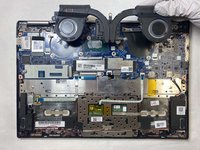
Введение
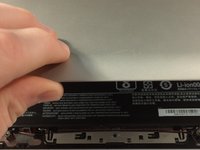
It is important that your Lenovo Yoga 720-13IKB’s fan is running efficiently because it is essential to the cooling system that maintains proper laptop functionality. Over time, a laptop’s fan can accumulate dust or experience wear which typically results in the fan lasting for around three years on the lower estimates. Some symptoms that might warrant a fan replacement include abnormally loud fan noises, performance problems, overheating, and abrupt changes in fan speeds. This guide will provide steps to replacing your fan, which will aid in maintaining your laptop’s performance.
Выберете то, что вам нужно
-
-
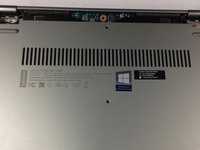
Remove seven Torx T5 short screws.
-
Remove three Torx T5 long screws.
-
-
Инструмент, используемый на этом этапе:iFixit Opening Tool$1.99
-
Starting from the USB port, use your opening tool to gently pry up the case.
-
Pry along the laptop in the order shown by the arrows.
-
-
-
-
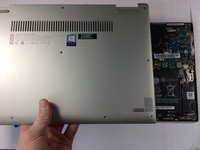
Lift the case from the bottom side. NOT the side with the hinges.
-
Once you feel resistance, gently pull the case towards you. (away from the hinges.)
-
Remove the case.
-
-
-
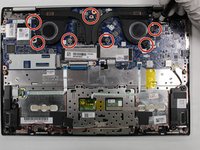
Use a JIS #000 screwdriver to unscrew and remove the seven 2.5mm screws that secure the fan to the motherboard.
-
Remove the fan from the laptop.
-
To reassemble your device, follow these instructions in reverse order.
To reassemble your device, follow these instructions in reverse order.


