Перейти к основному содержанию

Lenovo Yoga 910-13IKB Fan Replacement

Выберете то, что вам нужно

  1. Lenovo Yoga 910-13IKB Fan Replacement, Back Panel: шаг 1, изображение 1 из 2 Lenovo Yoga 910-13IKB Fan Replacement, Back Panel: шаг 1, изображение 2 из 2
    • Turn the laptop over and remove the ten Torx T5 screws along the perimeter of the bottom panel using the T5 Torx Screwdriver.

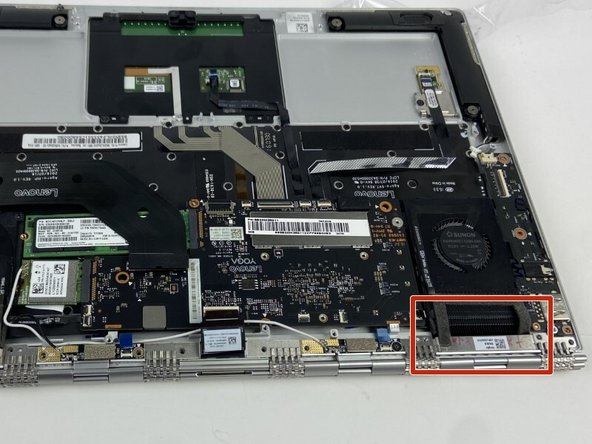
    • Remove the back panel from the device exposing the components.

  2. Lenovo Yoga 910-13IKB Fan Replacement, Battery: шаг 2, изображение 1 из 1
    • Remove the four 3 mm Phillips #0 screws holding the battery in place.

  3. Lenovo Yoga 910-13IKB Fan Replacement: шаг 3, изображение 1 из 3 Lenovo Yoga 910-13IKB Fan Replacement: шаг 3, изображение 2 из 3 Lenovo Yoga 910-13IKB Fan Replacement: шаг 3, изображение 3 из 3
    • Disconnect the battery cable from its motherboard socket by gently pulling it towards the battery. The spudger tool may be needed to lift the flap seal.

    • Pull parallel to the battery, not straight up.

    • Pull evenly on the width of the cable so that no individual wire is overly strained.

    • Lift the battery out.

  4. Lenovo Yoga 910-13IKB Fan Replacement, Fan: шаг 4, изображение 1 из 2 Lenovo Yoga 910-13IKB Fan Replacement, Fan: шаг 4, изображение 2 из 2
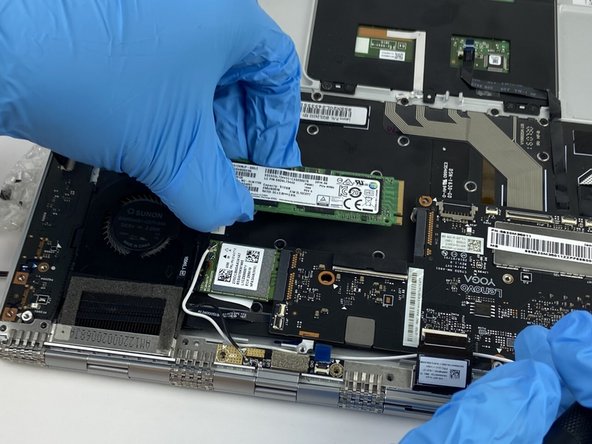
    • Remove the screws attached to the SSD stick by using a Phillips #0 screwdriver.

    • Pull the SSD stick directly to the right until it shifts out of place to remove it.

  5. Lenovo Yoga 910-13IKB Fan Replacement: шаг 5, изображение 1 из 3 Lenovo Yoga 910-13IKB Fan Replacement: шаг 5, изображение 2 из 3 Lenovo Yoga 910-13IKB Fan Replacement: шаг 5, изображение 3 из 3
    • Lift the labeled flap seal and remove the ribbon cable that connects the USB ports to the motherboard and gently pull away.

    • Be gentle when detaching the cables, the attachment port is easy to damage.

  6. Lenovo Yoga 910-13IKB Fan Replacement: шаг 6, изображение 1 из 3 Lenovo Yoga 910-13IKB Fan Replacement: шаг 6, изображение 2 из 3 Lenovo Yoga 910-13IKB Fan Replacement: шаг 6, изображение 3 из 3
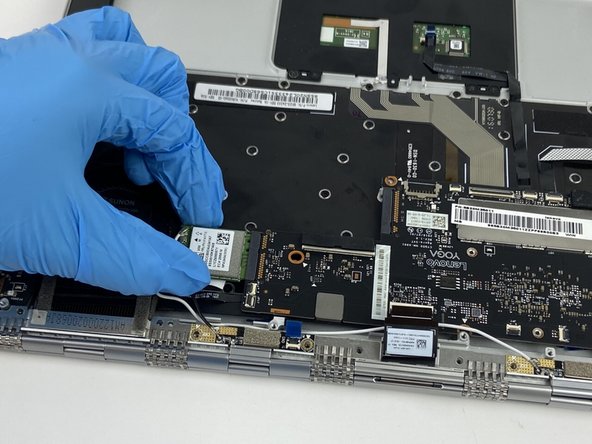
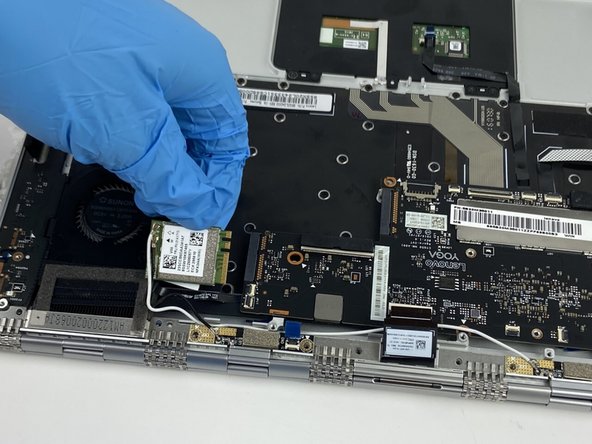
    • Unscrew the single 1 mm screw at the left of Wi-Fi card with a Phillips #0 screwdriver.

    • Remove the Wi-Fi card by gently pulling the card to the left.

  7. Lenovo Yoga 910-13IKB Fan Replacement: шаг 7, изображение 1 из 3 Lenovo Yoga 910-13IKB Fan Replacement: шаг 7, изображение 2 из 3 Lenovo Yoga 910-13IKB Fan Replacement: шаг 7, изображение 3 из 3
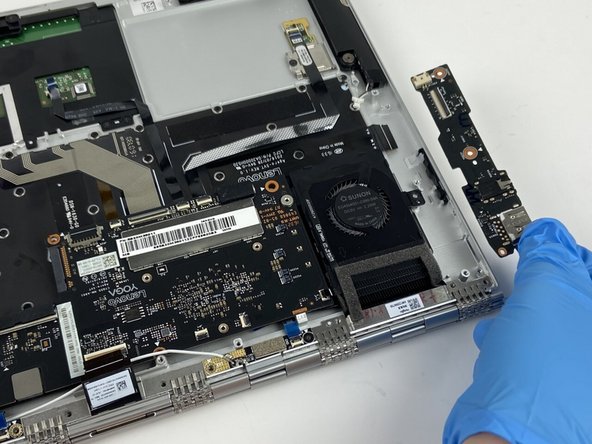
    • Unscrew three 1 mm screws on the rightmost USB port board using a Phillips #0 screwdriver.

    • Remove the rightmost USB port board by pulling it up and out.

  8. Lenovo Yoga 910-13IKB Fan Replacement: шаг 8, изображение 1 из 3 Lenovo Yoga 910-13IKB Fan Replacement: шаг 8, изображение 2 из 3 Lenovo Yoga 910-13IKB Fan Replacement: шаг 8, изображение 3 из 3
    • Unscrew the four 1 mm screws on the leftmost USB port using a Phillips #0 screwdriver.

    • Remove the leftmost USB port board by pulling it up and out.

  9. Lenovo Yoga 910-13IKB Fan Replacement: шаг 9, изображение 1 из 2 Lenovo Yoga 910-13IKB Fan Replacement: шаг 9, изображение 2 из 2
    • Remove seven 1 mm screws from the motherboard using a Phillips #0 screwdriver.

  10. Lenovo Yoga 910-13IKB Fan Replacement: шаг 10, изображение 1 из 2 Lenovo Yoga 910-13IKB Fan Replacement: шаг 10, изображение 2 из 2
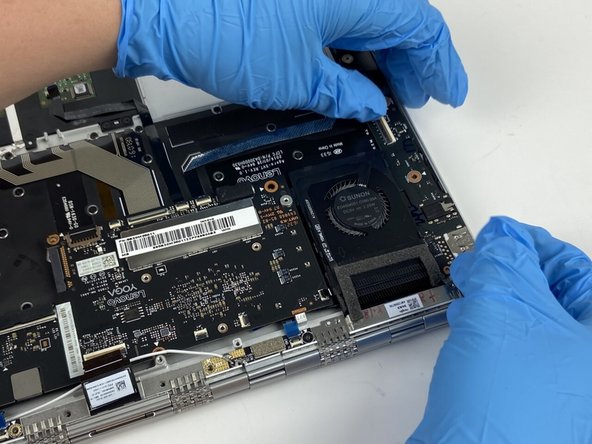
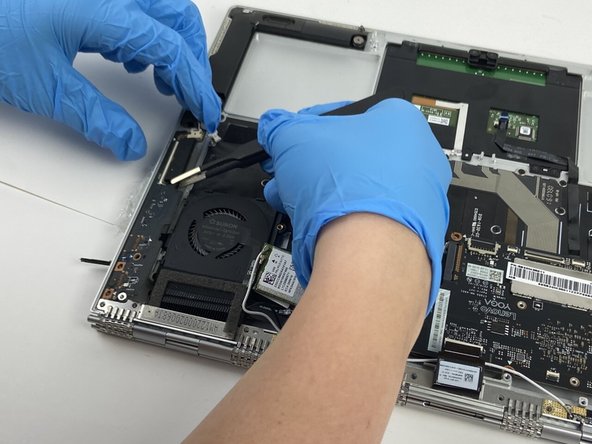
    • Gently pull the Back Connector strip towards you, this will safely disconnect it.

    • Disconnect the two Upper Connector Strips by using Tweezers and unclipping the upper tab.

    • Be cautious not to rip the strips or parts.

  11. Lenovo Yoga 910-13IKB Fan Replacement: шаг 11, изображение 1 из 3 Lenovo Yoga 910-13IKB Fan Replacement: шаг 11, изображение 2 из 3 Lenovo Yoga 910-13IKB Fan Replacement: шаг 11, изображение 3 из 3
    • Gently peel up the sticky adhesive attaching the fan to the hinge.

    • Be very careful with the ports when removing to not damage anything else.

  12. Lenovo Yoga 910-13IKB Fan Replacement: шаг 12, изображение 1 из 2 Lenovo Yoga 910-13IKB Fan Replacement: шаг 12, изображение 2 из 2
    • Remove the motherboard and fan by pulling away and up from the hinge.

  13. Lenovo Yoga 910-13IKB Fan Replacement: шаг 13, изображение 1 из 2 Lenovo Yoga 910-13IKB Fan Replacement: шаг 13, изображение 2 из 2
    • Flip the component to the opposite side.

  14. Lenovo Yoga 910-13IKB Fan Replacement: шаг 14, изображение 1 из 2 Lenovo Yoga 910-13IKB Fan Replacement: шаг 14, изображение 2 из 2
    • Remove three 1 mm screws using a Phillips #0 screwdriver.

  15. Lenovo Yoga 910-13IKB Fan Replacement: шаг 15, изображение 1 из 2 Lenovo Yoga 910-13IKB Fan Replacement: шаг 15, изображение 2 из 2
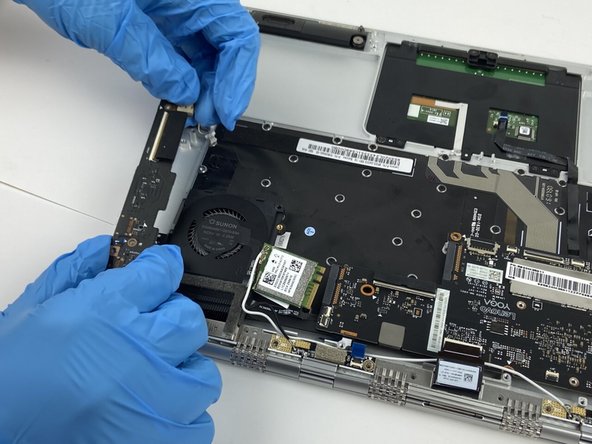
    • Lift the leftmost flap seal up and remove the connector strip.

    • Lift the two right flap seals up and remove the connector strip.

    • Using tweezers or a spudger may be helpful.

  16. Lenovo Yoga 910-13IKB Fan Replacement: шаг 16, изображение 1 из 1
    • Lift the fan component upward and away from the motherboard.

Заключение

To reassemble your device, follow steps 1-8 in reverse order.

Еще один человек закончил это руководство.

Angel L Appelzoller

Участник с: 01/18/22

223 Репутация

1 руководство автора

Команда

Один комментарий

This laptop throttles like crazy with heavy load even if both fans are working perfectly!

danwat1234 - Ответить

Добавить комментарий

Просмотр статистики:

За последние 24часов: 1

За последние 7 дней: 10

За последние 30 дней: 38

За всё время: 1,265