Перейти к основному содержанию

Lexibook Junior Tablet Camera Replacement

Выберете то, что вам нужно

  1. Lexibook Junior Tablet Camera Replacement, Battery: шаг 1, изображение 1 из 1
    • Make sure your device is powered off before replacement to prevent electric shock.

    • With the device screen face down, use the metal spudger to remove the small rubber circles on all four corners of the device. The screws should now be revealed.

    • Using the metal spudger, pry open the small, long rubber rectangle on the back of the device to reveal more screws.

  2. Lexibook Junior Tablet Camera Replacement: шаг 2, изображение 1 из 1
    • Using a Phillips #00 screwdriver, remove the four 6.8mm screws from the four corners of the device.

    • Using the same screwdriver, remove the three screws that were behind the rubber rectangle. These screws do not come out of the device.

    • Use the plastic opening tool to gently pry open the back panel of the tablet.

  3. Lexibook Junior Tablet Camera Replacement: шаг 3, изображение 1 из 1
    • Use the nylon spudger to gently pry under the battery to remove it.

    • Make sure you do not damage the battery or metal plate in this process and only use a nylon spudger. Be patient and work slowly for the best results.

  4. Lexibook Junior Tablet Camera Replacement: шаг 4, изображение 1 из 1
    • Use a soldering iron to remove the battery from the motherboard safely.

    • For advice on how to solder, check out iFixit's Soldering Guide.

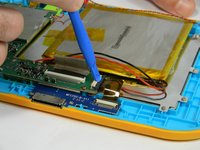
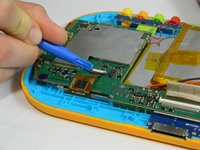
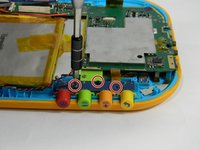
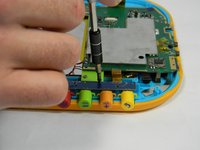
  5. Lexibook Junior Tablet Camera Replacement, Motherboard: шаг 5, изображение 1 из 2 Lexibook Junior Tablet Camera Replacement, Motherboard: шаг 5, изображение 2 из 2
    • Using the plastic opening tool, gently push the two small, black and white switches out in the direction of the ribbon wires.

    • Slowly pull the ribbon wire out of the switch to free it.

  6. Lexibook Junior Tablet Camera Replacement: шаг 6, изображение 1 из 1
    • Push the larger black and white strip leading to a ribbon wire upward using the plastic opening tool.

    • Carefully pull the ribbon wire out of the switch

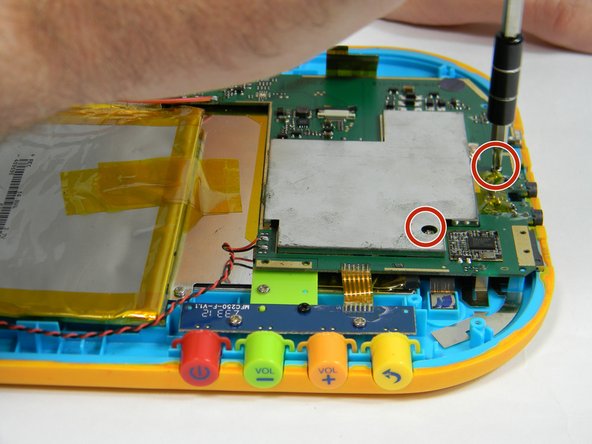
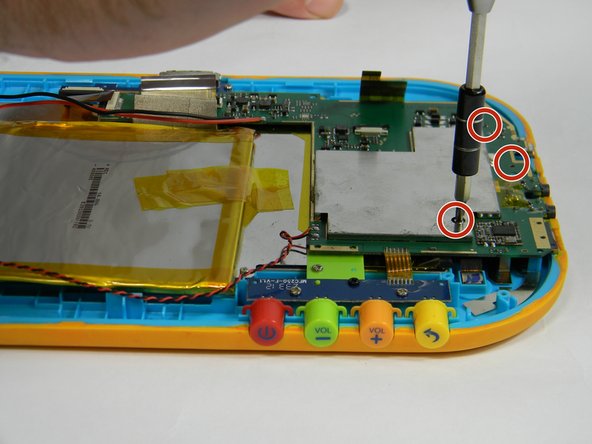
  7. Lexibook Junior Tablet Camera Replacement: шаг 7, изображение 1 из 3 Lexibook Junior Tablet Camera Replacement: шаг 7, изображение 2 из 3 Lexibook Junior Tablet Camera Replacement: шаг 7, изображение 3 из 3
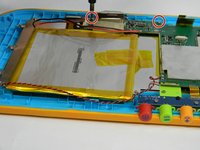
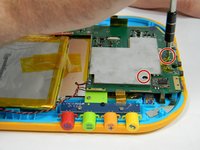
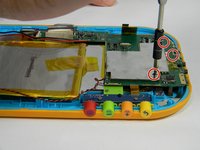
    • Unscrew the five 4 mm screws around the perimeter of the motherboard using the ph00 size phillips head screwdriver.

  8. Lexibook Junior Tablet Camera Replacement: шаг 8, изображение 1 из 2 Lexibook Junior Tablet Camera Replacement: шаг 8, изображение 2 из 2
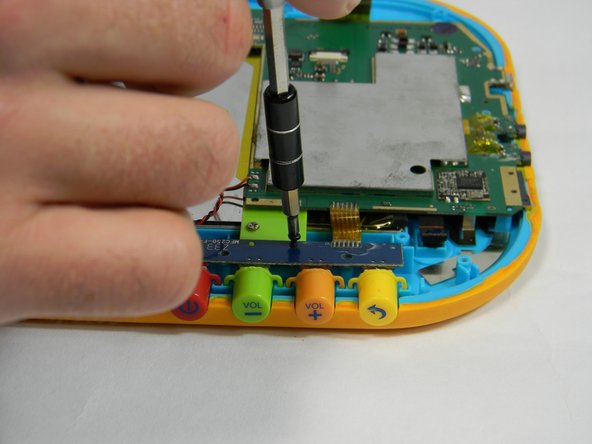
    • Remove the button board by unscrewing two more 4 mm screws and one 6.5 mm screw

  9. Lexibook Junior Tablet Camera Replacement: шаг 9, изображение 1 из 1
    • Solder off connections from the wire connecting the motherboard to the speaker.

    • For how to solder, check out iFixit's Soldering Guide.

  10. Lexibook Junior Tablet Camera Replacement, Camera: шаг 10, изображение 1 из 1
    • Using the plastic opening tool, pop up the black and white clip holding the ribbon wire in place for the camera.

    • This black and white clip removes in the same way that the large clip on the motherboard does.

  11. Lexibook Junior Tablet Camera Replacement: шаг 11, изображение 1 из 1
    • Gently slide out the ribbon wire connecting the camera to the motherboard.

Заключение

To reassemble your device, follow these instructions in reverse order.

Еще один человек закончил это руководство.

Rachel Klesius

Участник с: 09/19/16

645 Репутация

Автор 6 руководств

Команда

USF Tampa, Team 17-3, Blackwell Fall 2016 Участник USF Tampa, Team 17-3, Blackwell Fall 2016

USFT-BLACKWELL-F16S17G3

4 членов

Автор 12 руководств

0 Комментариев

Добавить комментарий

Просмотр статистики:

За последние 24часов: 0

За последние 7 дней: 1

За последние 30 дней: 1

За всё время: 146