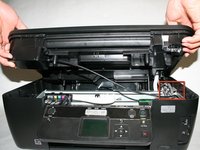
Перейти к основному содержанию

Lexmark Intuition S505 Scanner Unit Replacement

Выберете то, что вам нужно

  1. Lexmark Intuition S505 Scanner Unit Replacement, Duplex Unit: шаг 1, изображение 1 из 1
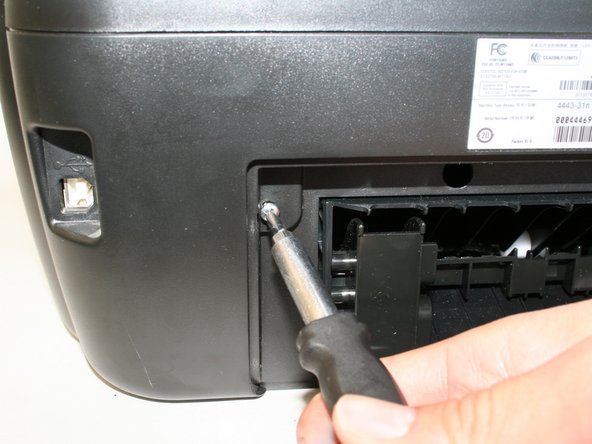
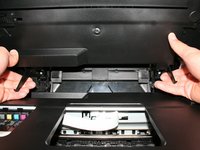
    • Hold the button down with the flat end away from the printer. When you hear a click, the duplex unit can be removed from the printer.

  2. Lexmark Intuition S505 Scanner Unit Replacement: шаг 2, изображение 1 из 2 Lexmark Intuition S505 Scanner Unit Replacement: шаг 2, изображение 2 из 2
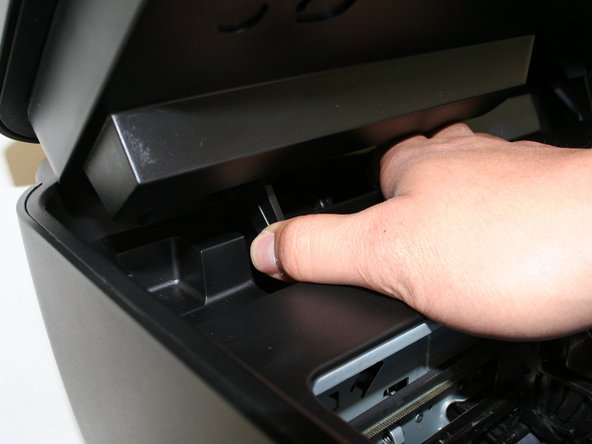
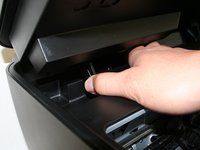
    • Remove the duplex unit from the back of the printer with the duplex unit facing up.

  3. Lexmark Intuition S505 Scanner Unit Replacement, Scanner Unit: шаг 3, изображение 1 из 1
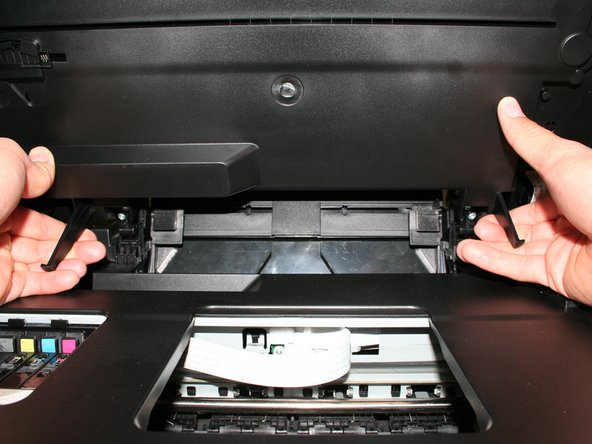
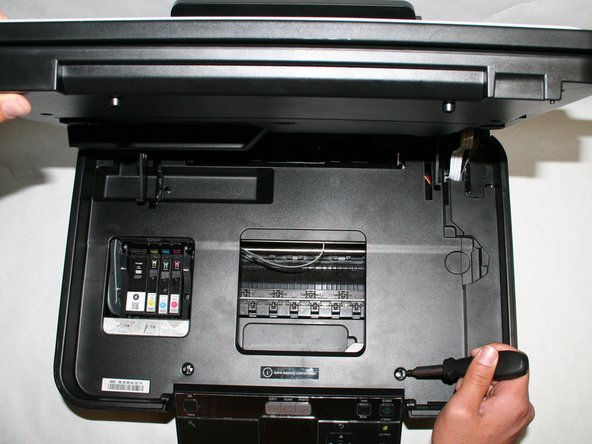
    • Locate the two screw holes that connect the two cylindrical extensions from the top portion of the scanner unit to the printer.

  4. Lexmark Intuition S505 Scanner Unit Replacement: шаг 4, изображение 1 из 1
    • Unscrew the two size#6 (5-mm head) Phillips 1-mm screws connecting the scanner unit to the printer.

  5. Lexmark Intuition S505 Scanner Unit Replacement: шаг 5, изображение 1 из 1
    • Raise and close the scanner unit to observe that the hinges lock in place when lifted.

  6. Lexmark Intuition S505 Scanner Unit Replacement: шаг 6, изображение 1 из 2 Lexmark Intuition S505 Scanner Unit Replacement: шаг 6, изображение 2 из 2
    • Firmly press the hinges inward toward the middle of the printer on both sides at the same time. The hinges should be easily lifted up and removed.

  7. Lexmark Intuition S505 Scanner Unit Replacement: шаг 7, изображение 1 из 1
    • Locate the three screws connecting the plastic tray to the printer.

  8. Lexmark Intuition S505 Scanner Unit Replacement: шаг 8, изображение 1 из 1
    • Remove the three size#6 (5-mm head) Phillips 1-mm screws connecting the scanner unit to the printer.

  9. Lexmark Intuition S505 Scanner Unit Replacement: шаг 9, изображение 1 из 1
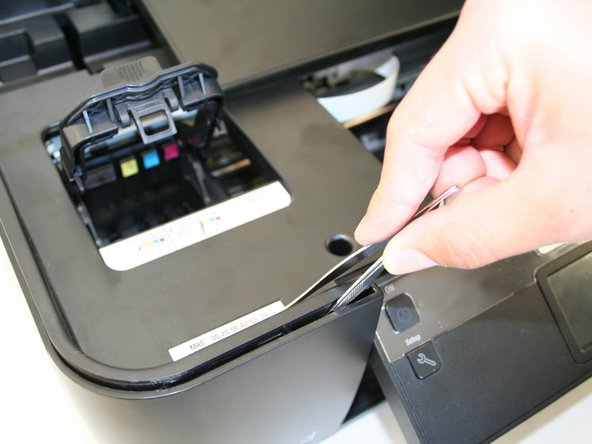
    • Remove the plastic cover by unlocking the plastic hinges at the inside edges of the printer. Use a plastic opening tool or a tweezer to slowly move in between the crease around the printer to unlock it.

  10. Lexmark Intuition S505 Scanner Unit Replacement: шаг 10, изображение 1 из 2 Lexmark Intuition S505 Scanner Unit Replacement: шаг 10, изображение 2 из 2
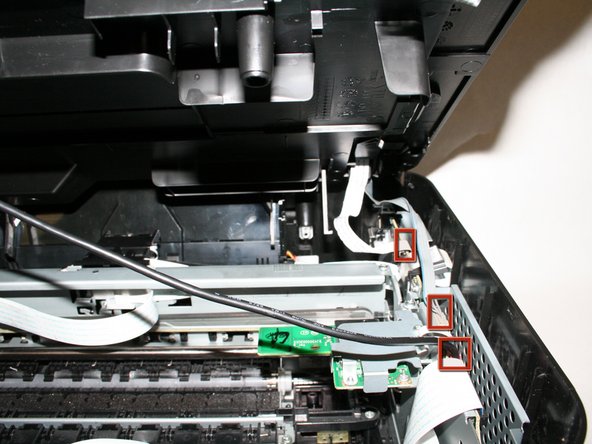
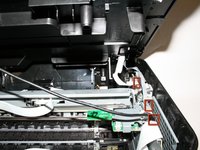
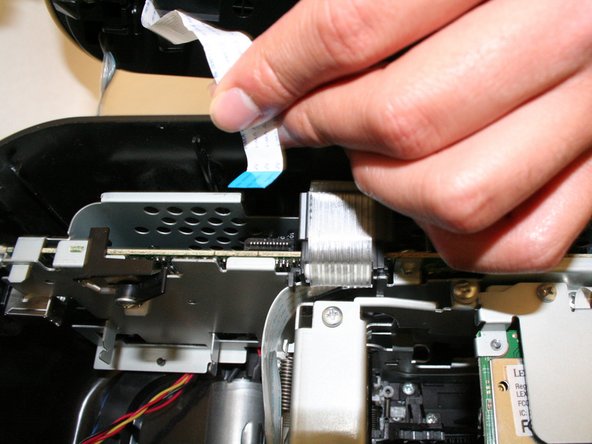
    • Slowly raise, but do not remove the plastic cover with the scanner unit so that it exposes the three cables connecting the scanner unit to the printer.

  11. Lexmark Intuition S505 Scanner Unit Replacement: шаг 11, изображение 1 из 1
    • Carefully unplug the pink cable.

  12. Lexmark Intuition S505 Scanner Unit Replacement: шаг 12, изображение 1 из 1
    • Carefully unplug the gray data cable.

  13. Lexmark Intuition S505 Scanner Unit Replacement: шаг 13, изображение 1 из 1
    • Carefully unplug the white ribbon data cable.

  14. Lexmark Intuition S505 Scanner Unit Replacement: шаг 14, изображение 1 из 1
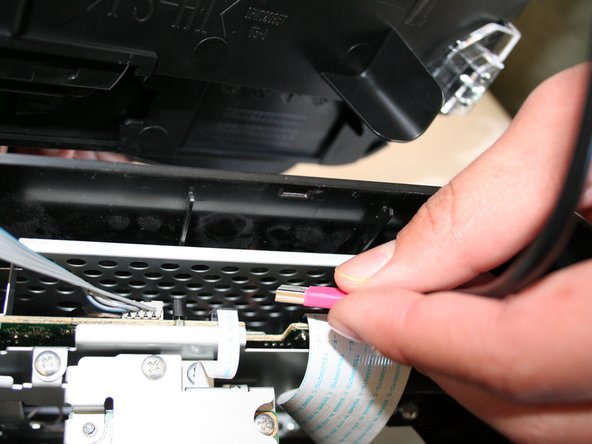
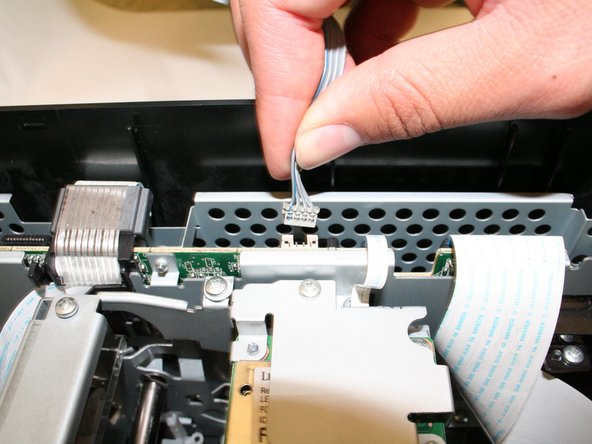
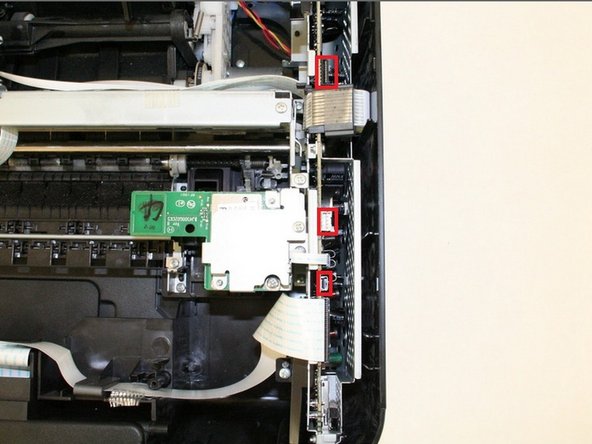
    • Locate the three ports for the cables from the scanner unit and make sure they are unplugged.

  15. Lexmark Intuition S505 Scanner Unit Replacement: шаг 15, изображение 1 из 1
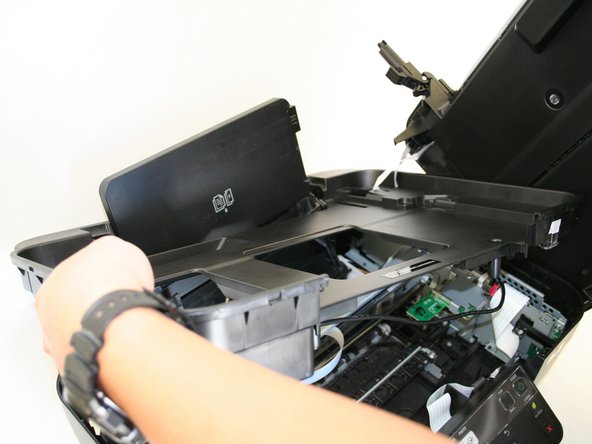
    • Remove the scanner unit with the plastic cover by lifting it up from the bottom portion of the printer.

    • Be careful with the paper tray and make sure it is evenly lifted through the rectangular hole in the plastic tray

Заключение

To reassemble your device, follow these instructions in reverse order.

2 участников успешно повторили данное руководство.

Raymond

Участник с: 01/15/13

45 Репутация

Автор 2 руководств

Команда

Cal Poly, Team 18-38, Regan Winter 2013 Участник Cal Poly, Team 18-38, Regan Winter 2013

CPSU-REGAN-W13S18G38

4 членов

Автор 8 руководств

0 Комментариев

Добавить комментарий

Просмотр статистики:

За последние 24часов: 0

За последние 7 дней: 1

За последние 30 дней: 6

За всё время: 1,238