Введение
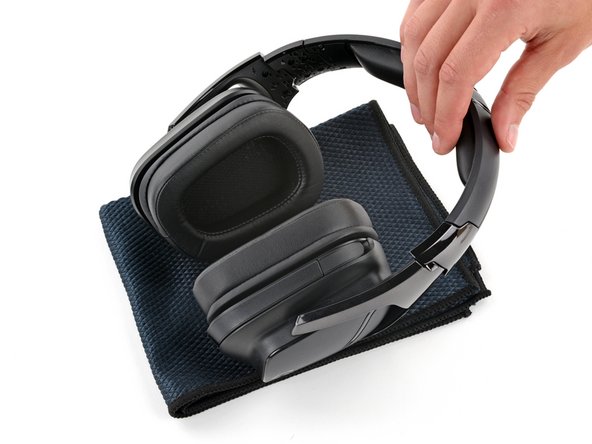
Use this guide to replace one or both of the ear pads (also called ear cushions, headset cushions, or headphone cushions) on your Logitech G935 wireless gaming headset.
Once the ear pads are removed, you can clean the speaker grille of any dirt, dust, or gunk that has built up.
Выберете то, что вам нужно
-
-
Slide the power switch on the back of the left ear cup down so it's in the OFF position.
-
Unplug all cables from your headset and flip the microphone up.
-
-
-
-
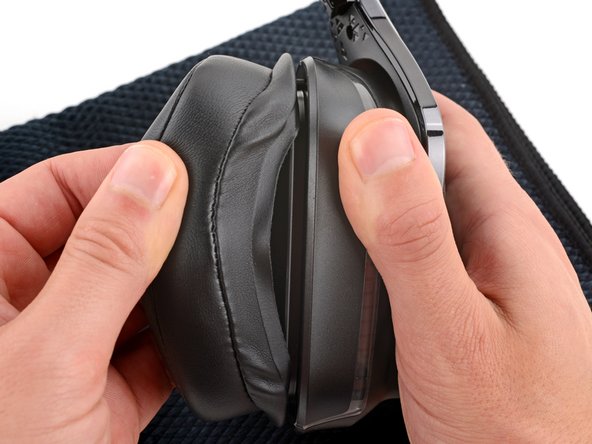
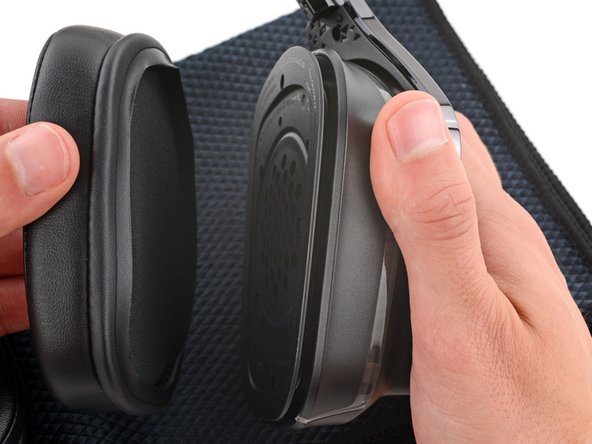
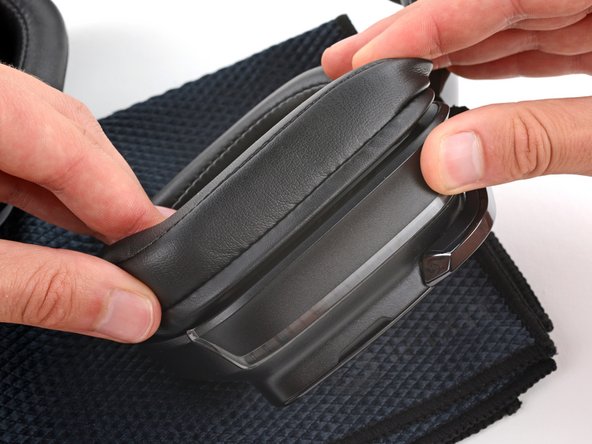
With one hand, firmly hold an ear cup steady.
-
With your free hand, slowly pull the ear pad away from the cup until it slides completely off its plastic lip.
-
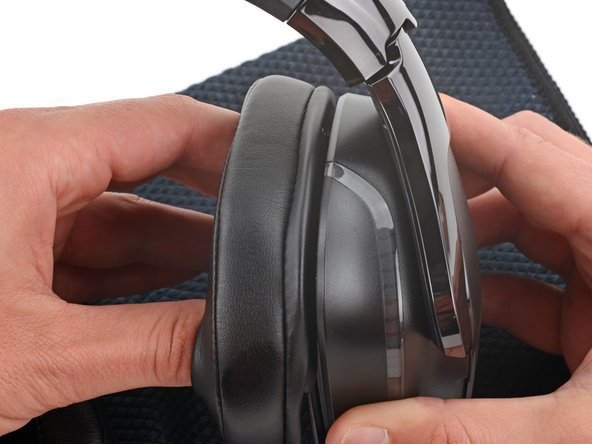
Repeat the process to remove the other ear pad.
-
-
-
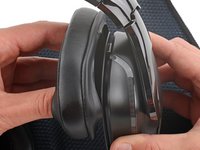
With one hand, firmly hold an ear cup steady.
-
With your free hand, put your fingers into the corresponding ear pad and extend them outwards to stretch the pad.
-
Place the pad over the top of the cup so the fabric flap slides over the cup's plastic lip.
-
Hold the top of the pad firmly in place and thread the rest of the fabric flap over the lip, working your way around the entire cup. Gently stretch the pad as necessary.
-
Check the entire perimeter of the cup to make sure the ear pad is fully on. If any of the fabric flap is sticking out, try to push it over the lip or remove the ear pad and try again.
-


Repair didn’t go as planned? Try some basic troubleshooting, or ask our Answers community for help.

