Введение
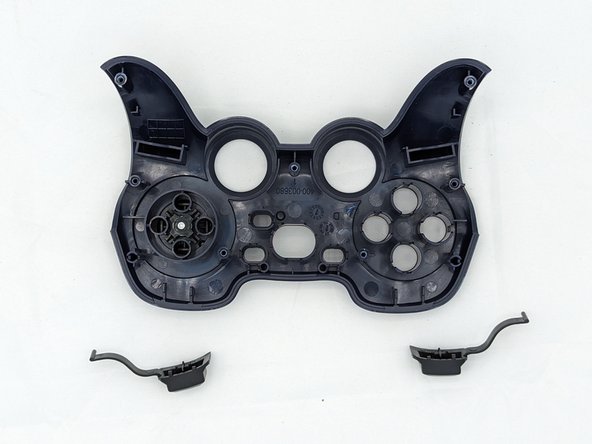
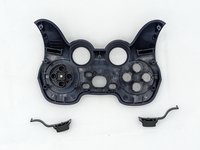
During this guide you will learn how to replace the bumpers on the Logitech Gamepad F310. The bumpers are the first set of buttons on the top part of the controller. They are small and rectangular.
The bumpers are special function for controller. So the bumpers are necessary tool for controller to play the functions for gaming purpose such as zooming, aiming, and etc.
No special tools or skills are required.
Выберете то, что вам нужно
-
-
Use a Phillips #1 screwdriver to remove all seven 3 mm screws that secure the rear case.
-
-
-
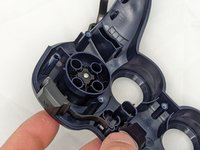
Press along the seams of the controller and gently pull the front and rear case apart.
-
-


You're all finished! To reassemble your device, follow these instructions in reverse order.
Отменить: Я не выполнил это руководство.
Еще один человек закончил это руководство.

Команда

University of North Texas, Team 2-6, Kilpatrick Spring 2024 Участник University of North Texas, Team 2-6, Kilpatrick Spring 2024
UNT-KILPATRICK-S24S2G6
4 членов
Автор 6 руководств