Эта версия возможно содержит некорректные исправления. Переключить на последнюю проверенную версию.
Выберете то, что вам нужно
-
Этот шаг не переведен. Помогите перевести
-
Remove the following P5 pentalobe screws securing the lower case to the MacBook Pro:
-
Eight 3.0 mm
-
Two 2.3 mm
-
-
Этот шаг не переведен. Помогите перевести
-
Lifting from the edge nearest the clutch cover, lift the lower case off the MacBook Pro.
-
Set the lower case aside.
-
-
Этот шаг не переведен. Помогите перевести
-
Peel back the warning label covering the battery connector.
-
-
-
Этот шаг не переведен. Помогите перевести
-
Using the flat end of a spudger, gently pry the battery connector straight up out of its socket on the logic board.
-
Bend the battery cables back and out of the way, ensuring that the battery connector doesn't accidentally make contact with the logic board.
-
-
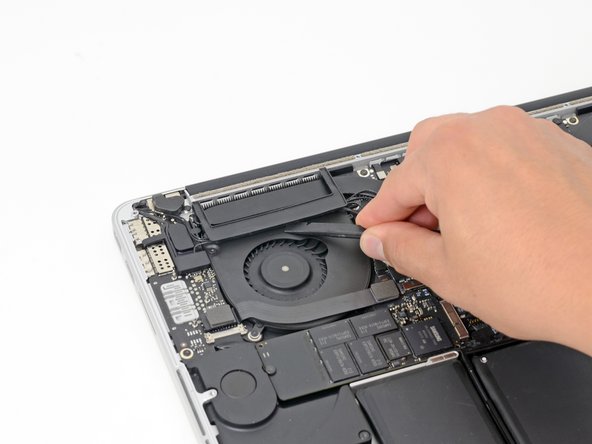
Этот шаг не переведен. Помогите перевести
-
Insert the flat end of a spudger underneath the rubber heat sink cover on the right fan.
-
Slide the spudger underneath the length of the cover, releasing the adhesive.
-
Lift the cover and rotate it off of the heat sink.
-
-
Этот шаг не переведен. Помогите перевести
-
In the same manner described above, release the adhesive and flip back the heat sink cover on the left fan.
-
-
Этот шаг не переведен. Помогите перевести
-
Remove the following ten screws securing the heat sink to the logic board:
-
Two 2.4 mm T5 Torx screws
-
Six 3.4 mm T5 Torx screws
-
One 5.2 mm Raised Head T5 Torx screw
-
One 3.5 mm T5 Torx screw
-
-
Этот шаг не переведен. Помогите перевести
-
Grasping the heat sink from one side, lift the heat sink off of the MacBook Pro, pulling it free from the computer.
-


Отменить: Я не выполнил это руководство.
20 участников успешно повторили данное руководство.

