Введение
Running hot? Use this guide to replace a worn-out right fan.
Выберете то, что вам нужно
-
-
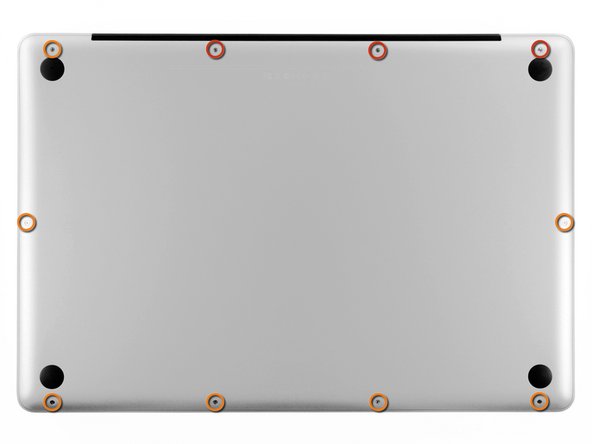
Remove the following ten screws securing the lower case to the upper case:
-
Three 13.5 mm Phillips screws.
-
Seven 3 mm Phillips screws.
-
-
-
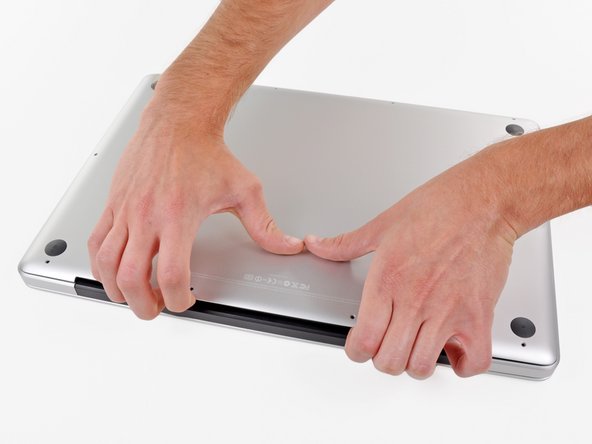
Wedge your fingers between the lower case and the vent, and lift upward to release the two clips holding the lower case to the upper case.
-
Remove the lower case.
-
-
-
-
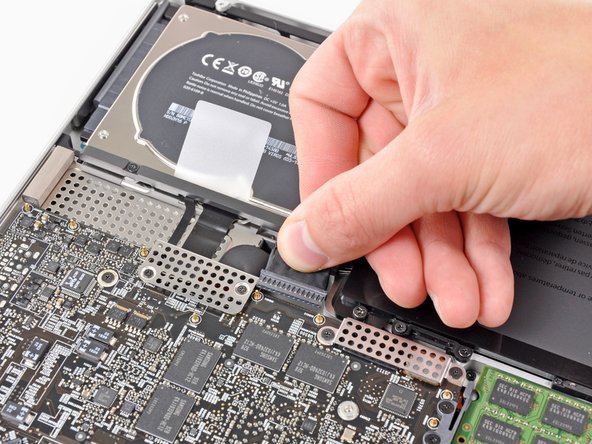
If present, grab the plastic tab attached to the battery connector and pull it toward the front edge of the device. For Late-2011 models the battery connector will not have a tab and is simply a plug that inserts straight down into the motherboard--to remove pry the plug straight up.
-
-
-
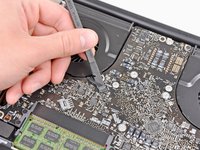
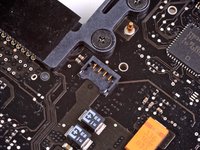
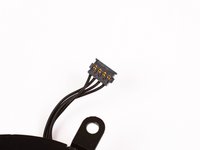
Use the flat end of a spudger to lift the right fan connector out of its socket on the logic board.
-
-
-
Remove the three 3.1 mm Phillips screws securing the right fan to the logic board.
-
-
-
Remove the right fan from the upper case, minding its cable that may get caught.
-
To reassemble your device, follow these instructions in reverse order.
Отменить: Я не выполнил это руководство.
33 человек успешно провели ремонт по этому руководству.
1 Комментарий к руководству
I had a few problems with the fan cables!!!
