Введение
The LCD screen is located directly on top of the motherboard and is attached by a cable underneath, which will need to be removed as well to replace the screen
Warning: The following guide is likely to ruin the water resistance of the device.
Выберете то, что вам нужно
-
-
Heat the iOpener. Instructions on how to do this can be found here: iOpener Instructions
-
Firmly press the frame of the band against the iOpener, and hold it in place for about 90 seconds.
-
-
-
Using a spudger, lightly press upwards against one corner of the frame, then the other along the corner of the short edge.
-
Alternating between the same two corners, continue pressing until there's about a 1-2 mm gap between that end of the frame and the body.
-
-
-
-
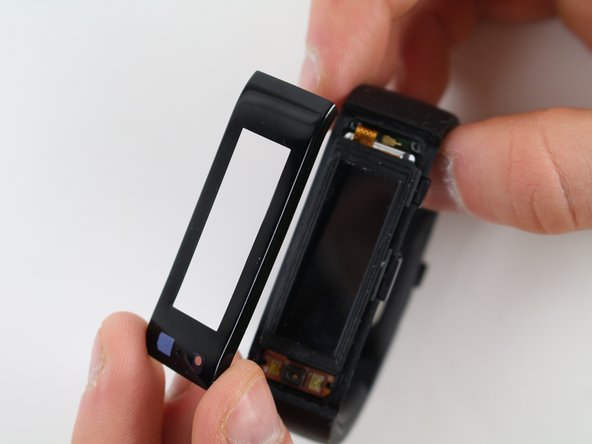
Insert the spudger into the gap under the frame, and lightly slide it about 3/4 of the way down one of the long edges, then repeat with the other.
-
If the frame doesn't simply pop off, try sliding the spudger the rest of the way down the long edges, and lightly lift the frame with your fingers.
-
-
-
Gently lift the LCD screen from the components using your fingertips.
-
-
-
Lightly pry up the black connector from the motherboard using a spudger.
-
Pull the entire LCD screen gently upward to detach the yellow ribbon cable.
-
To reassemble your device, follow these instructions in reverse order.
To reassemble your device, follow these instructions in reverse order.
Отменить: Я не выполнил это руководство.
2 участников успешно повторили данное руководство.


