Введение
This guide will help you replace or remove heatsinks on your Surface Pro 2. The heatsinks are responsible for dissipating the heat generated by electronics inside your device. They work by conducting heat away from hot components and radiating that excess heat into ambient air. Replacing these may be useful in the event your device is overheating or if you need to access other components underneath the heatsinks. Note that the heatsinks are located behind the motherboard on your Surface Pro 2, requiring careful disassembly and handling. You will be removing the screen and bezels to access the motherboard.
You will need isopropyl alcohol, thermal paste, a heat gun and a few other handy items shown under the tools section. The isopropyl alcohol and thermal paste are specifically needed to ensure good thermal contact between your replacement heatsinks and the electronic components they cool. Reference this guide as an example for how to apply thermal paste: How to Apply Thermal Paste
Safety precautions should be taken to avoid sharp metal edges, and sensitive electronics should be handled with care.
Выберете то, что вам нужно
-
-
Using a heating pad or heating gun, heat the edges of the screen to soften the glue. This area extends roughly one inch from the edge of the device.
-
-
-
Using a plastic opening tool and a suction cup as needed for leverage, gently insert one edge of the opening tool under the corner of the screen.
-
Slowly work the tool around the entire edge of the screen.
-
-
-
-
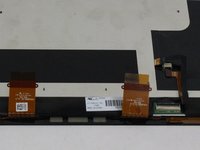
Detach the orange cables that connect the screen to the motherboard by pulling on the small tabs. Using the nylon spudger, release these cables.
-
Allow the glue to cool before letting it come into contact with any other surface.
-
-
-
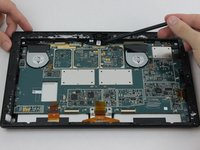
Make sure that the front-facing camera is completely disconnected, and then remove the plastic bracket.
-
Remove the 22 screws on the bezel.
-
Remove the left and right brackets; the left has 16 screws and the right has 15 screws.
-
-
-
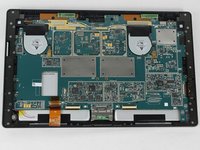
Once the brackets are removed, set them aside.
-
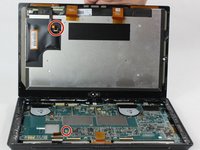
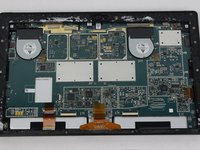
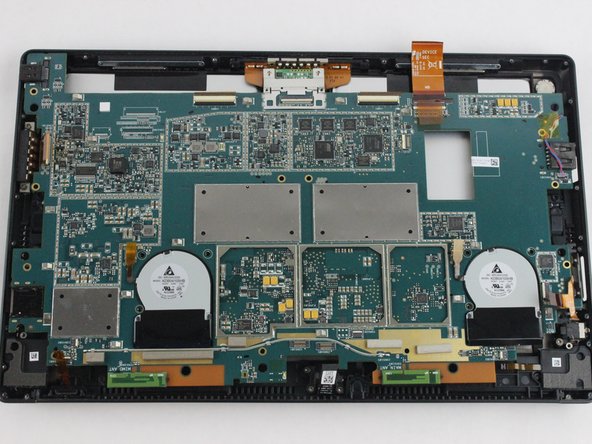
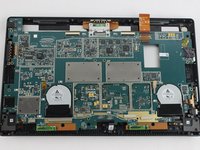
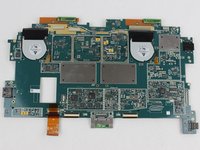
Remove the 25 screws of varying sizes that attach the motherboard to the back plate.
-
-
-
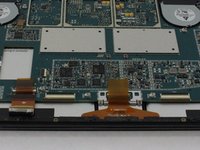
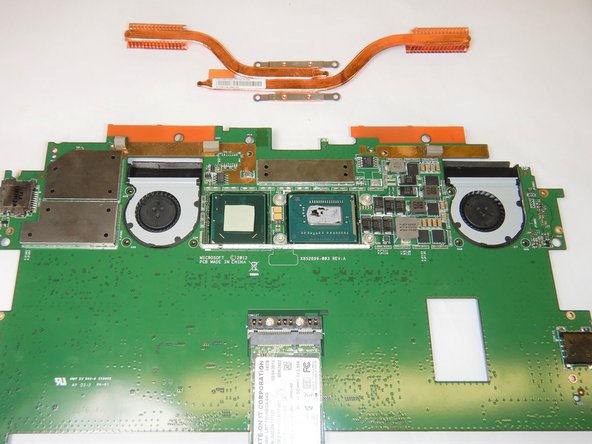
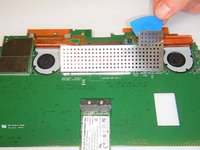
On the underside of the motherboard locate the heat shield which is located between the two fans near the top of the motherboard.
-
Remove the heat shield using an opening pick by lifting along the edges.
-
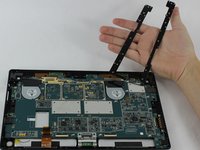
Remove all four Torx T5 screws located in each corner of the heat sink mounting frame.
-
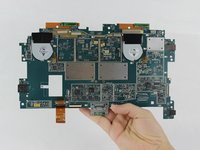
Carefully lift off the heat sinks from the motherboard.
-


To reassemble your device, follow these instructions in reverse order.
To reassemble your device, follow these instructions in reverse order.
Отменить: Я не выполнил это руководство.
Еще один человек закончил это руководство.

Команду

The Citadel Military College of South Carolina, Team S3-G11, Eggleston Fall 2019 Участник The Citadel Military College of South Carolina, Team S3-G11, Eggleston Fall 2019
CMCSC-EGGLESTON-F19S3G11
3 членов
Автор 4 руководств