Введение
For the official, updated iFixit guide, click here. This guide is archived for historical purposes.
This guide is helpful for users who are having difficulty with sound quality, clarity, or volume while taking a phone call.
Выберете то, что вам нужно
-
-
Insert the spudger into the notch on the corner of the phone and lift up to remove the back case.
-
-
-
Use the T4 Torx Screwdriver to remove the 17 3.2 mm screws in the back panel covering the battery.
-
-
-
After removing the back panel, use the spudger to lift and detach the Battery Flux Cable from the Motherboard.
-
-
-
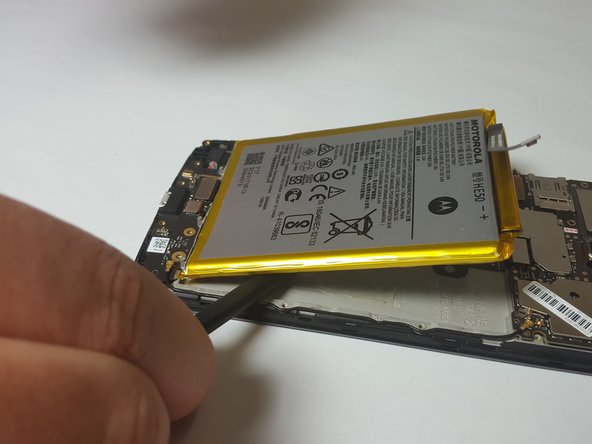
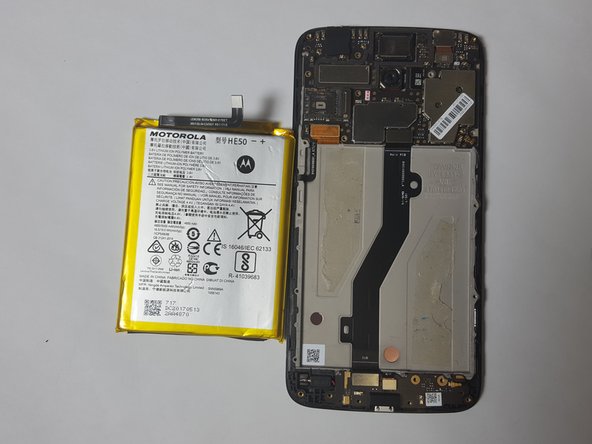
Wedge the spudger between the battery and the phone to lift the battery up and remove the battery. There will be slight resistance to this but the battery will not be damaged by this. It is just the adhesive tape.
-
-
-
-
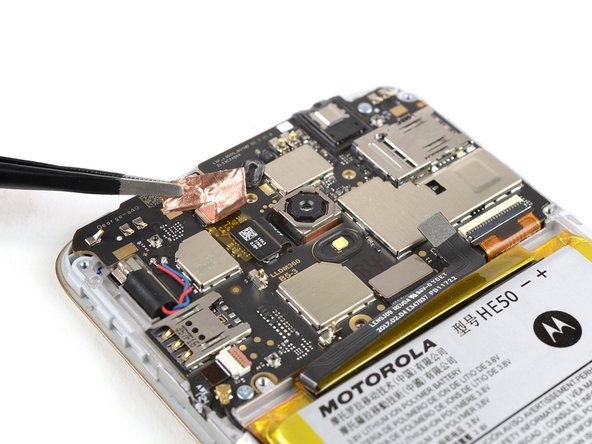
Use a pair of tweezers to peel up the copper tape that covers the rear camera flex connector.
-
Fold the copper tape out of the way.
-
-
-
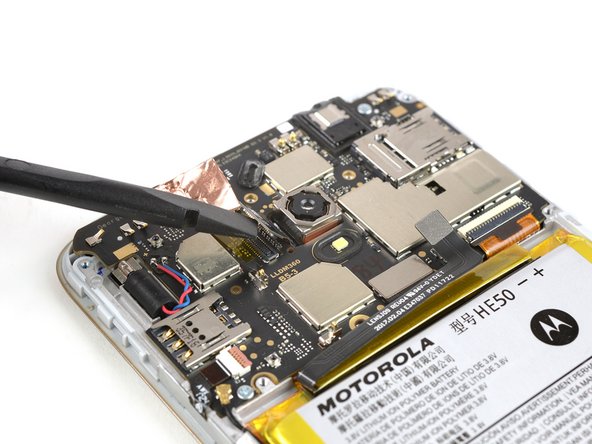
Use the flat end of a spudger to pry up and disconnect the rear camera flex cable.
-
-
-
Use the T4 Torx Screwdriver to remove the 2 3.2 mm screws circled in the image.
-
-
-
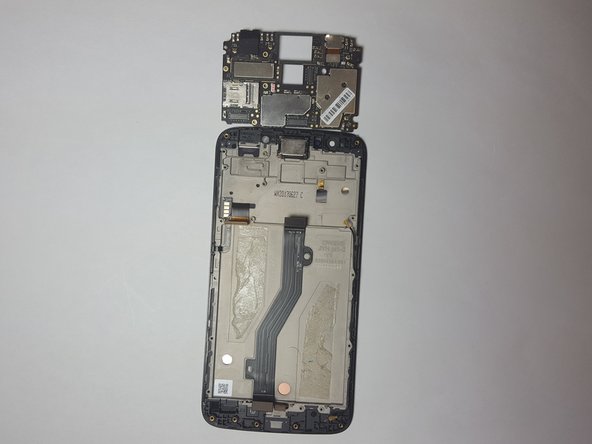
Use the Spudger to lift up and detach the Main Flex Cable from the Motherboard.
-
-
-
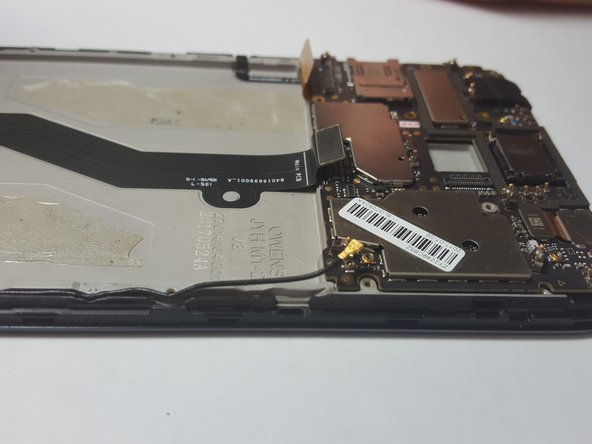
Use the Spudger to lift up and detach the LCD Screen Flex Cable from the Motherboard.
-
-
-
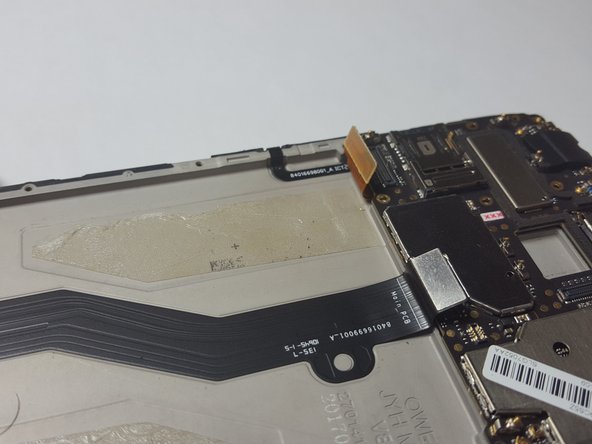
Use the Plastic Spudger to lift up and detach the Signal Flex Cable from the Motherboard. The Signal Flex Cable should still be attached to the body of the phone.
-
-
-
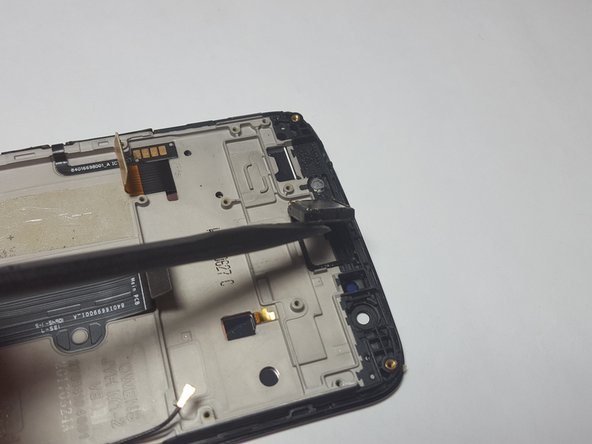
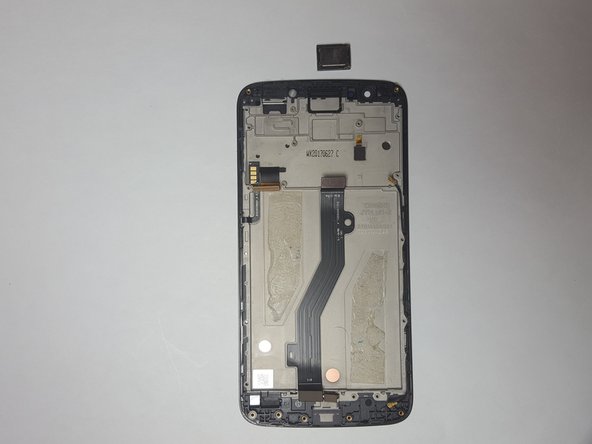
Use the Plastic Spudger to remove the Earpiece Speaker from the phone.
-


To reassemble your device, follow these instructions in reverse order.
To reassemble your device, follow these instructions in reverse order.
Отменить: Я не выполнил это руководство.
4 участников успешно повторили данное руководство.
Команда

Baylor, Team S3-G2, Williams Spring 2018 Участник Baylor, Team S3-G2, Williams Spring 2018
BU-WILLIAMS-S18S3G2
4 членов
Автор 13 руководств