Введение
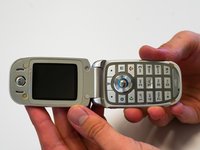
If the keypad of your Motorola V190 cellular phone is not responding correctly, if the buttons stick, or if your keypad is missing a button, follow this guide to replace the keypad. The keypad uses the motherboard, allowing you to send and receive calls, navigate the phone, and send text messages.
Check for any dirt on the keypad or motherboard while the keypad is removed. Use a compressed air canister to remove any dirt.
Make sure to power down your phone before beginning.
Выберете то, что вам нужно
-
-
Rotate the antenna counter-clockwise until the antenna is completely removed.
 Спросите у FixBot
-
-
-
Press the button at the bottom of the back cover.
-
Pull the back cover down.
-
Remove the battery.
-
-
-
-
Use the TR6 Torx Security Screwdriver to remove the four 6.3mm Torx screws on the back.
-
-
-
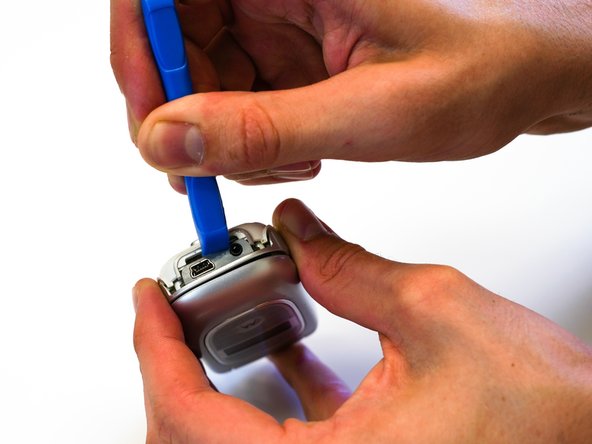
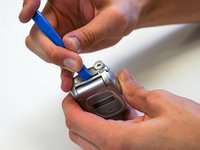
Use the iFixit opening tool to pry open the crevice at the top of phone.
-
Use the same tool to pry open the crevice at the bottom of the phone.
-
-
-
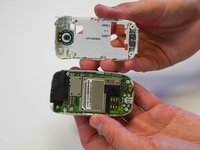
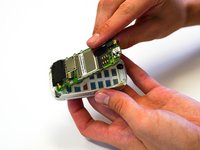
Remove the black rubber piece from the top of the motherboard.
-
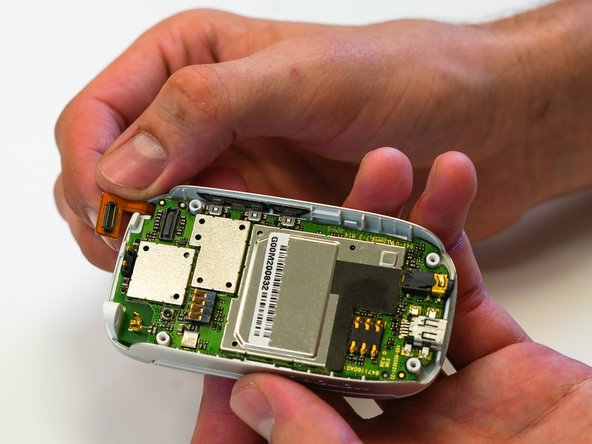
Disconnect the rectangular ribbon from the motherboard.
-
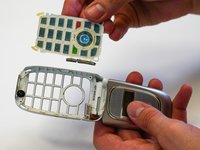
Remove the motherboard.
-
-
-
Reopen the phone.
-
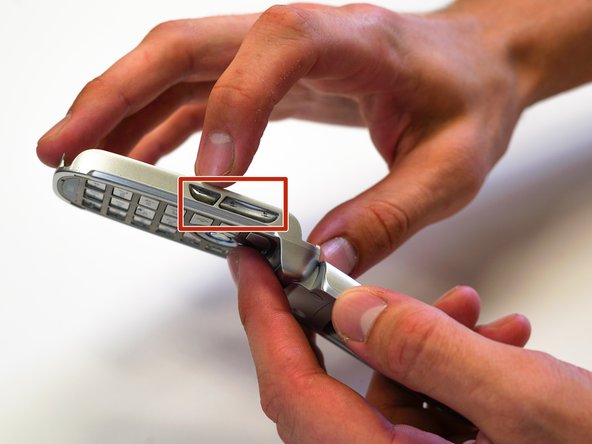
Press the push buttons (the volume buttons) through the phone frame to fully remove the keypad.
-
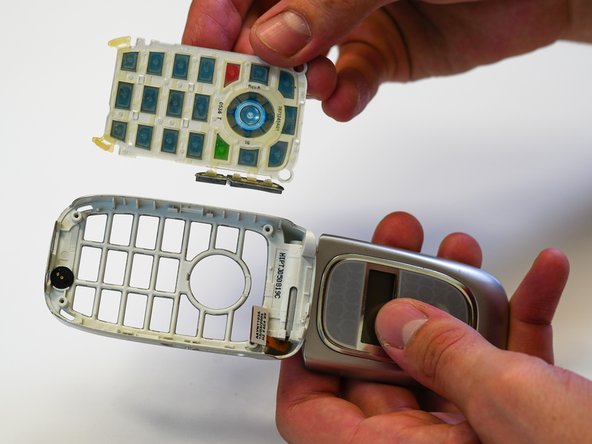
Push the keypad through the keypad frame.
-
Remove the keypad by lifting it over the screw holes.
-


To reassemble your device, follow these instructions in reverse order.

Команда

University of North Texas, Team S1-G1, Friess Fall 2019 Участник University of North Texas, Team S1-G1, Friess Fall 2019
UNT-FRIESS-F19S1G1
2 членов
Автор 5 руководств