Перейти к основному содержанию
Присоединяйся к сообществу ремонтников - Создай аккаунт

Neato Botvac 80 Laser Replacement

Выберете то, что вам нужно

  1. Neato Botvac 80 Laser Replacement, Rear Bumper: шаг 1, изображение 1 из 1
    • Grab the rear bumper with both hands on either side.

    Спросите у FixBot
  2. Neato Botvac 80 Laser Replacement: шаг 2, изображение 1 из 1
    • Pull the left and right sides away from the machine to unclip the bumper. This requires that you bend the plastic a little bit. Unclip one side a little bit and allow the prong to rest on the side of the machine. Then unclip the other side and pull off the bumper parallel to both sides

    Спросите у FixBot
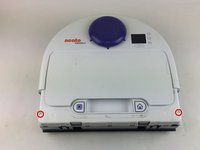
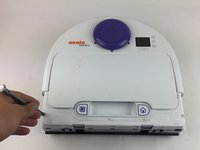
  3. Neato Botvac 80 Laser Replacement, Top Face Panel: шаг 3, изображение 1 из 2 Neato Botvac 80 Laser Replacement, Top Face Panel: шаг 3, изображение 2 из 2
    • Looking from above, remove the two 11mm screws with a torx T10 screwdriver.

    Спросите у FixBot
  4. Neato Botvac 80 Laser Replacement: шаг 4, изображение 1 из 1
    • Begin by placing the robot on it's back and removing the six 11m screws using a Torx T10 screwdriver.

    Спросите у FixBot
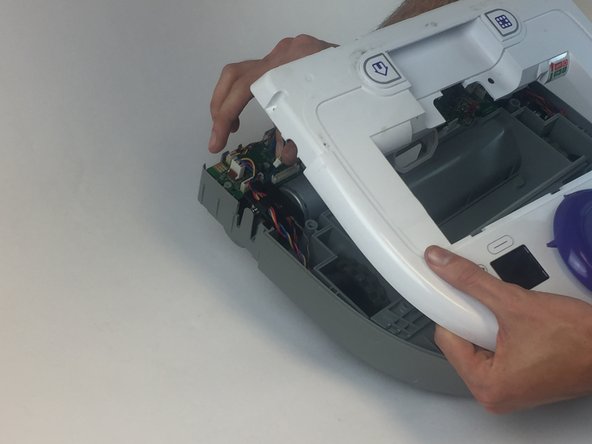
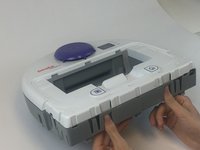
  5. Neato Botvac 80 Laser Replacement: шаг 5, изображение 1 из 3 Neato Botvac 80 Laser Replacement: шаг 5, изображение 2 из 3 Neato Botvac 80 Laser Replacement: шаг 5, изображение 3 из 3
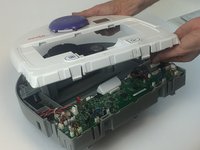
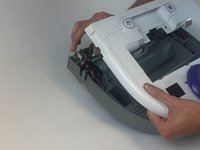
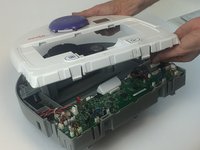
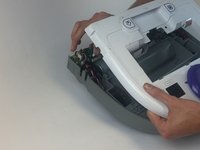
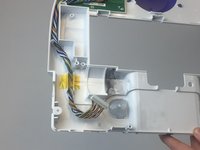
    • To remove the top, you must press in both of the clamps at the same time and push upwards.

    • When removing the top, before you can completely take it off you must unplug the LCD power cable from the motherboard.

    Спросите у FixBot
  6. Neato Botvac 80 Laser Replacement, Laser: шаг 6, изображение 1 из 3 Neato Botvac 80 Laser Replacement, Laser: шаг 6, изображение 2 из 3 Neato Botvac 80 Laser Replacement, Laser: шаг 6, изображение 3 из 3
    • Lift gently upon the top panel.

    • Unplug the clip located on the right side before completely removing.

    Спросите у FixBot
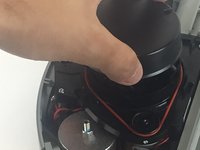
  7. Neato Botvac 80 Laser Replacement: шаг 7, изображение 1 из 3 Neato Botvac 80 Laser Replacement: шаг 7, изображение 2 из 3 Neato Botvac 80 Laser Replacement: шаг 7, изображение 3 из 3
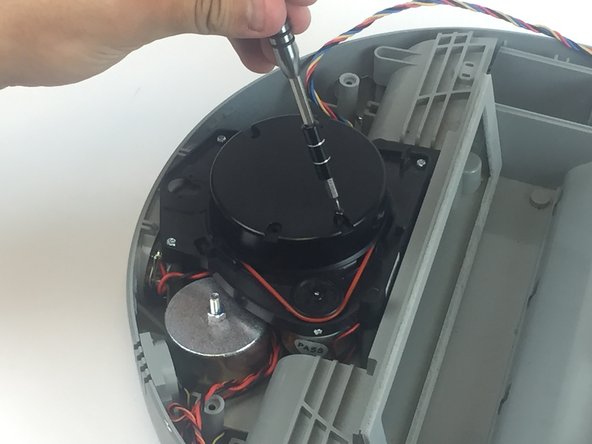
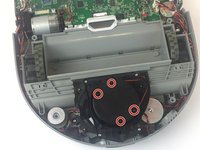
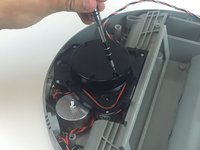
    • This black cap spins so may need a hand when unscrewing the screws.

    • Locate and unscrew the four 12 mm screws located in the black cap with the phillips #00 screwdriver.

    • Lift the black cap to reveal the laser.

    Спросите у FixBot
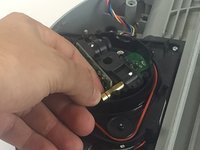
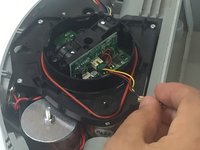
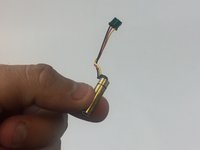
  8. Neato Botvac 80 Laser Replacement: шаг 8, изображение 1 из 3 Neato Botvac 80 Laser Replacement: шаг 8, изображение 2 из 3 Neato Botvac 80 Laser Replacement: шаг 8, изображение 3 из 3
    • There are two loosely secured black blinders on both the laser and sensor.

    • Gently pull back on the gold laser to remove it from the socket.

    • Unplug the mini LCU clip by gently pulling up and remove the laser.

    Спросите у FixBot
Заключение

To reassemble your device, follow these instructions in reverse order.

4 человек успешно провели ремонт по этому руководству.

Brandon Blank

Участник с: 02/02/17

675 Репутация

Автор 5 руководств

Команда

USF Tampa, Team 17-5, Blackwell Spring 2017 Участник USF Tampa, Team 17-5, Blackwell Spring 2017

USFT-BLACKWELL-S17S17G5

3 членов

Автор 12 руководств

9 Комментарии к руководству

lol. You don’t need to open it to replace the laser. The top is a clip on. Just pull it and remove 4 screws.

Evgany Vorona - Ответить Поделиться

where do you buy the replacement laser?

Nancy Butler - Ответить Поделиться

I too would like to know where he got a replacement laser.

Anthony Mainini - Ответить Поделиться

where do I buy a replacement laser?

bjurgensen79@gmail.com

Beverly Jurgensen

Beverly Jurgensen - Ответить Поделиться

Where do I buy a replacement laser?

Beverly Jurgensen

Beverly Jurgensen - Ответить Поделиться

Добавить комментарий

Статистика просмотров:

За последние 24 часов: 2

За последние 7 дней: 8

За последние 30 дней: 64

За всё время: 9,868