Введение
If your Nest Cam IQ mounting stand is broken or can no longer mount to the desired surface, it requires replacement.
A proper mounting stand allows you to set up the Nest Cam IQ at your preferred viewpoint. If you notice your viewpoint has changed and the mounting stand is no longer mounted, consider changing out your mounting stand.
Выберете то, что вам нужно
-
-
To soften the adhesive holding the camera together, heat up the edges of the glass lens using a heated iOpener on the device. Alternatively, you can use a heat gun to loosen the adhesive.
-
Leave the Opener on the glass lens for two minutes.
-
-
-
Place a suction cup on the glass lens that you heated up with the iOpener.
-
Press down on the suction cup to create a seal, and pull up with force to create a separation between the glass lens and the body.
-
Pull off the glass lens using the suction cup.
-
-
-
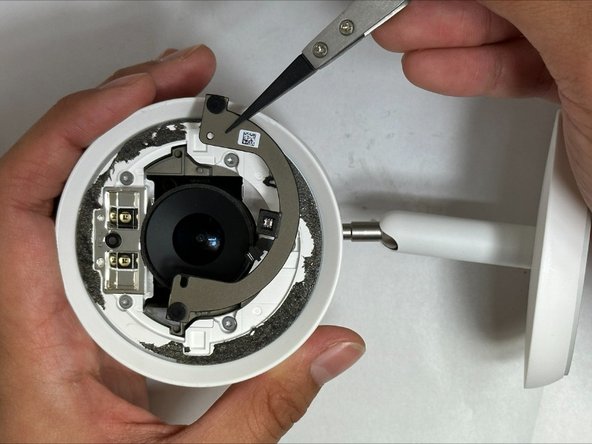
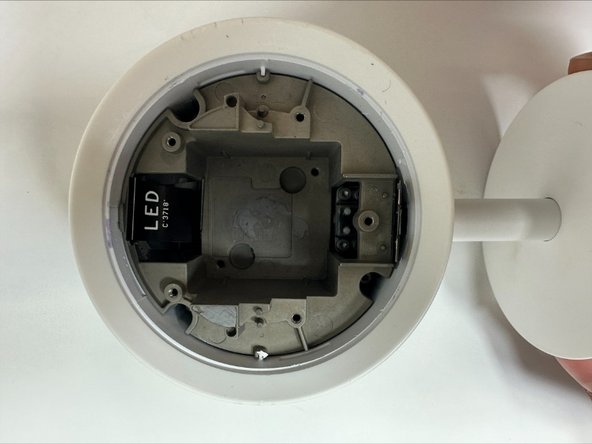
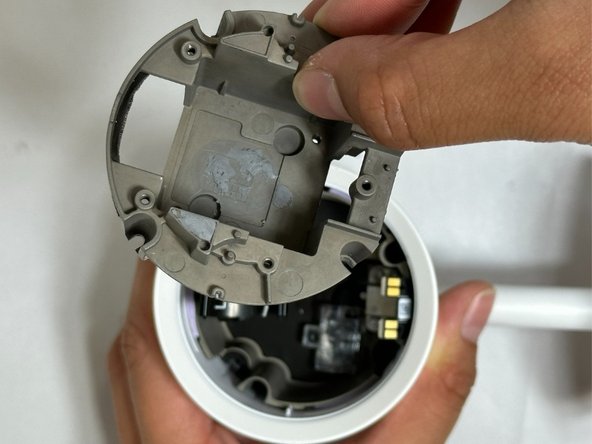
Carefully disconnect the flat black ribbon cable connecting the metal plate to the LED.
-
Remove the metal plate.
-
-
-
-
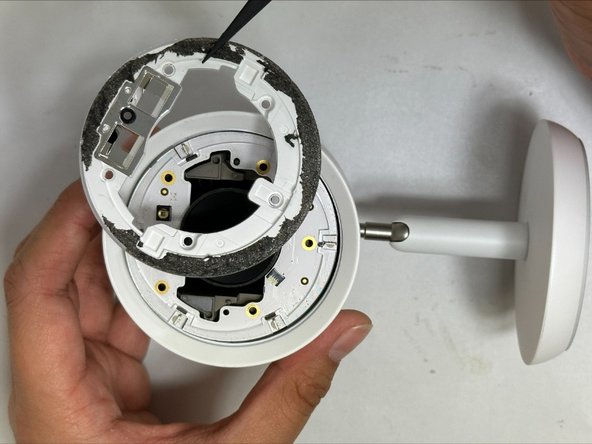
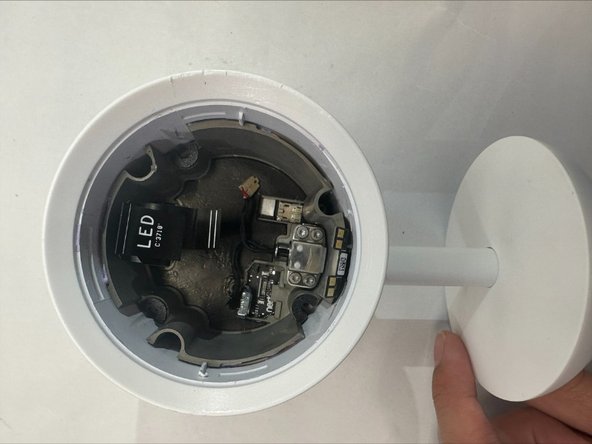
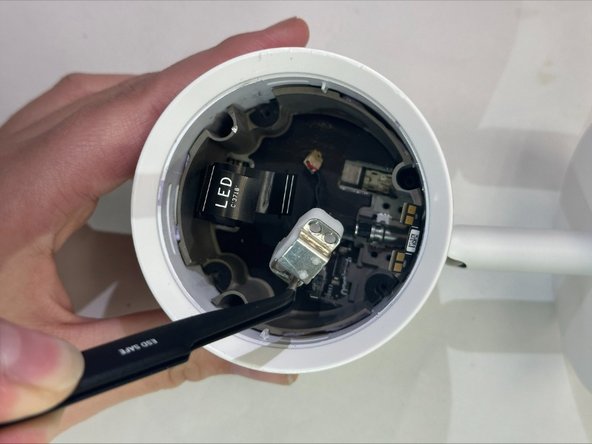
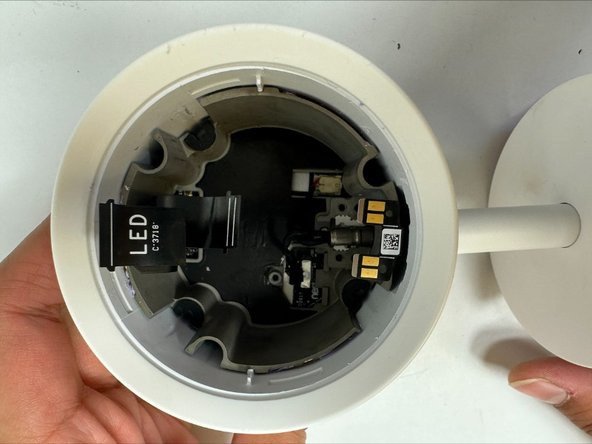
Carefully disconnect the flat black ribbon cable connecting the LED to the motherboard.
-
Remove the LED cover.
-
-
-
Remove the two 7mm TR6 Torx screws securing the camera.
-
Carefully pull out the camera.
-
-
-
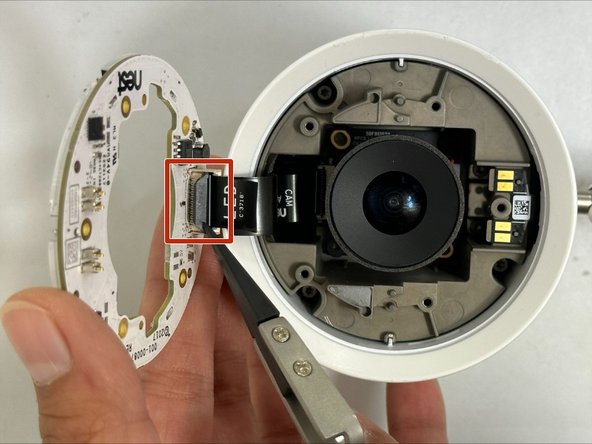
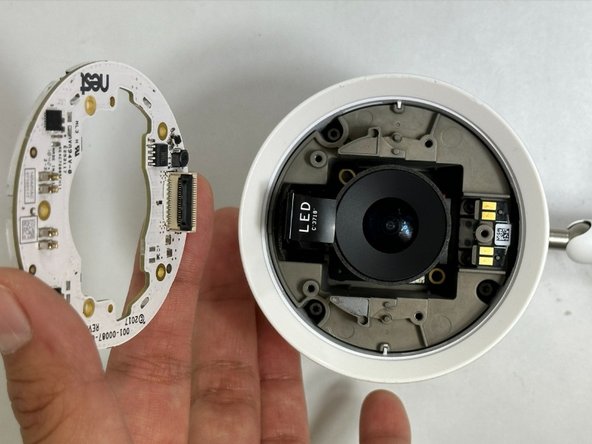
Carefully disconnect the flat black ribbon cable connecting the camera to the motherboard.
-
Remove the camera.
-
-
-
Remove the three 19mm TR6 Torx screws from the camera holder.
-
Carefully lift the tab up and away from the camera holder.
-
Remove the camera holder.
-
-
-
Remove the one 4mm TR6 Torx screw from the clear cover.
-
Remove the clear cover.
-
-
-
Remove the four 11mm TR6 Torx screws from the clamp securing the mounting stand.
-
Remove the clamp.
-
Carefully pull away the cables connecting the mounting stand to the body.
-


To reassemble your device, follow these instructions in reverse order.
To reassemble your device, follow these instructions in reverse order.
Отменить: Я не выполнил это руководство.
Еще один человек закончил это руководство.

Команда

University of New Orleans, Team 5-5, McDonald Fall 2023 Участник University of New Orleans, Team 5-5, McDonald Fall 2023
UNO-MCDONALD-F23S5G5
3 членов
Автор 4 руководств