Перейти к основному содержанию

Nikon 1 AW 1 Buttons Replacement

Выберете то, что вам нужно

  1. Nikon 1 AW 1 Buttons Replacement, Buttons: шаг 1, изображение 1 из 3 Nikon 1 AW 1 Buttons Replacement, Buttons: шаг 1, изображение 2 из 3 Nikon 1 AW 1 Buttons Replacement, Buttons: шаг 1, изображение 3 из 3
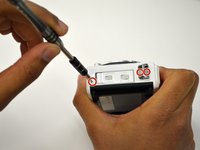
    • Using the Phillips PH00 screwdriver, remove the six 4.0mm screws marked in red. Then remove the panel cover by lightly pulling it off.

  2. Nikon 1 AW 1 Buttons Replacement: шаг 2, изображение 1 из 3 Nikon 1 AW 1 Buttons Replacement: шаг 2, изображение 2 из 3 Nikon 1 AW 1 Buttons Replacement: шаг 2, изображение 3 из 3
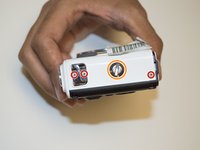
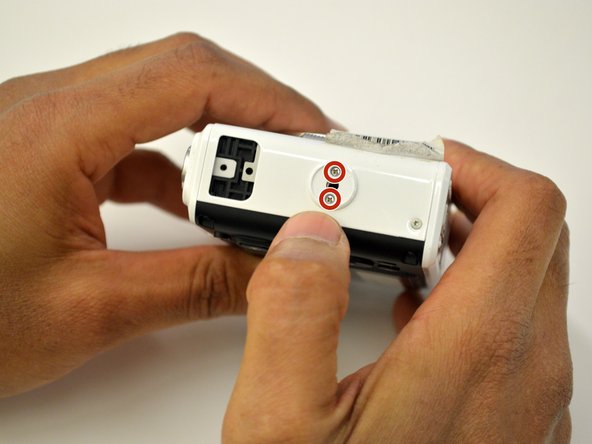
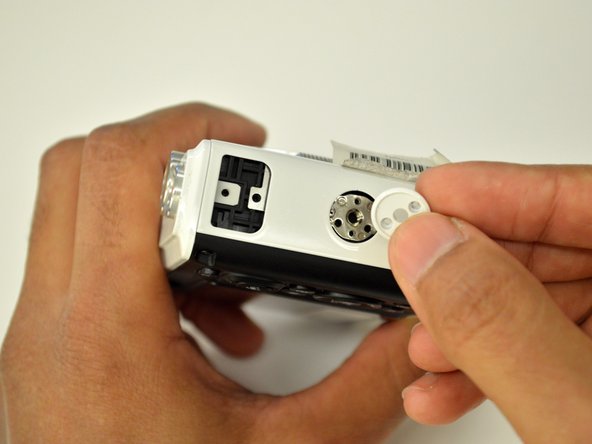
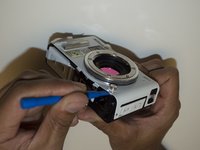
    • Using the Phillips PH00 screwdriver, remove the four 5.5mm screws in the red circles. Then use a plastic opening tool to pry off the tripod socket.

    • Remove the metal plate to have access to the 4.9mm screw under the orange circle, use the Phillips PH00 screwdriver to remove it.

  3. Nikon 1 AW 1 Buttons Replacement: шаг 3, изображение 1 из 3 Nikon 1 AW 1 Buttons Replacement: шаг 3, изображение 2 из 3 Nikon 1 AW 1 Buttons Replacement: шаг 3, изображение 3 из 3
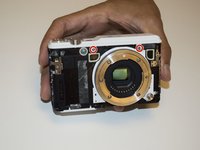
    • Using a T4 head screwdriver remove the three 5.4mm screws marked with the red circles.

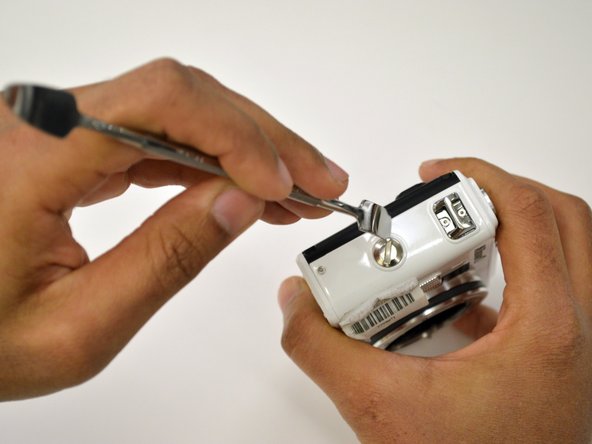
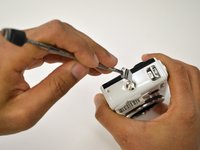
    • Use a 1/4" flathead screwdriver or a flat head tool to release the grip attachment screw.

    • Remove the camera strap eyelet.

  4. Nikon 1 AW 1 Buttons Replacement: шаг 4, изображение 1 из 3 Nikon 1 AW 1 Buttons Replacement: шаг 4, изображение 2 из 3 Nikon 1 AW 1 Buttons Replacement: шаг 4, изображение 3 из 3
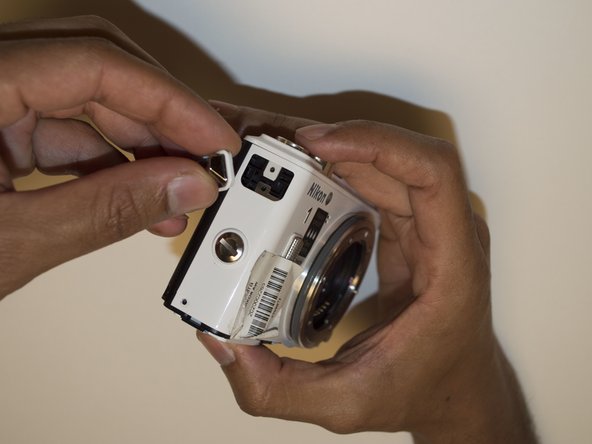
    • Remove the grip attachment screw.

    • Use a Phillips PH00 to remove the two 2.4mm screws on the grip attachment slot, then remove the slot.

  5. Nikon 1 AW 1 Buttons Replacement: шаг 5, изображение 1 из 3 Nikon 1 AW 1 Buttons Replacement: шаг 5, изображение 2 из 3 Nikon 1 AW 1 Buttons Replacement: шаг 5, изображение 3 из 3
    • Use a T4 screwdriver to remove the three 5.4mm screw marked with the red circles and the eyelet strap.

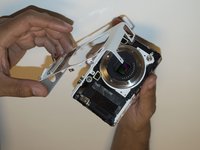
    • Use a plastic opening tool to lift the front camera cover off.

  6. Nikon 1 AW 1 Buttons Replacement: шаг 6, изображение 1 из 3 Nikon 1 AW 1 Buttons Replacement: шаг 6, изображение 2 из 3 Nikon 1 AW 1 Buttons Replacement: шаг 6, изображение 3 из 3
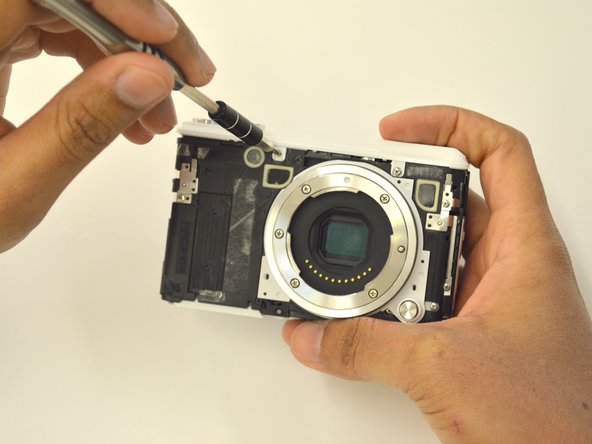
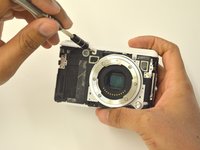
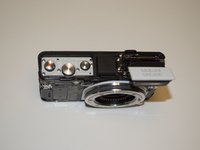
    • Use a Phillips PH00 to unscrew the two 3.5mm screws in red.

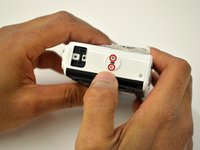
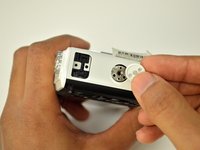
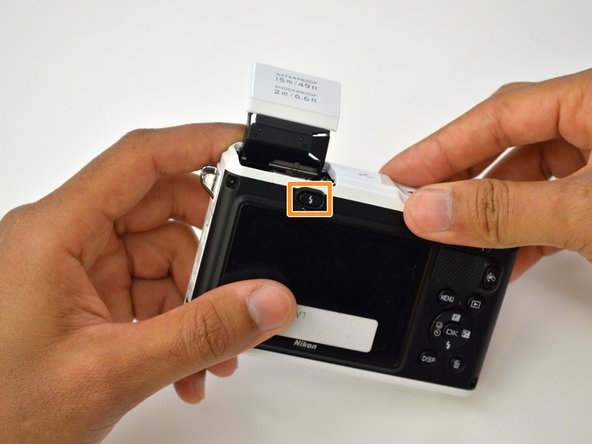
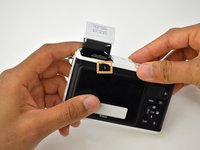
    • Press the flash pop-up button in the orange rectangle to be able to remove top cover of the camera.

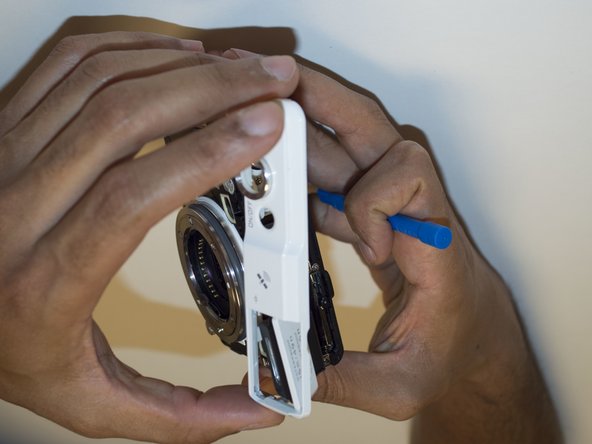
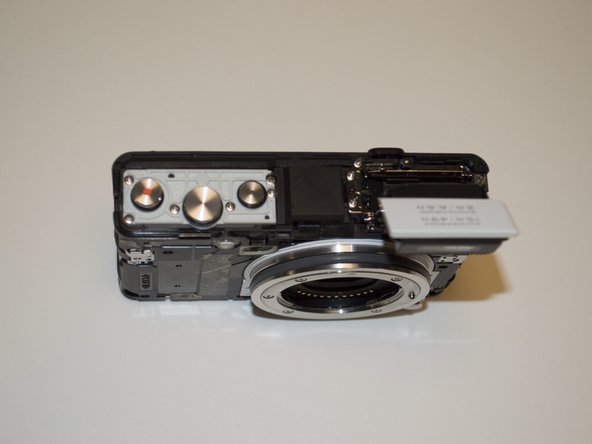
  7. Nikon 1 AW 1 Buttons Replacement: шаг 7, изображение 1 из 3 Nikon 1 AW 1 Buttons Replacement: шаг 7, изображение 2 из 3 Nikon 1 AW 1 Buttons Replacement: шаг 7, изображение 3 из 3
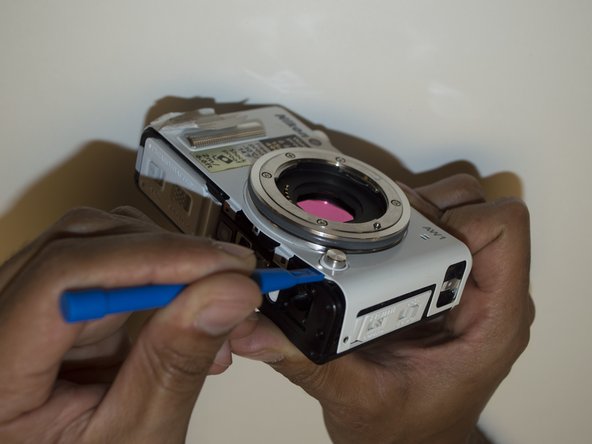
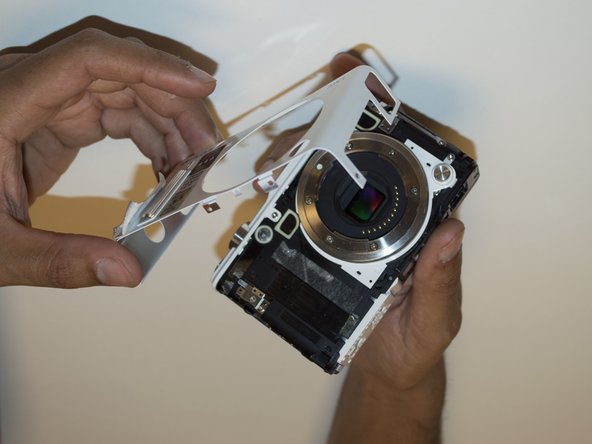
    • Use a plastic opening tool to lift off the top panel.

  8. Nikon 1 AW 1 Buttons Replacement: шаг 8, изображение 1 из 1
    • If you needed to replace any buttons, you may now do so by pulling them off.

Заключение

To reassemble your device, follow these instructions in reverse order.

Еще один человек закончил это руководство.

Lester Rodriguez Piti

Участник с: 10/04/16

373 Репутация

Автор 3 руководств

Команда

USF Tampa, Team 3-4, Sullivan Fall 2016 Участник USF Tampa, Team 3-4, Sullivan Fall 2016

USFT-SULLIVAN-F16S3G4

4 членов

Автор 6 руководств

Один комментарий

What if the flash button is not working? How will i open or fix it? Flash does not pop out

Noel Marantan - Ответить

Добавить комментарий

Просмотр статистики:

За последние 24часов: 0

За последние 7 дней: 0

За последние 30 дней: 7

За всё время: 754