Введение
Replace the left shoulder button on your 3DS and regain L-button functionality.
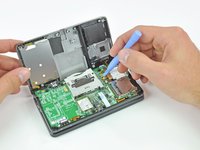
Выберете то, что вам нужно
-
Инструмент, используемый на этом этапе:Phillips #00 Screwdriver$5.49
-
Use a Phillips PH00 screwdriver to loosen the four screws along the top of the back cover.
-
-
-
Grab the top edge of the back cover with your opposite hand so that the cover does not fall back into place.
-
Pull the back cover up and away from the rest of the device to remove it.
-
-
-
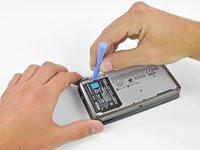
Insert a plastic opening tool into the notch in the lower case above the battery.
-
Pry the battery up with the plastic opening tool.
-
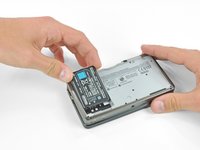
Grab the top edge of the battery and lift it out of the lower case.
-
-
-
-
Use a JIS #00 screwdriver to remove the nine 6.3 mm black screws from the lower case.
-
Use a JIS #00 screwdriver to remove the 2.4 mm silver screw above the game cartridge slot.
-
-
-
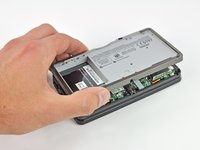
Lift the bottom edge of the lower case off the rest of the 3DS.
-
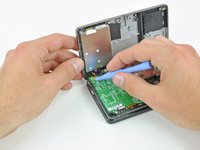
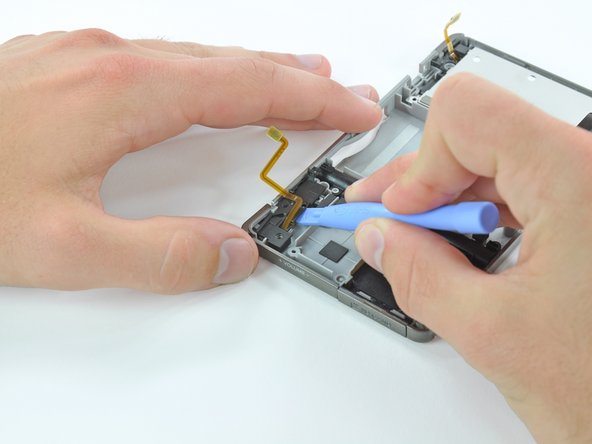
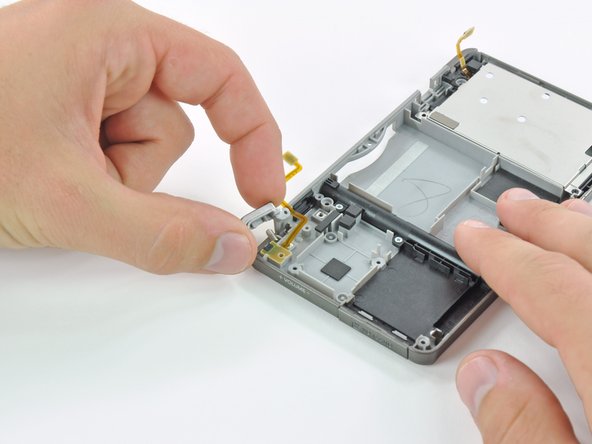
Use a plastic opening tool to pry the shoulder button ribbon cables off their sockets on the motherboard.
-
Remove the lower case from the device.
-
-
-
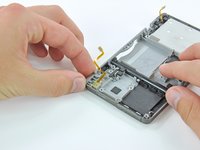
Remove the three 3.6 mm Phillips screws from the button housing.
-
-
-
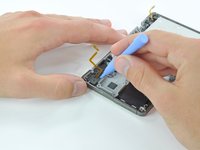
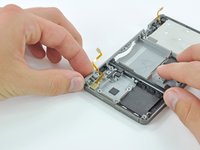
Insert a plastic opening tool under the left side of the left shoulder button cover.
-
Pry the black plastic cover up from the lower case.
-
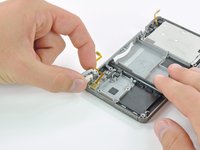
Grab the cover and lift it off of the lower case.
-
-
-
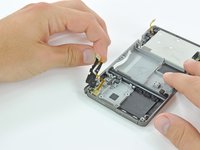
Press lightly on the back of the button until it becomes unattached. Be careful not to lose the small spring and pin behind the plastic button.
-


To reassemble your device, follow these instructions in reverse order.
To reassemble your device, follow these instructions in reverse order.
Отменить: Я не выполнил это руководство.
47 человек успешно провели ремонт по этому руководству.

Один комментарий
Why is the text first saying
All screws in this device are JIS screws. Official iFixit PH000-PH1 Phillips screwdrivers are designed to be compatible with JIS screws, so they are safe to use. Using a screwdriver other than an official iFixit screwdriver or a JIS screwdriver may result in stripped screws.
but then in e.g. Step 6 says
Remove the three 3.6 mm Phillips screws from the button housing.
From the picture and my own repair it seems like they are also JIS screws, like stated in the first text.
The same problem is also inside the repair guide of the right shoulder button.
Otherwise this guide helped me very much, so thanks for sharing! :)