Введение
What's that? I can't hear you! I think you need to install a new microphone.
Выберете то, что вам нужно
-
Инструмент, используемый на этом этапе:Phillips #00 Screwdriver$5.49
-
Use a Phillips PH00 screwdriver to loosen the four screws along the top of the back cover.
-
-
-
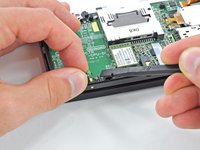
Grab the top edge of the back cover with your opposite hand so that the cover does not fall back into place.
-
Pull the back cover up and away from the rest of the device to remove it.
-
-
-
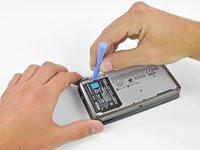
Insert a plastic opening tool into the notch in the lower case above the battery.
-
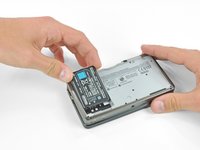
Pry the battery up with the plastic opening tool.
-
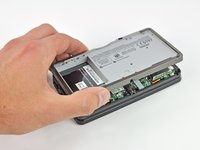
Grab the top edge of the battery and lift it out of the lower case.
-
-
-
-
Use a JIS #00 screwdriver to remove the nine 6.3 mm black screws from the lower case.
-
Use a JIS #00 screwdriver to remove the 2.4 mm silver screw above the game cartridge slot.
-
-
-
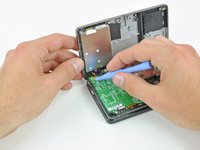
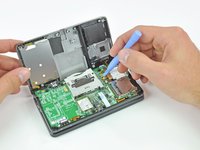
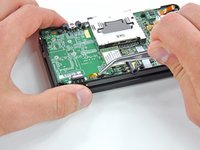
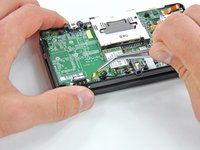
Lift the bottom edge of the lower case off the rest of the 3DS.
-
Use a plastic opening tool to pry the shoulder button ribbon cables off their sockets on the motherboard.
-
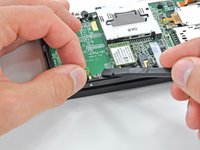
Remove the lower case from the device.
-
-
Инструмент, используемый на этом этапе:Tweezers$4.99
-
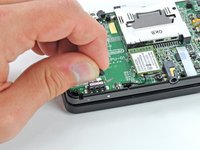
Grasp the microphone ribbon cable near the microphone with a pair of tweezers.
-
Pull the microphone straight up out of the upper case.
-
-
-
Use the flat end of a spudger or your fingernail to flip up the retaining flap on the Microphone ribbon cable ZIF socket.
-
-
-
Lift the microphone and its attached ribbon cable off the motherboard.
-
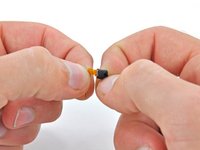
If your replacement microphone doesn't come with a silicone cover, peel the cover off the original one and reuse it.
-


To reassemble your device, follow these instructions in reverse order.
To reassemble your device, follow these instructions in reverse order.
Отменить: Я не выполнил это руководство.
5 человек успешно провели ремонт по этому руководству.

3 Комментариев
Can someone please tell me how to acquire a new microphone chip?
You are able to purchase replacement microphones on amazon for less than $10 USD
Bad news, it's almost impossible to get a replacement for the original 3DS microphone.
Good news, I made one for the newer 3DSXL work and they are plentiful on Ebay.
What you need to do to make it work is trim the end of the cable on the edges to match the width of the original so it will fit in the socket. This requires very steady hands and a very sharp small diagonal cutter. Maybe get 2 mics in case you make a mistake. They are very cheap from China.
Note that the contacts face down on the cable and it slides in the hinge side of the clip. Again, very steady hands, a bright light and a tweezers are useful.
Finally you will need to make a gentle twist in the cable when inserting the mic into where it came from because mic is on the other side of the cable as from the original. Be very gentle with the latch on the connector. If you break it you are hosed.