Перейти к основному содержанию

Nintendo Switch Motherboard Replacement

Архивированное руководство
Это руководство сохранено для исторических целей. Используйте его обновлённую версию, чтобы выполнить ремонт.

Выберете то, что вам нужно

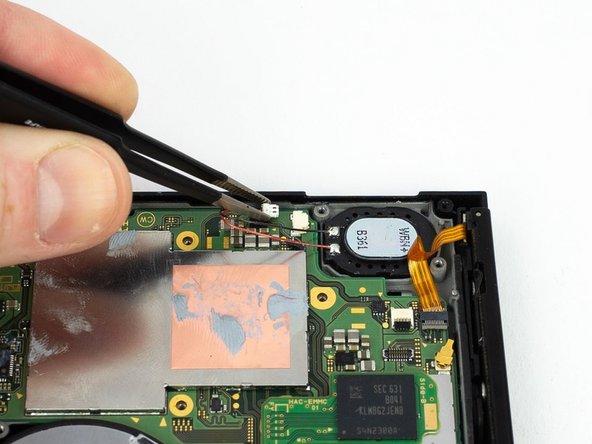
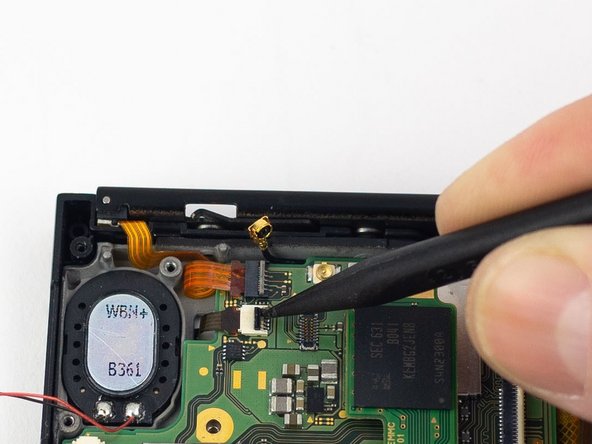
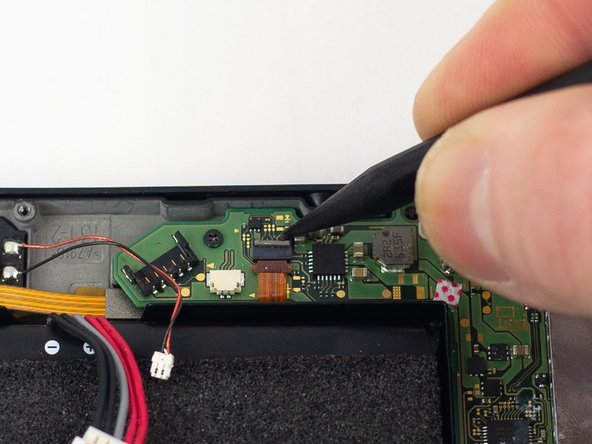
  1. Nintendo Switch Motherboard Replacement, Motherboard: шаг 1, изображение 1 из 2 Nintendo Switch Motherboard Replacement, Motherboard: шаг 1, изображение 2 из 2
    • Disconnect the right loudspeaker from the motherboard.

  2. Nintendo Switch Motherboard Replacement: шаг 2, изображение 1 из 2 Nintendo Switch Motherboard Replacement: шаг 2, изображение 2 из 2
    • Disconnect the left speaker from the motherboard.

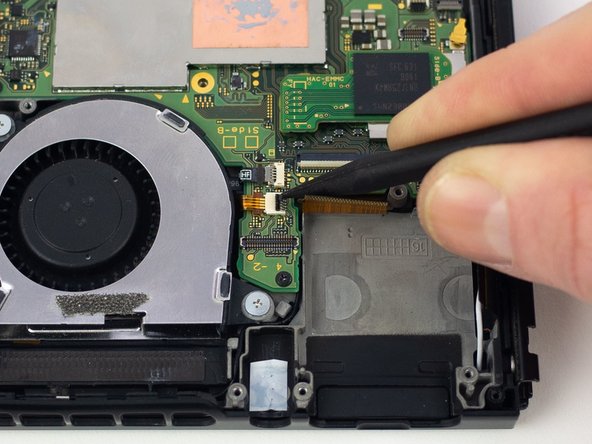
  3. Nintendo Switch Motherboard Replacement: шаг 3, изображение 1 из 2 Nintendo Switch Motherboard Replacement: шаг 3, изображение 2 из 2
    • Use a spudger to flip up the small beige locking flap on the display ZIF connector.

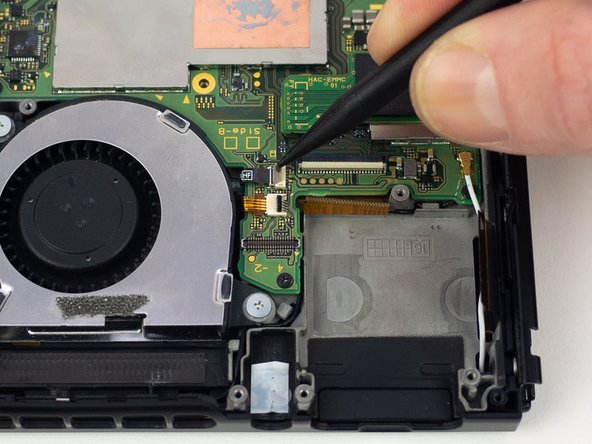
  4. Nintendo Switch Motherboard Replacement: шаг 4, изображение 1 из 2 Nintendo Switch Motherboard Replacement: шаг 4, изображение 2 из 2
    • Use the pointed end of a spudger to slide the display ribbon cable out of the ZIF connector.

  5. Nintendo Switch Motherboard Replacement: шаг 5, изображение 1 из 2 Nintendo Switch Motherboard Replacement: шаг 5, изображение 2 из 2
    • Use a spudger to flip up the small black locking flap on the power/volume button ZIF connector.

  6. Nintendo Switch Motherboard Replacement: шаг 6, изображение 1 из 2 Nintendo Switch Motherboard Replacement: шаг 6, изображение 2 из 2
    • Use a spudger to flip up the small gray locking flap on the fan ZIF connector.

  7. Nintendo Switch Motherboard Replacement: шаг 7, изображение 1 из 2 Nintendo Switch Motherboard Replacement: шаг 7, изображение 2 из 2
    • Use the flat end of a spudger to disconnect the white coaxial antenna cable from the motherboard.

  8. Nintendo Switch Motherboard Replacement: шаг 8, изображение 1 из 2 Nintendo Switch Motherboard Replacement: шаг 8, изображение 2 из 2
    • Use the flat end of a spudger to disconnect the black coaxial antenna cable from the motherboard.

  9. Nintendo Switch Motherboard Replacement: шаг 9, изображение 1 из 2 Nintendo Switch Motherboard Replacement: шаг 9, изображение 2 из 2
    • Use a spudger to flip up the small gray locking flap on the right Joy-Con rail ZIF connector.

  10. Nintendo Switch Motherboard Replacement: шаг 10, изображение 1 из 2 Nintendo Switch Motherboard Replacement: шаг 10, изображение 2 из 2
    • Use a spudger to flip up the small black locking flap on the ZIF connector.

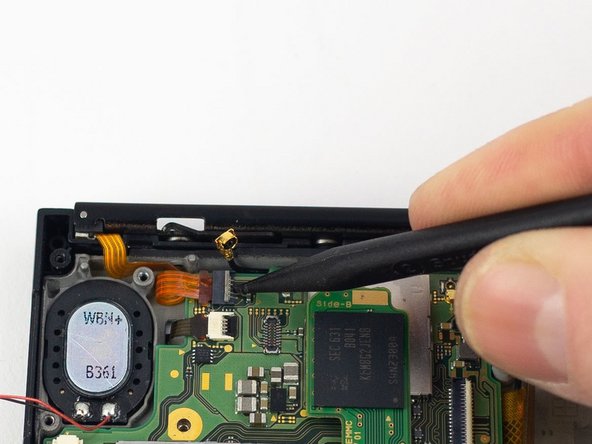
  11. Nintendo Switch Motherboard Replacement: шаг 11, изображение 1 из 2 Nintendo Switch Motherboard Replacement: шаг 11, изображение 2 из 2
    • Use a spudger to flip up the small gray locking flap on the left Joy-Con rail ZIF connector.

  12. Nintendo Switch Motherboard Replacement: шаг 12, изображение 1 из 1
    • Remove the four 2.50 mm JIS #000 screws from the motherboard.

    • Remove the two 3.14 mm JIS #000 screws from the USB-C port.

  13. Nintendo Switch Motherboard Replacement: шаг 13, изображение 1 из 1
    • Gently lift and wiggle the motherboard to remove.

Заключение

To reassemble your device, follow these instructions in reverse order.

Blake Klein

Участник с: 01/29/17

70 510 Репутация

Автор 50 руководств

0 Комментариев

Добавить комментарий

Просмотр статистики:

За последние 24часов: 0

За последние 7 дней: 0

За последние 30 дней: 0

За всё время: 26